当前位置:网站首页>[monitoring] ZABBIX
[monitoring] ZABBIX
2022-07-04 23:29:00 【Sprite, don't be angry】
List of articles
Preface
The content of this blog is only to record the thoughts of bloggers , For reference only , Everything is subject to the results of their own practice .
One 、 build
1.1 Go straight to step
#zabbix Server side
systemctl disable --now firewalld
setenforce 0
hostnamectl set-hostname zbx-server
su

rpm -ivh https://mirrors.aliyun.com/zabbix/zabbix/5.0/rhel/7/x86_64/zabbix-release-5.0-1.el7.noarch.rpm

cd /etc/yum.repos.d
sed -i 's#http://repo.zabbix.com#https://mirrors.aliyun.com/zabbix#' zabbix.repo

yum clean all && yum makecache
yum install -y zabbix-server-mysql zabbix-agent
yum install -y centos-release-scl

vim zabbix.repo
	11 That's ok :enable=1

yum install -y zabbix-web-mysql-scl zabbix-apache-conf-scl

# install mariadb Database and set the boot up
yum install -y mariadb-server mariadb
systemctl enable --now mariadb

# Configure database password
mysql_secure_installation
	 enter
	y
	 Set database password
	 Confirm the password
	 All the way back to the end

# Enter the database as zabbix to grant authorization
mysql -u root -pabc123
	CREATE DATABASE zabbix character set utf8 collate utf8_bin;
	GRANT all ON zabbix.* TO 'zabbix'@'%' IDENTIFIED BY 'zabbix';
	flush privileges;

# Query the database sql The location of the file , It's a .gz Compressed package at the end
rpm -ql zabbix-server-mysql
	# My version number is the following
	/usr/share/doc/zabbix-server-mysql-5.0.24/create.sql.gz

# use zcat Query the contents of the compressed package , And send parameters to the database for import
zcat //usr/share/doc/zabbix-server-mysql-5.0.24/create.sql.gz | mysql -uroot -pabc123 zabbix

vim /etc/zabbix/zabbix_server.conf
	124 That's ok :DBPassword=zabbix

vim /etc/opt/rh/rh-php72/php-fpm.d/zabbix.conf
	php_value[date.timezone] = Asia/Shanghai

systemctl restart zabbix-server zabbix-agent httpd rh-php72-php-fpm
systemctl enable zabbix-server zabbix-agent httpd rh-php72-php-fpm

 Browser access :192.168.13.10/zabbix
	 Just set the password of the database  zabbix
	 Login account :Admin  password :zabbix

 Configuration page :
	 lower left :user settings
	 Options :language -> Chinese -> update( The language is changed to Chinese )


# When the client is configured , You can execute the following command to verify that the client is started successfully , Query the client name
yum install -y zabbix-get
zabbix_get -s '192.168.13.20' -p 10050 -k 'agent.ping'
zabbix_get -s '192.168.13.20' -p 10050 -k 'system.hostname'

#zabbix Client configuration
systemctl disable --now firewalld
setenforce 0
hostnamectl set-hostname zbx-agent01
su

yum install -y ntpdate
ntpdate -u ntp.aliyun.com

cp -p /etc/localtime{
    ,.bak}
ln -s /usr/share/zoneinfo/Asia/Shanghai /etc/localtime

rpm -ivh https://mirrors.aliyun.com/zabbix/zabbix/5.0/rhel/7/x86_64/zabbix-release-5.0-1.el7.noarch.rpm
cd /etc/yum.repos.d
sed -i 's#http://repo.zabbix.com#https://mirrors.aliyun.com/zabbix#' /etc/yum.repos.d/zabbix.repo

yum install -y zabbix-agent2

vim /etc/zabbix/zabbix_agent2.conf
	80 That's ok :Server=192.168.13.10
	120 That's ok :ServerActive=192.168.13.10
	131 That's ok :Hostname=zbx-agent01

systemctl start zabbix-agent2
systemctl enable zabbix-agent2

netstat -natp | grep zabbix

 Enter the server web Interface configuration
	 To configure -> host -> Create a host
	 host :
		 Host name :zbx-agent01
		 Visible name :zbx-agent01-192.168.80.30
		 group :Linux servers
		 client :192.168.80.30
	 Templates :
		Link new templates:Template OS Linux by Zabbix agent

# Switch the options on the left randomly , Switch back ,zbx Has been launched
Two 、 Conclusion
- It's easy to build , There's nothing to say , Mainly I can see the graphical interface
边栏推荐
- 推荐收藏:跨云数据仓库(data warehouse)环境搭建,这货特别干!
- Object detection based on OpenCV haarcascades
- How to reduce the stock account Commission and stock speculation commission? Is it safe to open an online account
- French scholars: the explicability of counter attack under optimal transmission theory
- Servlet+jdbc+mysql simple web exercise
- Paddleocr tutorial
- QT addition calculator (simple case)
- A mining of edu certificate station
- [kotlin] the third day
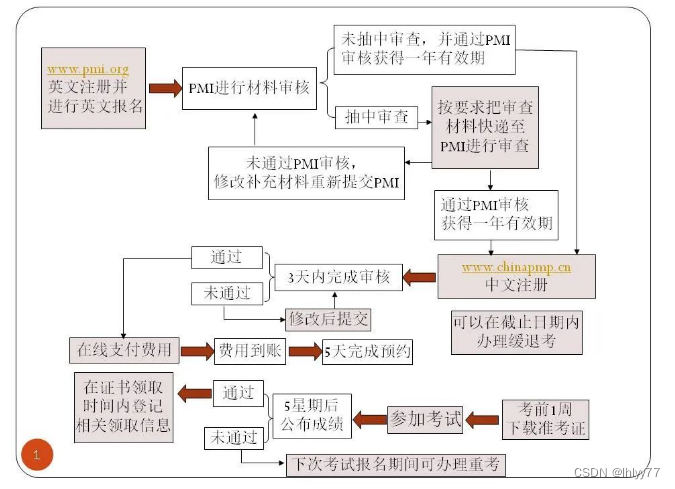
- 取得PMP證書需要多長時間?
猜你喜欢


随机推荐
CTF競賽題解之stm32逆向入門
Ffmpeg quick clip
Application of machine learning in housing price prediction
电力运维云平台:开启电力系统“无人值班、少人值守”新模式
In the enterprise, win10 turns on BitLocker to lock the disk, how to back up the system, how to recover when the system has problems, and how to recover quickly while taking into account system securi
ScriptableObject
Etcd database source code analysis - brief process of processing entry records
QT drawing network topology diagram (connecting database, recursive function, infinite drawing, dragging nodes)
智力考验看成语猜古诗句微信小程序源码
Object detection based on OpenCV haarcascades
如何在外地外网电脑远程公司项目?
CTF competition problem solution STM32 reverse introduction
PS style JS webpage graffiti board plug-in
Galera cluster of MariaDB - dual active and dual active installation settings
【ODX Studio编辑PDX】-0.3-如何删除/修改Variant变体中继承的(Inherited)元素
Basic use and upgrade of Android native database
城市轨道交通站应急照明疏散指示系统设计
OSEK标准ISO_17356汇总介绍
机器学习在房屋价格预测上的应用
S32 Design Studio for ARM 2.2 快速入门