当前位置:网站首页>Jetson TX2 configures common libraries such as tensorflow and pytoch
Jetson TX2 configures common libraries such as tensorflow and pytoch
2022-07-04 12:39:00 【Bamboo leaf green LVYE】
Before that PC Ubuntu Or raspberry pie , The method is the same , So this blog will Simple record Next process , For detailed methods and ideas, please refer to the previous series of blogs of bloggers ( Although the hardware platform is different , But the method is generally the same . The mainstream hardware platforms include raspberry pie ,NVIDIA Jetson,Google Of Coral Dev Board etc. . Teaching a man to fish is better than giving him a fish , Our focus is on learning methods , Maintaining the status quo . From the configuration of common libraries in the previous series of blogs , Inference of deep learning , How to cross compile has done some detailed experiments and explanations , These ideas and habits can be applied to the new embedded platform )
https://blog.csdn.net/jiugeshao/category_11391557.html?spm=1001.2014.3001.5482
https://blog.csdn.net/jiugeshao/category_11447160.html?spm=1001.2014.3001.5482
about Jetson TX2 The initial environment configuration of can be seen in the previous three blogs
NVIDIA Jetson TX2 brief introduction _ green bamboo snake lvye The blog of -CSDN Blog _nvidiatx2
NVIDIA Jetson Official website data sorting _ green bamboo snake lvye The blog of -CSDN Blog
NVIDIA Jetson TX2 install JetPack_ green bamboo snake lvye The blog of -CSDN Blog
One . Configure the specified python edition
Choose here python3.7, Refer to previous blogs of bloggers for methods
notes :
(1) The deletion of soft links can be referred to Ubuntu Basic knowledge points under ( One )_ green bamboo snake lvye The blog of -CSDN Blog _ubuntu Basic knowledge of
(2) here pip3 The link target of should be switched to the following ( Combine your own path )
![]()
After the completion of , The input terminal python3 and pip3 -V
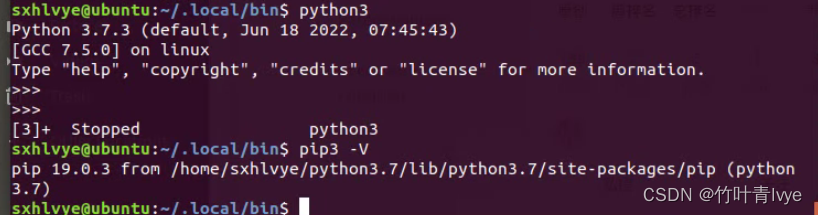
You can see that you have switched to python3.7 了 , Not the system's own python3.6.
notes :
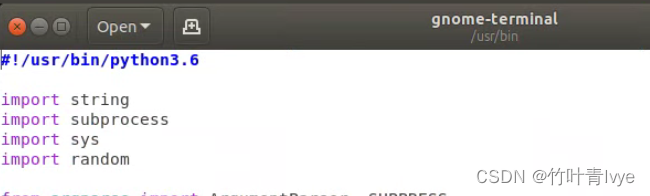
If you find that clicking on the terminal on the desktop does not respond ,terminal Cannot be opened , You can open any folder , Right click in the blank to open the terminal . Edit the file in the following path

The top is changed to the current system default python3.6, The original is python3.( Because when you build a soft link ,python3 Has been linked to python3.7 Version of the , So this side pierced the window , Tell the system directly , What you need is python3.6). After the completion of , Click on the terminal on the desktop to open .
Two . To configure CUDNN
The blogger reinstalled it in front JetPack
NVIDIA Jetson TX2 Reshipment system _ green bamboo snake lvye The blog of -CSDN Blog
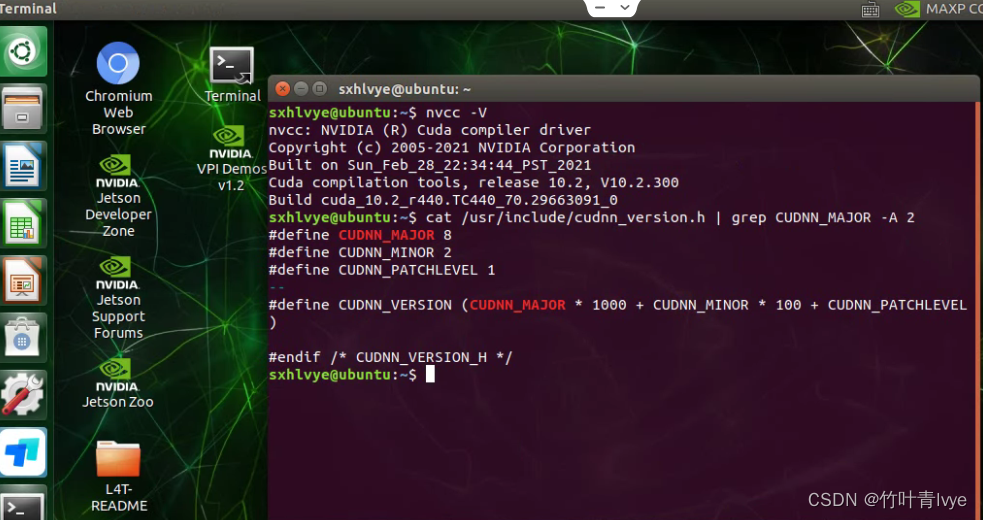
It depends on the default cuda and cudnn The system can view the following command statements
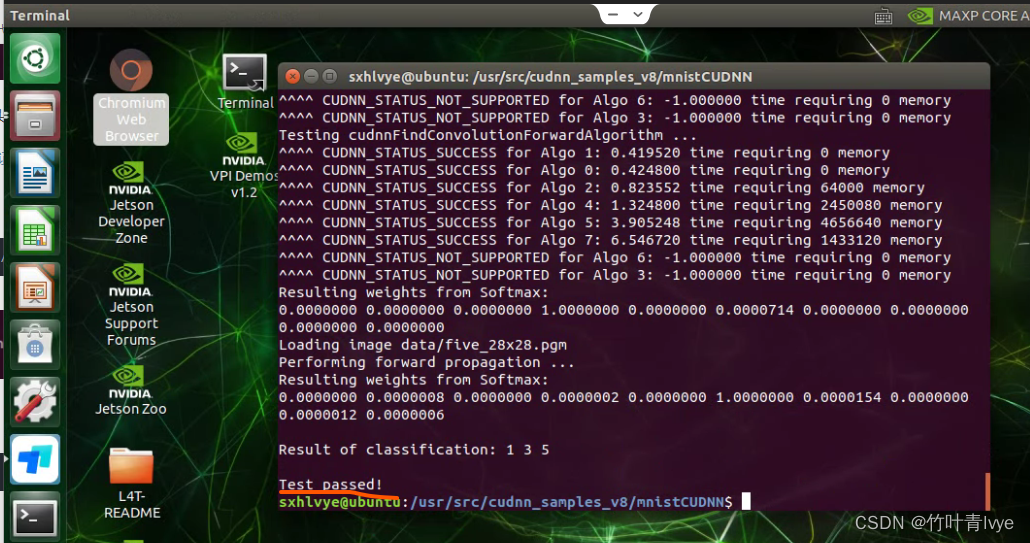
cd To the following directory
/usr/src/cudnn_samples_v8/mnistCUDNNperform sudo make, Execute after completion ./mnistCUDNN, Show that the test passed .
Similar to previous blogs of bloggers , We need to cudnn Some header files and lib Copy library to cuda Let's go down
For the present TX2 Configuration of , Execute the following command statement
sudo cp /usr/lib/aarch64-linux-gnu/libcudnn* /usr/local/cuda-10.2/lib64
3、 ... and . install Tensorflow
Mainly refer to the methods in bloggers' previous blogs
Select the following version here 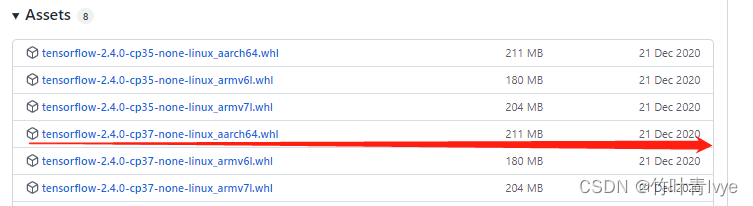
After downloading, use the following command to install
pip install tensorflow-2.4.0-cp37-none-linux_aarch64.whl --userIf the following error message appears during installation :
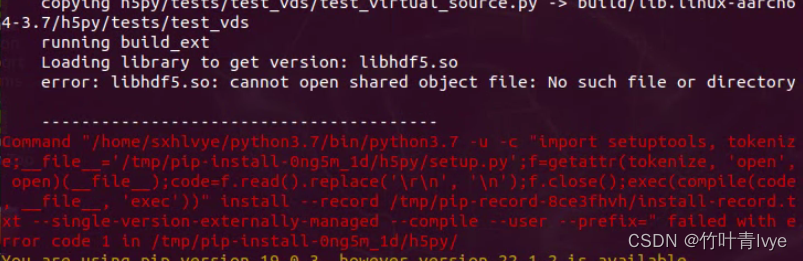
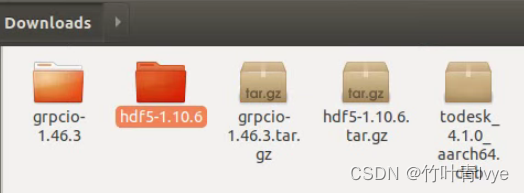
You can manually compile the source code hdf5, Available from website Download HDF5 download , Bloggers choose hdf5-1.10.6
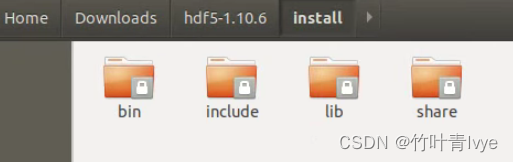
After the completion of , stay hdf5-1.10.6 Create a new folder install Folder , Then execute the following command line statement to compile
./configure --prefix=/home/sxhlvye/Downloads/hdf5-1.10.6/install
sudo make -j4
sudo make install
After the completion of , stay install You can see the installed Library in the folder
notes : Don't forget it. ~/.bashrc Configure environment variables in , as follows :

After the completion of , You can continue to execute the following two installation statements :
sudo apt-get install libhdf5-serial-dev
sudo apt-get install libhdf5-dev
After that, execute the following command statement again
pip install tensorflow-2.4.0-cp37-none-linux_aarch64.whl --userThis installation is successful , Here's the picture :
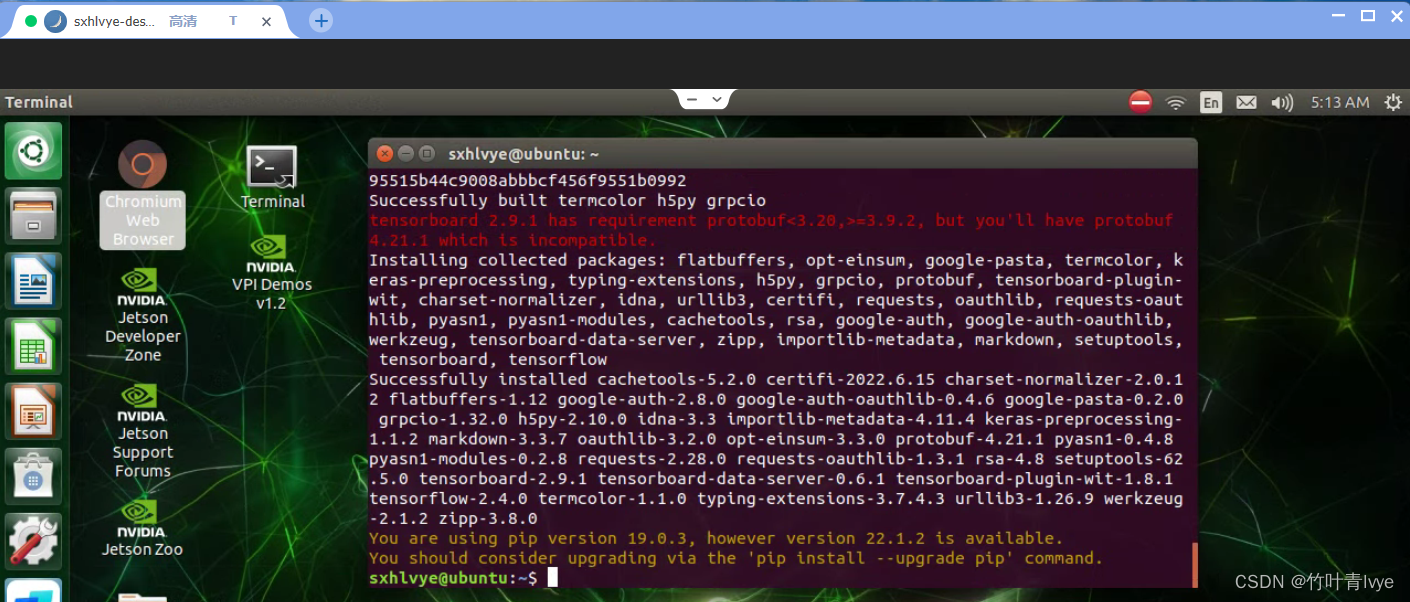
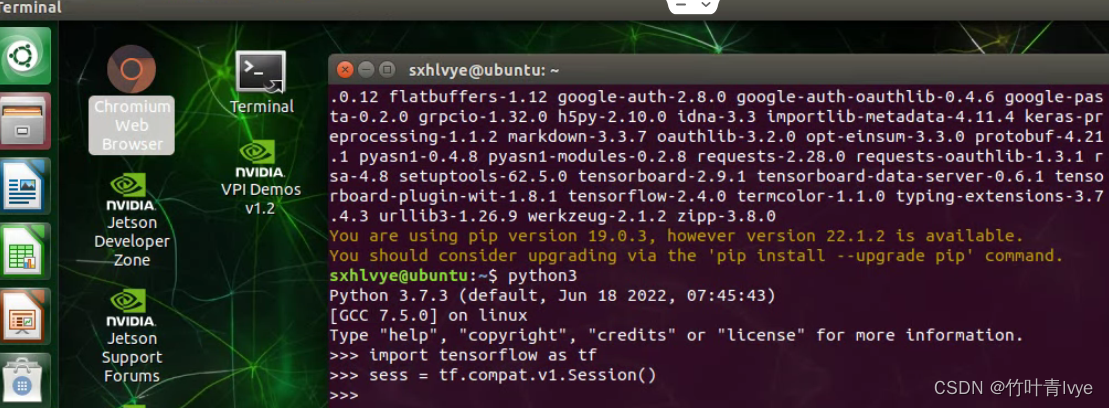
test : as follows import The library does not report an error
Four . install pycharm
Refer to blog download and installation ( The community version is selected here , There is no need to activate )Ubuntu20.04 C++ Simple compilation and QT and Pycharm Configuration of _ green bamboo snake lvye The blog of -CSDN Blog
In execution ./pycharm.sh When , There is an error :No JRE found.Please make sure $PYCHARM_JDK,$JDK_HOME,or $JAVA_HHOME point to valid JRE installation

Need to configure jdk.
1. Use apt-cache search openjdk Look at the current TX2 Supported in the environment jdk edition
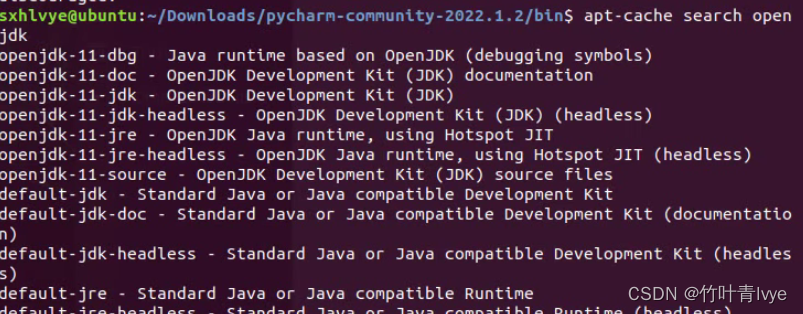
Configuration here jdk11
2. The following command line statement can be used to install
sudu apt-get install openjdk-11-jdk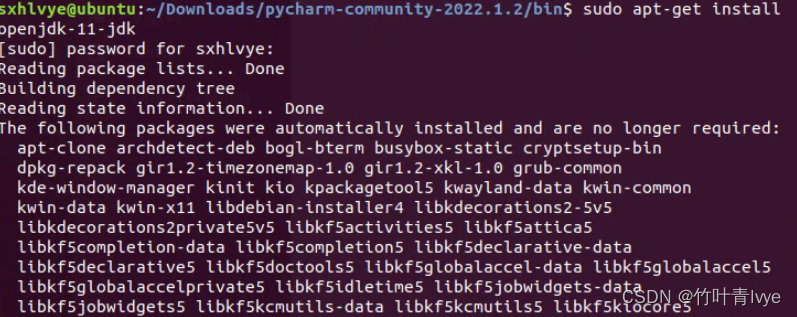
After installation , Executable statement view openjdk Installation path for
dpkg -L openjdk-11-jdk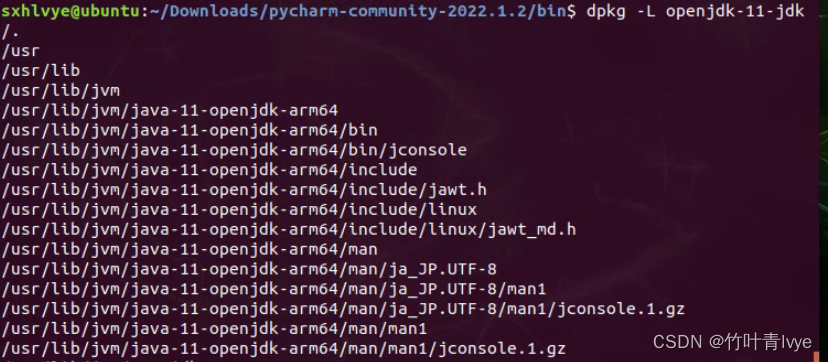
The following commands can be viewed jdk Version of
java -version
3. Re execution ./pycharm.sh, pycharm It can be loaded normally
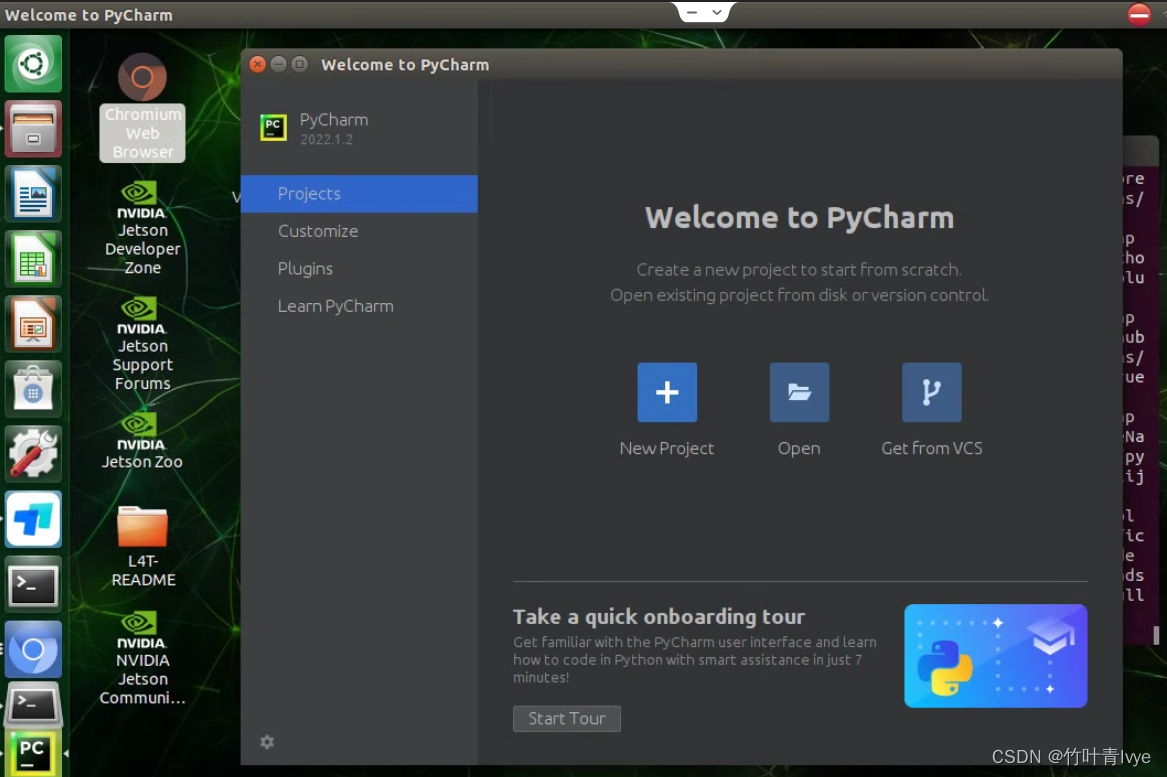
But see the error message :Failed to load moudle "canberra-gtk-moudle"

We'll solve it later .
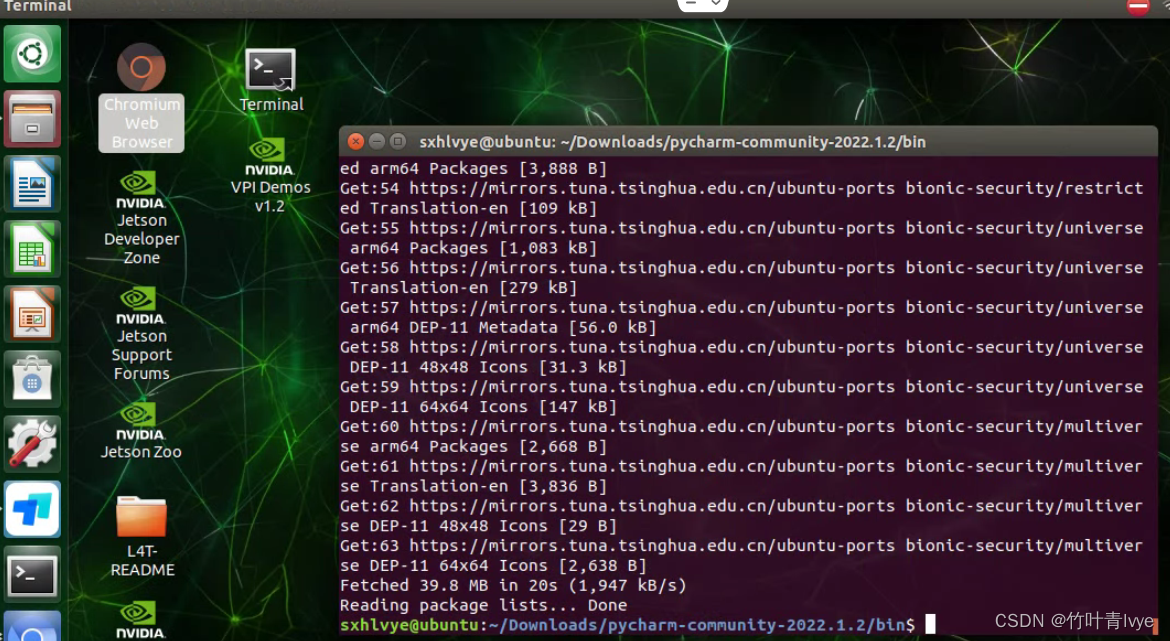
5、 ... and . Update source
You can refer to the blog update source before the blogger
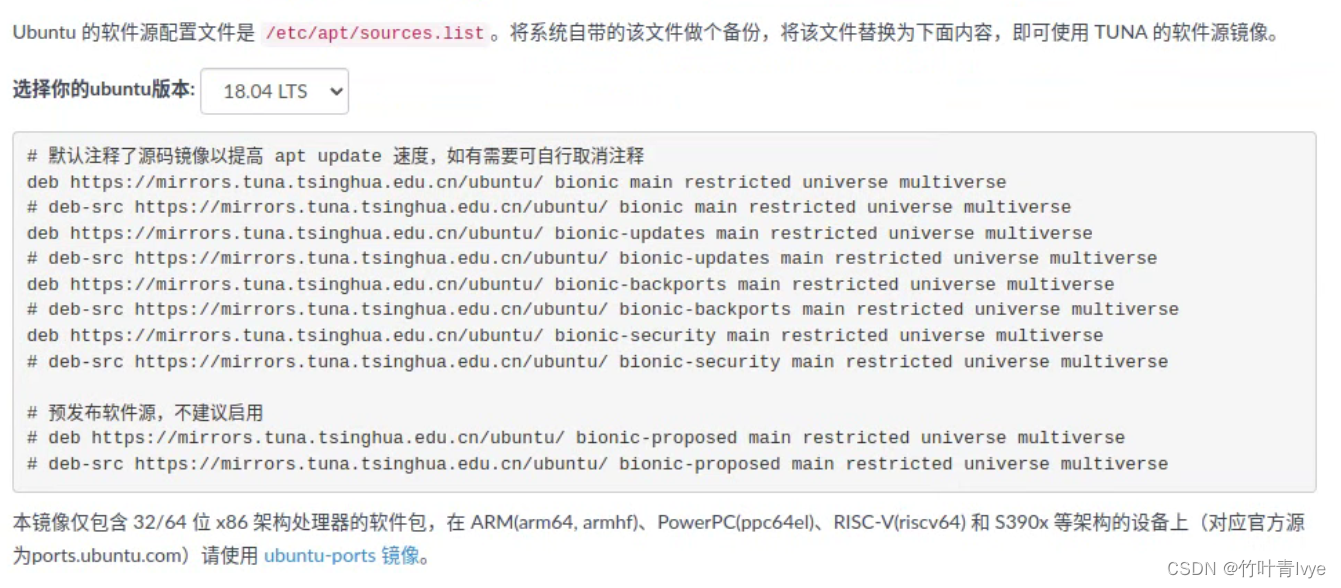
Here, select the above source , But remember to put the inside ubuntu Change it to ubuntu-ports
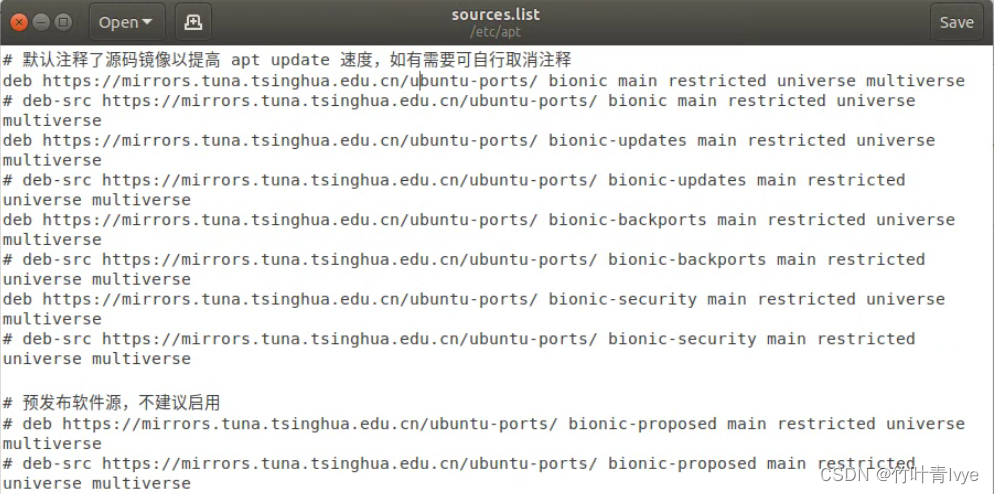
After the completion of , Don't forget to execute the statement sudo apt-get update
Updated completely , Try to install the following statement
sudo apt-get install libcanberra-gtk-module
To solve the error reporting mentioned in the third part above . Open it again at this time pycharm, There will be no error messages in the background . stay pycharm To test the previous configuration tensorflow Information about
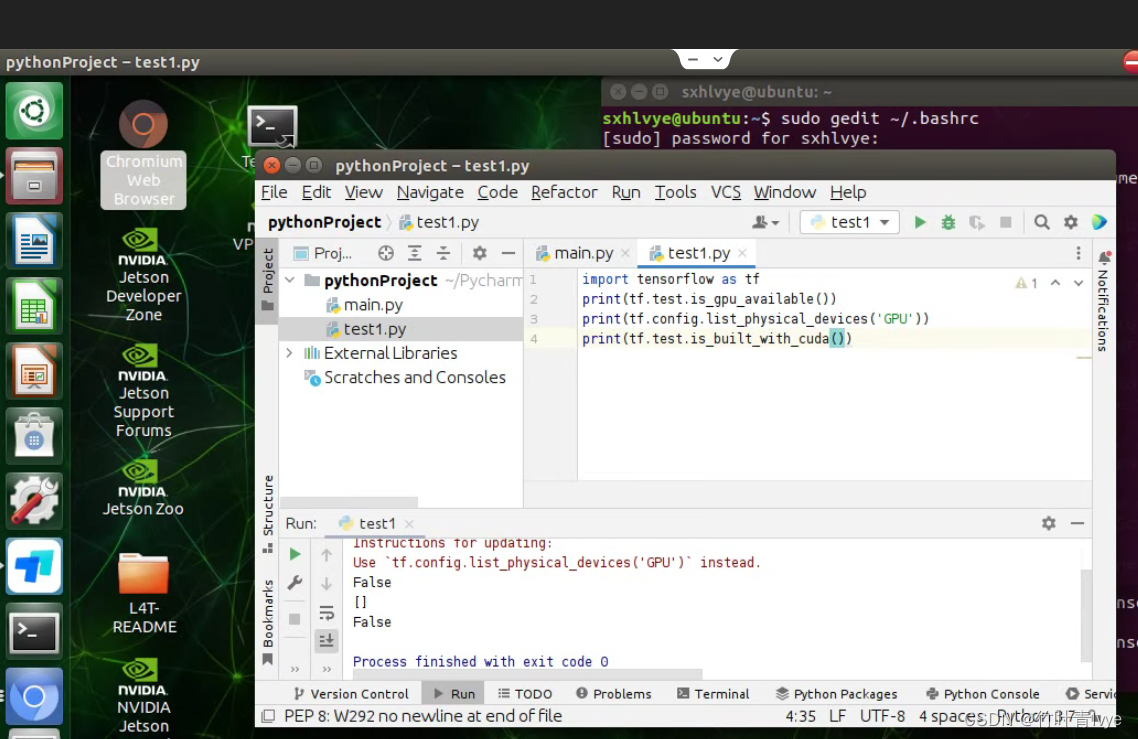
pycharm You can refer to previous blogs of bloggers , As can be seen from the above figure , The second part contains tensorflow The version is not GPU Version of , So next, through the virtual environment , stay python3.7 Under the virtual environment configuration of version tensorflow-gpu
6、 ... and . To configure Tensorflow-GPU
python3 For the configuration of virtual environment, please refer to the blogger's previous blog
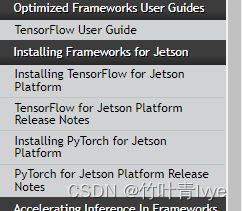
setup script , Mainly refer to the official website DOCS This column
NVIDIA Documentation Center | NVIDIA Developer
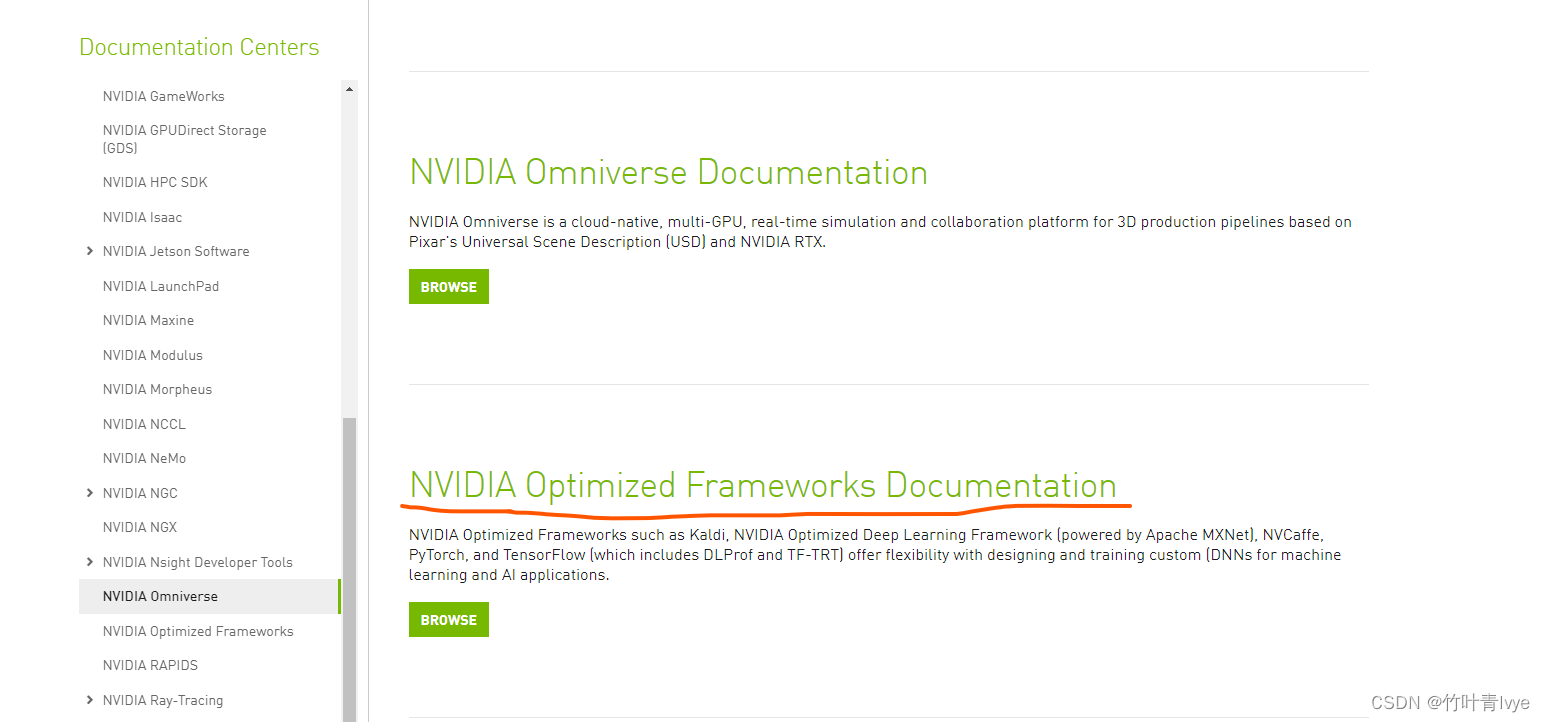
After entering the point , You can see the installation instructions
Installing TensorFlow for Jetson Platform :: NVIDIA Deep Learning Frameworks Documentation
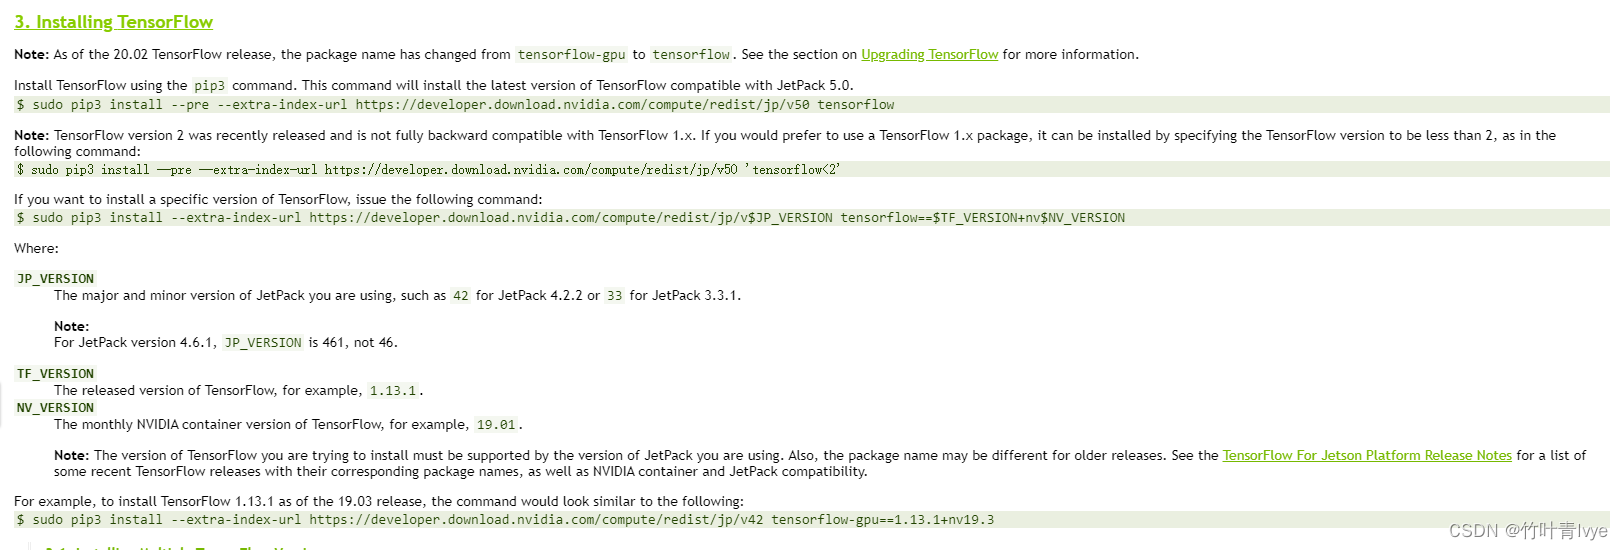
Bloggers will not repeat , Just follow the document , It's still very detailed . Used by bloggers TX2 The configuration of is visible before the blog
NVIDIA Jetson TX2 Reshipment system _ green bamboo snake lvye The blog of -CSDN Blog
The link also contains examples of official tensorflow Some information
TensorFlow for Jetson Platform Release Notes :: NVIDIA Deep Learning Frameworks Documentation
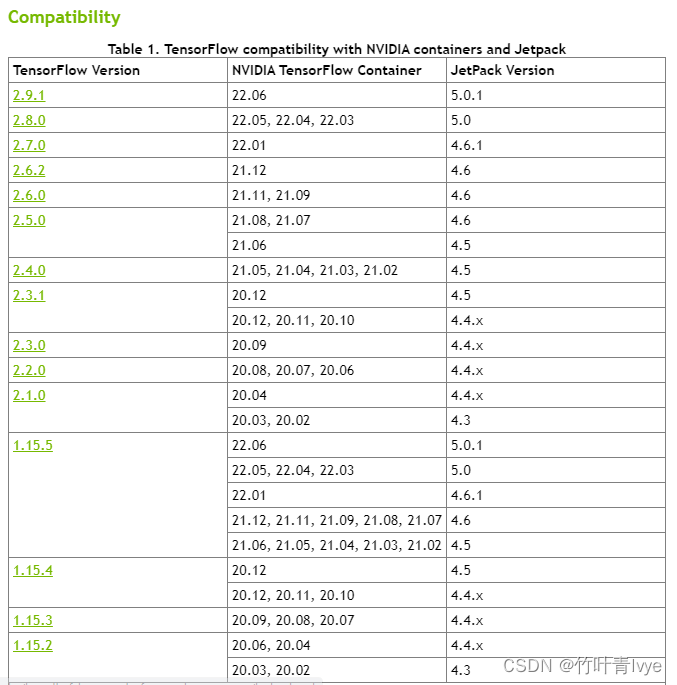
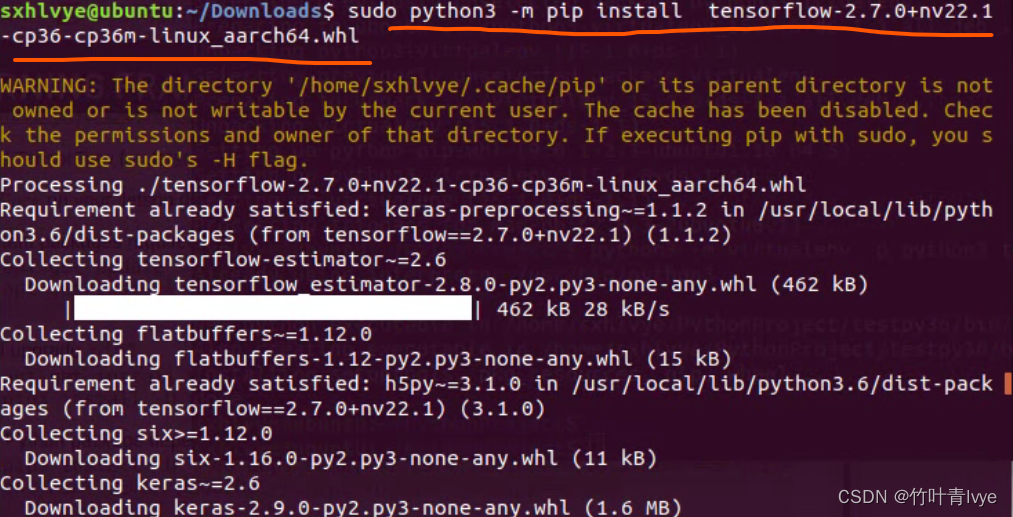
Bloggers install Tensorflow 2.7 edition ( Used by bloggers python3 Environment or installation Jetpack The system defaults to python3.6 Environmental Science , Not configured in the previous python3.7 Installation in environment tensorflow2.7).
Bloggers download it first , Install again , The download address is as follows
Index of /compute/redist/jp/v461/tensorflow

After downloading , Again pip Installation , that will do
verification :
stay pycharm Test the following code :
import tensorflow as tf
print(tf.test.is_gpu_available())
print(tf.config.list_physical_devices('GPU'))
print(tf.test.is_built_with_cuda())
The results are as follows :
/usr/bin/python3 /home/sxhlvye/PycharmProjects/pythonProject/test1.py
WARNING:tensorflow:From /home/sxhlvye/PycharmProjects/pythonProject/test1.py:2: is_gpu_available (from tensorflow.python.framework.test_util) is deprecated and will be removed in a future version.
Instructions for updating:
Use `tf.config.list_physical_devices('GPU')` instead.
2022-06-25 07:03:13.240374: I tensorflow/stream_executor/cuda/cuda_gpu_executor.cc:1019] ARM64 does not support NUMA - returning NUMA node zero
2022-06-25 07:03:13.465336: I tensorflow/stream_executor/cuda/cuda_gpu_executor.cc:1019] ARM64 does not support NUMA - returning NUMA node zero
2022-06-25 07:03:13.465659: I tensorflow/stream_executor/cuda/cuda_gpu_executor.cc:1019] ARM64 does not support NUMA - returning NUMA node zero
2022-06-25 07:03:17.279189: I tensorflow/stream_executor/cuda/cuda_gpu_executor.cc:1019] ARM64 does not support NUMA - returning NUMA node zero
2022-06-25 07:03:17.279540: I tensorflow/stream_executor/cuda/cuda_gpu_executor.cc:1019] ARM64 does not support NUMA - returning NUMA node zero
2022-06-25 07:03:17.279799: I tensorflow/stream_executor/cuda/cuda_gpu_executor.cc:1019] ARM64 does not support NUMA - returning NUMA node zero
2022-06-25 07:03:17.280005: I tensorflow/core/common_runtime/gpu/gpu_device.cc:1525] Created device /device:GPU:0 with 638 MB memory:  -> device: 0, name: NVIDIA Tegra X2, pci bus id: 0000:00:00.0, compute capability: 6.2
True
[PhysicalDevice(name='/physical_device:GPU:0', device_type='GPU')]
True
2022-06-25 07:03:17.291743: I tensorflow/stream_executor/cuda/cuda_gpu_executor.cc:1019] ARM64 does not support NUMA - returning NUMA node zero
2022-06-25 07:03:17.293825: I tensorflow/stream_executor/cuda/cuda_gpu_executor.cc:1019] ARM64 does not support NUMA - returning NUMA node zero
2022-06-25 07:03:17.295500: I tensorflow/stream_executor/cuda/cuda_gpu_executor.cc:1019] ARM64 does not support NUMA - returning NUMA node zero

Process finished with exit code 0
As you can see above, it has been successfully installed , Can run in GPU On .
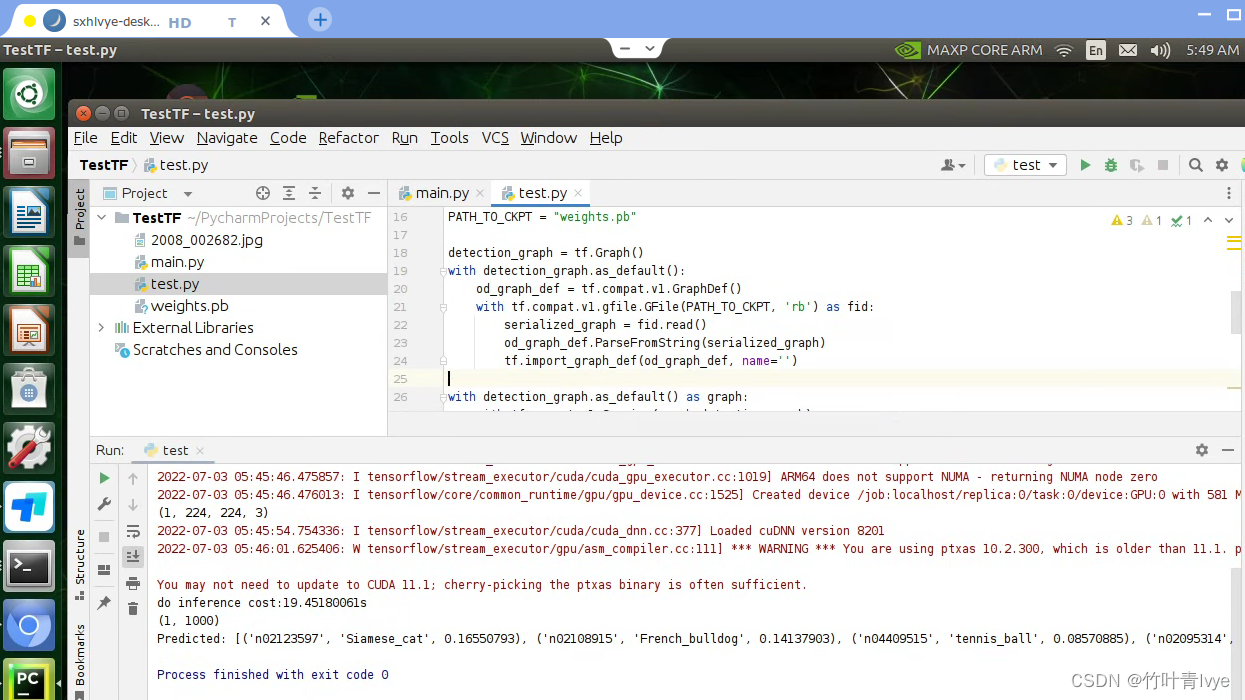
This side also runs down the previous blog ( stay Raspberry pie Up operation ) The code in
The operation results are as follows ,ct need 19s:
7、 ... and . To configure Pytorch
Refer to official documentation
Installing PyTorch for Jetson Platform :: NVIDIA Deep Learning Frameworks Documentation
Bloggers should download the installation package first , Again pip install install ( Before installation, pre configure the environment according to the official website )
Index of /compute/redist/jp/v461/pytorch

After installation , The following tests , No report error ,torch Successful installation

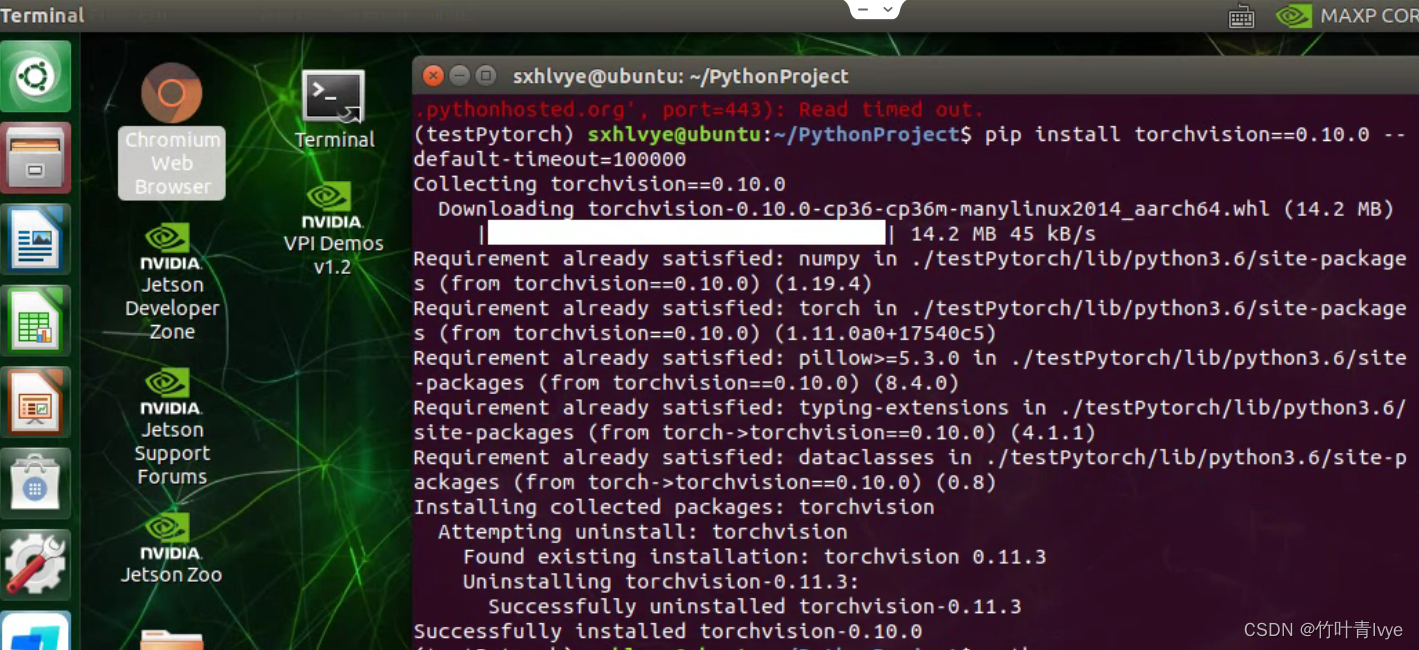
Continue to install torchvision library , The following command line statement is sufficient ,torch、torchvision、torchaudio The corresponding relationship of can be viewed from the official website
https://pytorch.org/get-started/locally/
pip install torchvision==0.10.0 --default-timeout=100000
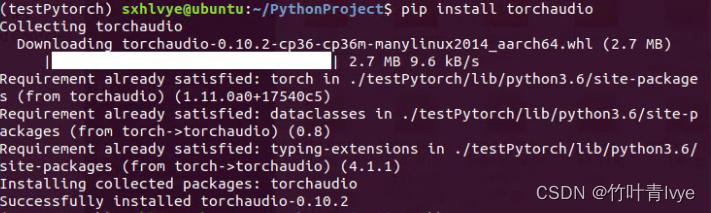
pip install torchaudio
After the completion of , stay pycharm The following code tests are carried out in :
import torch
import torchvision
from torchvision import transforms
import torchvision.models as models

print("over")
print(torch.cuda.is_available())
print(torch.__version__)
print(torch.backends.cudnn.version())
The operation results are as follows :
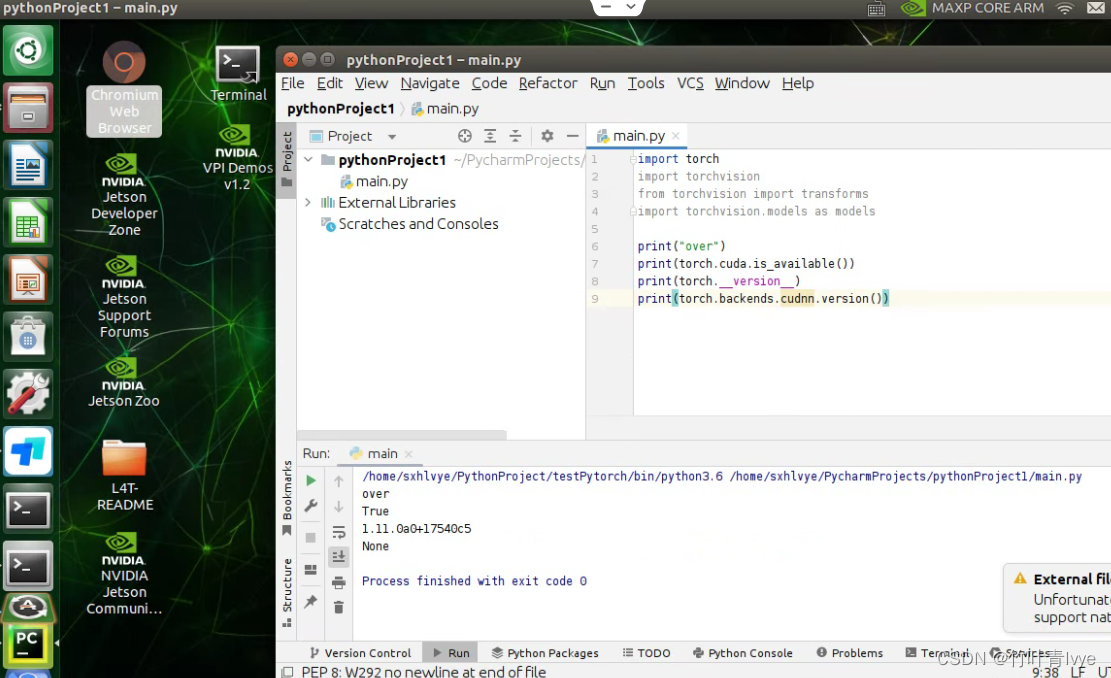
You can see pytorch Configured successfully . Blog before running off the blogger ( stay Raspberry pie On ) Test code in
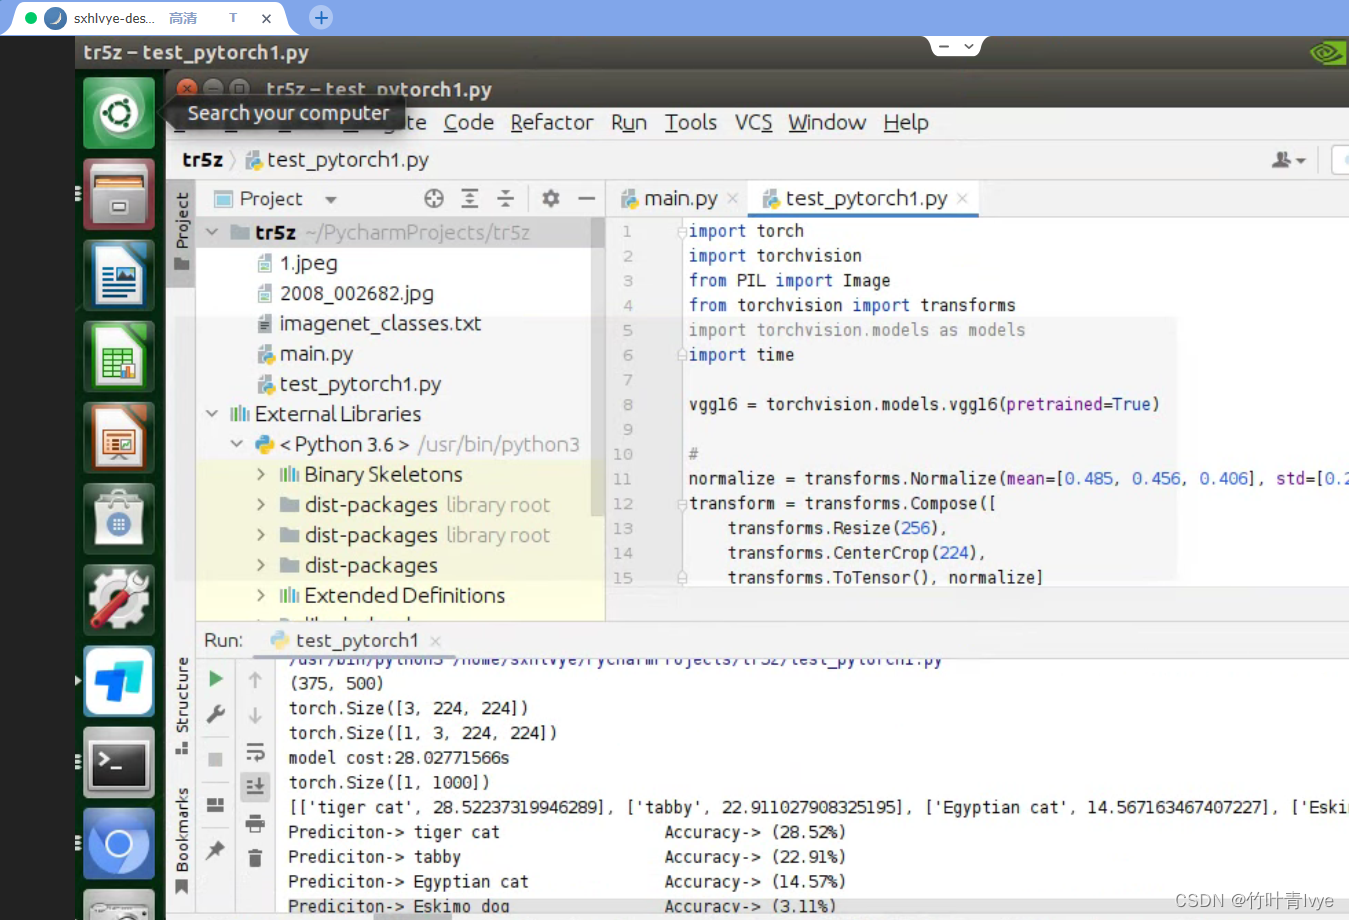
You can see it in TX2 Time to run , need 28s.
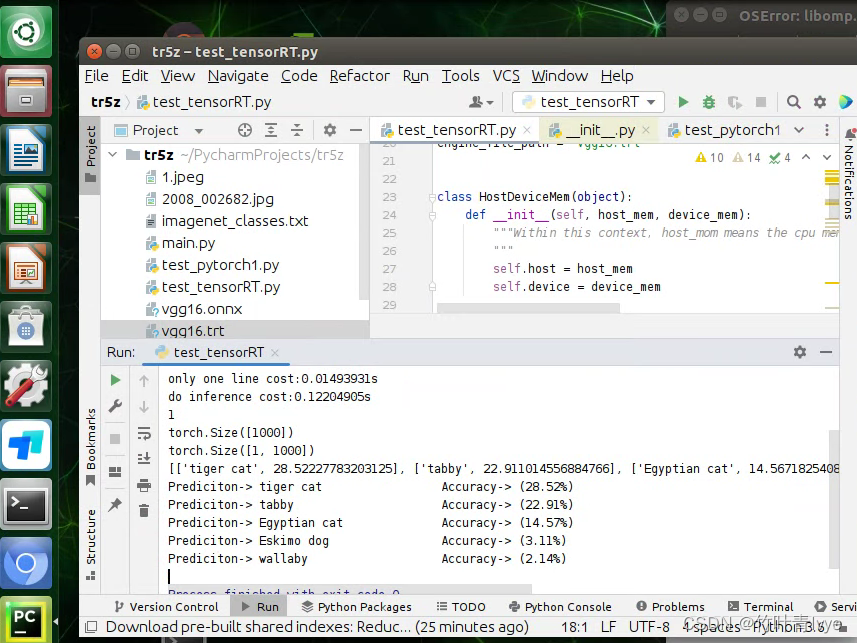
8、 ... and . To configure TensorRT
After reinstalling the system in front , default python3.6 There are already in the environment tensorrt The library of , Directly paste the acceleration effect picture here , Refer to previous blogs of bloggers for specific methods .
need pip3 install pycuda, If the following errors occur during installation
In file included from src/cpp/cuda.cpp:4:0:
src/cpp/cuda.hpp:14:10: fatal error: cuda.h: No such file or directory
#include <cuda.h>
^~~~~~~~
compilation terminated.
error: command 'aarch64-linux-gnu-gcc' failed with exit status 1
You can add related variables to environment variables
export CPATH=$CPATH:/usr/local/cuda/include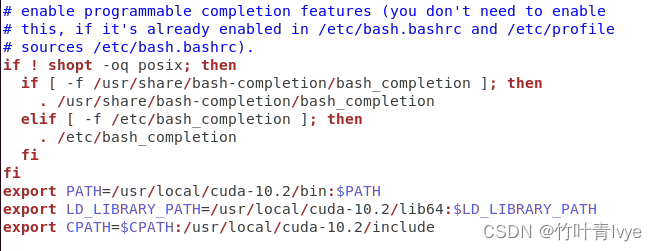
In execution import torch when , If reported :OSError: libomp.so No problem found , You can add the following environment variables
![]()
stay TX2 The operation information on is as follows ,ct Time is greatly accelerated :
Energy co., LTD. , Only record the configuration of the above common libraries , You can access its process and on other hardware platforms ubuntu There is little difference in the system environment .
边栏推荐
- 8.8.1-PointersOnC-20220214
- Tableau makes data summary after linking the database, and summary exceptions occasionally occur.
- 17.内存分区与分页
- How to disable debug messages on sockjs stomp - how to disable debug messages on sockjs Stomp
- Global and Chinese market of ice water machines 2022-2028: Research Report on technology, participants, trends, market size and share
- Wechat video Number launches "creator traffic package"
- Recommend a cool geospatial data visualization tool with low code
- Googgle guava ImmutableCollections
- Workplace liquor bureau must pay attention to
- nn. Exploration and experiment of batchnorm2d principle
猜你喜欢
![[solve the error of this pointing in the applet] SetData of undefined](/img/19/c34008fbbe1175baac2ab69eb26e05.jpg)
[solve the error of this pointing in the applet] SetData of undefined
16.内存使用与分段
The database connection code determines whether the account password is correct, but the correct account password always jumps to the failure page with wrong account password
![[the way of programmer training] - 2 Perfect number calculation](/img/fd/4bb8560f601daddaa8895f20215be4.jpg)
[the way of programmer training] - 2 Perfect number calculation

昨天的事情想说一下
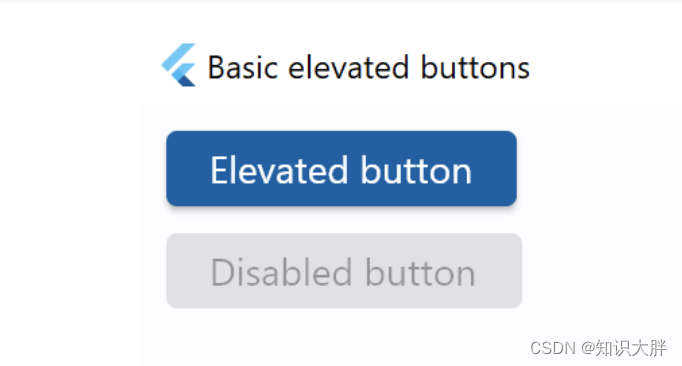
Flet教程之 按钮控件 ElevatedButton入门(教程含源码)
![[Yunju entrepreneurial foundation notes] Chapter II entrepreneur test 22](/img/e0/21367eeaeca10c0a2f2aab3a4fa1fb.jpg)
[Yunju entrepreneurial foundation notes] Chapter II entrepreneur test 22
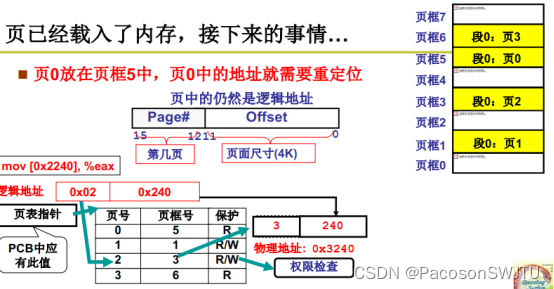
17.内存分区与分页

Here, the DDS tutorial you want | first experience of fastdds - source code compilation & Installation & Testing
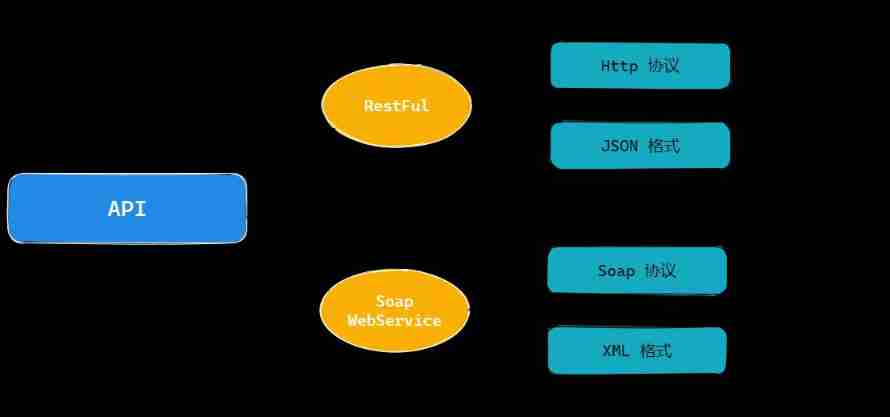
Practice of retro SOAP Protocol
随机推荐
Flet教程之 02 ElevatedButton高级功能(教程含源码)(教程含源码)
Bottom Logic -- Mind Map
How to disable debug messages on sockjs stomp - how to disable debug messages on sockjs Stomp
World document to picture
[Yunju entrepreneurial foundation notes] Chapter II entrepreneur test 16
Global and Chinese markets for environmental disinfection robots 2022-2028: Research Report on technology, participants, trends, market size and share
PKCs 5: password based cryptography specification version 2.1 Chinese Translation
How to use the mongodb ID array to get multiple documents- How to get multiple document using array of MongoDb id?
Global and Chinese market of piston rod 2022-2028: Research Report on technology, participants, trends, market size and share
asp. Core is compatible with both JWT authentication and cookies authentication
Realize cross tenant Vnet connection through azure virtual Wan
[Yunju entrepreneurial foundation notes] Chapter II entrepreneur test 5
Netgear switch basic configuration command set
Data communication and network: ch13 Ethernet
[Yunju entrepreneurial foundation notes] Chapter II entrepreneur test 24
Talk about "in C language"
Servlet learning notes
[directory] search
Iterm tab switching order
【数据聚类】第四章第一节3:DBSCAN性能分析、优缺点和参数选择方法