当前位置:网站首页>基于OpenCV haarcascades的对象检测
基于OpenCV haarcascades的对象检测
2022-07-04 19:44:00 【Just_Paranoid】
OpenCV:https://github.com/opencv/opencv
haarcascades - 该文件夹包含经过训练的用于检测对象的特定类型的分类器,例如 人脸(正面、侧面)、行人等。一些分类器有一个特殊的许可证请查看文件以获取详细信息。
OpenCV已经包含许多用于面部,眼睛,笑脸等的预先分类器。这些XML文件存储在opencv/data/haarcascades/文件夹中
OpenCV随附教练机和探测器。如果你想为汽车,飞机等任何物体训练你自己的分类器,你可以使用OpenCV创建一个。它的全部细节在这里给出:级联分类器培训。
https://docs.opencv.org/2.4/doc/user_guide/ug_traincascade.html
# openCV 常用用法

# 导入opencv库
import os
import cv2


# 识别图片中的人脸:使用 haarcascade_frontalface_default.xml
def face_detect(img_path):
    # 初始化模型
    detector = cv2.CascadeClassifier('../haarcascades/haarcascade_frontalface_default.xml')
    # 初始化窗口
    cv2.namedWindow('image', cv2.WINDOW_AUTOSIZE)
    # 读取图片
    img = cv2.imread(img_path)
    # 显示图片
    # cv2.imshow('image', img)
    # 转换为灰度图
    img_gray = cv2.cvtColor(img, cv2.COLOR_BGR2GRAY)
    # 人脸检测
    dets = detector.detectMultiScale(img_gray, 1.1, 5)
    # 获取人脸框
    faces = []
    for i, d in enumerate(dets):
        x1 = d[0] if d[0] > 0 else 0
        y1 = d[1] if d[1] > 0 else 0
        x2 = d[0] + d[2] if d[0] + d[2] > 0 else 0
        y2 = d[1] + d[3] if d[1] + d[3] > 0 else 0
    # 显示人脸框
    cv2.rectangle(img, (x1, y1), (x2, y2), (0, 255, 0), 2)
    # 保存图片
    cv2.imwrite('../result/face_detect_1.jpg', img)
    # 显示图片标记人脸框
    # cv2.imshow('image', img)
    # 等待关闭窗口
    # cv2.waitKey(0)


# 人眼检测:使用 haarcascade_eye_tree_eyeglasses.xml
def eye_detect(img_path):
    # 初始化模型
    detector = cv2.CascadeClassifier('../haarcascades/haarcascade_eye_tree_eyeglasses.xml')
    # 初始化窗口
    cv2.namedWindow('image', cv2.WINDOW_AUTOSIZE)
    # 读取图片
    img = cv2.imread(img_path)
    # 显示图片
    # cv2.imshow('image', img)
    # 转换为灰度图
    img_gray = cv2.cvtColor(img, cv2.COLOR_BGR2GRAY)
    # 人眼检测
    dets = detector.detectMultiScale(img_gray, 1.1, 5)
    # 获取人眼框
    faces = []
    for i, d in enumerate(dets):
        x1 = d[0] if d[0] > 0 else 0
        y1 = d[1] if d[1] > 0 else 0
        x2 = d[0] + d[2] if d[0] + d[2] > 0 else 0
        y2 = d[1] + d[3] if d[1] + d[3] > 0 else 0
    # 显示人脸框
    cv2.rectangle(img, (x1, y1), (x2, y2), (0, 255, 0), 2)
    # 保存图片
    cv2.imwrite('../result/eye_detect_1.jpg', img)
    # 显示图片标记人脸框
    cv2.imshow('image', img)
    # 等待关闭窗口
    cv2.waitKey(0)


def eye_detect_save(img_path, filename):
    # 初始化模型
    detector = cv2.CascadeClassifier('../haarcascades/haarcascade_eye_tree_eyeglasses.xml')
    # 读取图片
    img = cv2.imread(img_path)
    # 转换为灰度图
    img_gray = cv2.cvtColor(img, cv2.COLOR_BGR2GRAY)
    # 人眼检测
    dets = detector.detectMultiScale(img_gray, 1.1, 5)
    # 获取人眼框
    faces = []
    for i, d in enumerate(dets):
        x1 = d[0] if d[0] > 0 else 0
        y1 = d[1] if d[1] > 0 else 0
        x2 = d[0] + d[2] if d[0] + d[2] > 0 else 0
        y2 = d[1] + d[3] if d[1] + d[3] > 0 else 0
    # 显示人脸框
    cv2.rectangle(img, (x1, y1), (x2, y2), (0, 255, 0), 2)
    # 保存图片
    save_path = '../result/' + filename
    cv2.imwrite(save_path, img)


# 人眼检测:使用 haarcascade_eye.xml
def eye_detect_2(img_path):
    # 初始化模型
    detector = cv2.CascadeClassifier('../haarcascades/haarcascade_eye.xml')
    # 初始化窗口
    cv2.namedWindow('image', cv2.WINDOW_AUTOSIZE)
    # 读取图片
    img = cv2.imread(img_path)
    # 显示图片
    # cv2.imshow('image', img)
    # 转换为灰度图
    img_gray = cv2.cvtColor(img, cv2.COLOR_BGR2GRAY)
    # 人眼检测
    dets = detector.detectMultiScale(img_gray, 1.1, 5)
    # 获取人眼框
    faces = []
    for i, d in enumerate(dets):
        x1 = d[0] if d[0] > 0 else 0
        y1 = d[1] if d[1] > 0 else 0
        x2 = d[0] + d[2] if d[0] + d[2] > 0 else 0
        y2 = d[1] + d[3] if d[1] + d[3] > 0 else 0
    # 显示人脸框
    cv2.rectangle(img, (x1, y1), (x2, y2), (0, 255, 0), 2)
    # 保存图片
    cv2.imwrite('../result/eye_detect2_1.jpg', img)
    # 显示图片标记人脸框
    cv2.imshow('image', img)
    # 等待关闭窗口
    cv2.waitKey(0)


# 肖像检测:haarcascade_profileface.xml
def profile_face(img_path):
    # 初始化模型
    detector = cv2.CascadeClassifier('../haarcascades/haarcascade_profileface.xml')
    # 初始化窗口
    cv2.namedWindow('image', cv2.WINDOW_AUTOSIZE)
    # 读取图片
    img = cv2.imread(img_path)
    # 显示图片
    # cv2.imshow('image', img)
    # 转换为灰度图
    img_gray = cv2.cvtColor(img, cv2.COLOR_BGR2GRAY)
    # 人眼检测
    dets = detector.detectMultiScale(img_gray, 1.1, 5)
    # 获取人眼框
    faces = []
    for i, d in enumerate(dets):
        x1 = d[0] if d[0] > 0 else 0
        y1 = d[1] if d[1] > 0 else 0
        x2 = d[0] + d[2] if d[0] + d[2] > 0 else 0
        y2 = d[1] + d[3] if d[1] + d[3] > 0 else 0
    # 显示人脸框
    cv2.rectangle(img, (x1, y1), (x2, y2), (0, 255, 0), 2)
    # 保存图片
    cv2.imwrite('../result/profile_face_6.jpg', img)
    # 显示图片标记人脸框
    cv2.imshow('image', img)
    # 等待关闭窗口
    cv2.waitKey(0)


# 微笑检测:haarcascade_smile.xml
def smile_detect(img_path):
    # 初始化模型
    detector = cv2.CascadeClassifier('../haarcascades/haarcascade_smile.xml')
    # 初始化窗口
    cv2.namedWindow('image', cv2.WINDOW_AUTOSIZE)
    # 读取图片
    img = cv2.imread(img_path)
    # 显示图片
    # cv2.imshow('image', img)
    # 转换为灰度图
    img_gray = cv2.cvtColor(img, cv2.COLOR_BGR2GRAY)
    # 人眼检测
    dets = detector.detectMultiScale(img_gray, 1.1, 5)
    # 获取人眼框
    faces = []
    for i, d in enumerate(dets):
        x1 = d[0] if d[0] > 0 else 0
        y1 = d[1] if d[1] > 0 else 0
        x2 = d[0] + d[2] if d[0] + d[2] > 0 else 0
        y2 = d[1] + d[3] if d[1] + d[3] > 0 else 0
    # 显示人脸框
    cv2.rectangle(img, (x1, y1), (x2, y2), (0, 255, 0), 2)
    # 保存图片
    cv2.imwrite('../result/smile_detect_1.jpg', img)
    # 显示图片标记人脸框
    cv2.imshow('image', img)
    # 等待关闭窗口
    cv2.waitKey(0)


if __name__ == '__main__':
    print('PyCharm')
    # face_detect('../face/face01.jpg')
    # eye_detect('../face/face01.jpg')
    # eye_detect_2('../face/face01.jpg')
    # profile_face('../face/face06.jpg')
    # smile_detect('../face/face08.jpg')
    # 遍历face文件夹 输出 人眼检测 输出 标记到 result文件夹
    for dirpath, dirnames, filenames in os.walk('../face'):
        for filename in filenames:
            print(os.path.join(dirpath, filename))
            eye_detect_save(os.path.join(dirpath, filename), filename)
边栏推荐
- 记一次重复造轮子(Obsidian 插件设置说明汉化)
- idea配置标准注释
- Four traversal methods of binary tree, as well as the creation of binary tree from middle order to post order, pre order to middle order, pre order to post order, and sequence [specially created for t
- Win11系统wifi总掉线怎么办?Win11系统wifi总掉线的解决方法
- The problem of the maximum difference between the left and right maxima
- 针对深度学习的“失忆症”,科学家提出基于相似性加权交错学习,登上PNAS
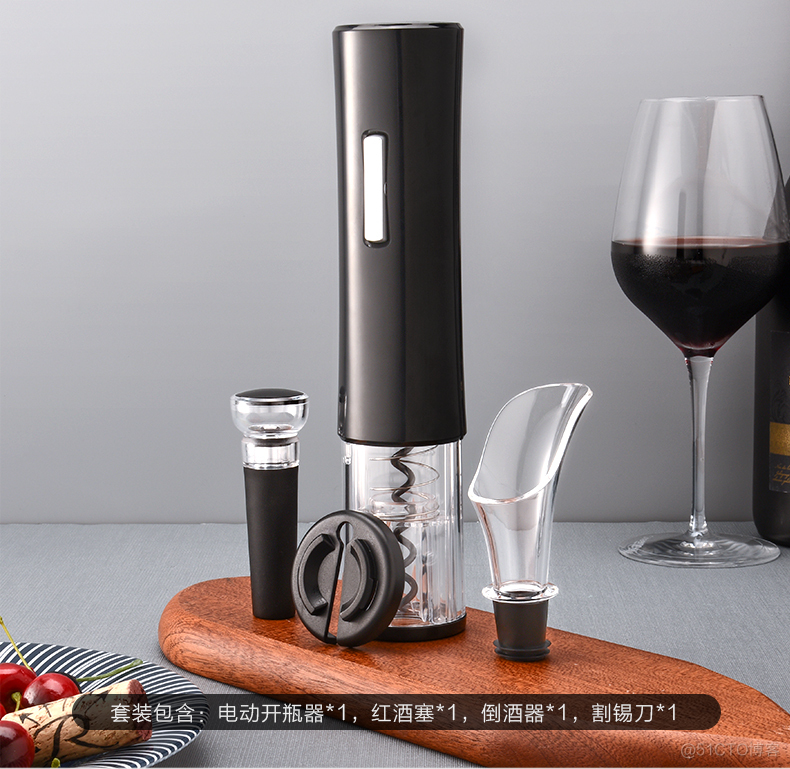
- FS8B711S14电动红酒开瓶器单片机IC方案开发专用集成IC
- GVM使用
- GVM use
- BFC面试简述
猜你喜欢
What should I do if my computer sharing printer refuses access

Win11系统wifi总掉线怎么办?Win11系统wifi总掉线的解决方法
Win11无法将值写入注册表项如何解决?
![[ismb2022 tutorial] the picture shows the precision medicine of learning. Marinka zitnik, Harvard University, keynote speaker, with 87 ppt](/img/0d/aa7f82fada743ea2ec23355ef954df.jpg)
[ismb2022 tutorial] the picture shows the precision medicine of learning. Marinka zitnik, Harvard University, keynote speaker, with 87 ppt

Flet tutorial 05 outlinedbutton basic introduction (tutorial includes source code)

Fleet tutorial 08 introduction to AppBar toolbar Basics (tutorial includes source code)

Win11共享文件打不开怎么办?Win11共享文件打不开的解决方法

What if win11u disk refuses access? An effective solution to win11u disk access denial
FS8B711S14电动红酒开瓶器单片机IC方案开发专用集成IC

Every time I look at the interface documents of my colleagues, I get confused and have a lot of problems...
随机推荐
字节测试工程师十年经验直击UI 自动化测试痛点
Record the online bug solving list (unfinished to be continued 7/4)
Quelques suggestions pour la conception de l'interface
易周金融 | Q1保险行业活跃人数8688.67万人 19家支付机构牌照被注销
Idea restore default shortcut key
[today in history] July 4: the first e-book came out; The inventor of magnetic stripe card was born; Palm computer pioneer was born
Some suggestions for interface design
Hands on deep learning (III) -- convolutional neural network CNN
idea插件
Every time I look at the interface documents of my colleagues, I get confused and have a lot of problems...
强化学习-学习笔记2 | 价值学习
The concept and application of hash table
See how Tencent does interface automation testing
In the face of the same complex test task, why can the elder sort out the solution quickly? Ali's ten-year test engineers showed their skills
BFC interview Brief
FS8B711S14电动红酒开瓶器单片机IC方案开发专用集成IC
【服务器数据恢复】某品牌服务器存储raid5数据恢复案例
hash 表的概念及应用
Summary of the mistakes in the use of qpainter in QT gobang man-machine game
卷积神经网络在深度学习中新发展的5篇论文推荐