当前位置:网站首页>How to train mask r-cnn model with your own data
How to train mask r-cnn model with your own data
2022-07-03 17:09:00 【Carina2333333】
Reference article
Mask R-CNN tensorflow Train your data 【 From labeling data to final training and testing 】 Super full tutorial , Vomit blood and step on the pit ,Ubuntu 16.04 Perfect operation _Somafish The blog of -CSDN Blog Preface because of the need of work , You have to use Mask-Rcnn To train your data , Before writing this blog, the landlord searched Baidu for various training methods , But the blog posts searched The writing is quite ambiguous , Finally, I tried all kinds of things Finally let the training run , Also here Write this blog post For everyone . This tutorial Apply to Ubuntu Users of the system 、Windows The user of the system I use Mask RCNN-->https://github.com/matterpor...https://blog.csdn.net/doudou_here/article/details/87855273Mask RCNN Train your own dataset _ A stupid Feixian blog -CSDN Blog _maskrcnn Train your own dataset The version is tensorflow+keras Version of , The official version is just open source 10 Hours (caffe2), Update later .. One 、 Tools cuda And cudnn Please refer to my previous blog for installation : http://blog.csdn.net/l297969586/article/details/53320706 http://blog.csdn.net/l297969586/article/details/67632608 ...
https://blog.csdn.net/l297969586/article/details/79140840MaskRCNN Train your own dataset Xiaobai - Grey letter network ( Software development blog aggregation )
 https://www.freesion.com/article/1999844623/
First paste the runthrough code and the corresponding output ( Some parameters need to be adjusted )
import os
import sys
import random
import math
import re
import time
import numpy as np
import cv2
import matplotlib

import tensorflow as tf
import matplotlib.pyplot as plt
from PIL import Image
import yaml

# Root directory of the project
ROOT_DIR = os.path.abspath("../../")

# Import Mask RCNN
sys.path.append(ROOT_DIR)  # To find local version of the library
from mrcnn.config import Config
from mrcnn import utils
import mrcnn.model as modellib
from mrcnn import visualize
from mrcnn.model import log

%matplotlib inline

# Directory to save logs and trained model
MODEL_DIR = os.path.join(ROOT_DIR, "logs")

iter_num = 0

# Local path to trained weights file
COCO_MODEL_PATH = os.path.join(ROOT_DIR, "mask_rcnn_coco.h5")
# Download COCO trained weights from Releases if needed
if not os.path.exists(COCO_MODEL_PATH):
    utils.download_trained_weights(COCO_MODEL_PATH)
Output :
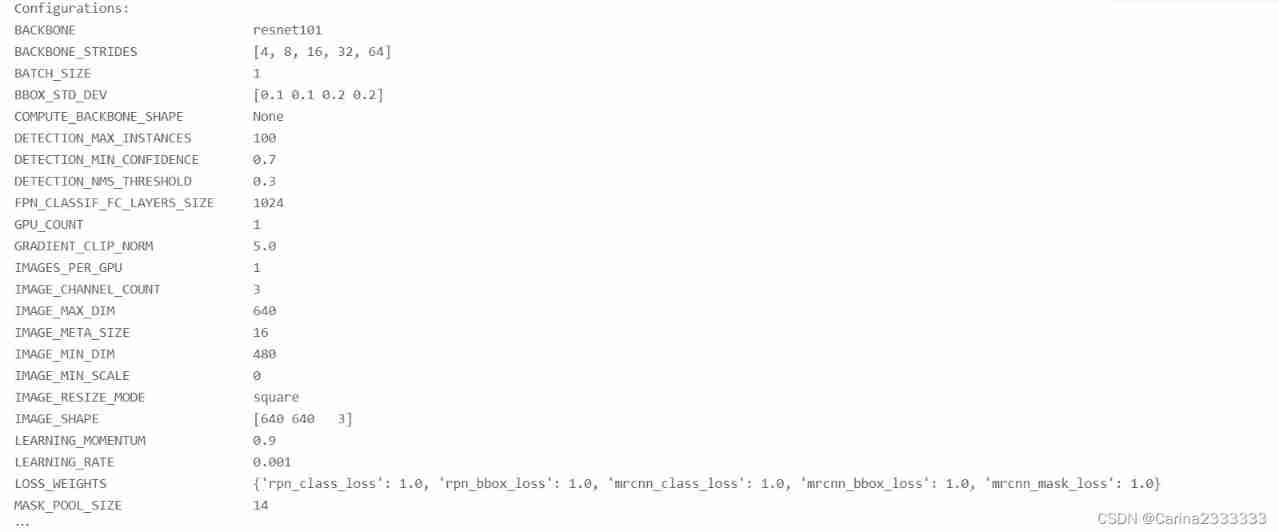
Configuration
class ShapesConfig(Config):
    """Configuration for training on the toy shapes dataset.
    Derives from the base Config class and overrides values specific
    to the toy shapes dataset.
    """
    # Give the configuration a recognizable name
    NAME = "shapes"

    # Train on 1 GPU and 8 images per GPU. We can put multiple images on each
    # GPU because the images are small. Batch size is 8 (GPUs * images/GPU).
    GPU_COUNT = 1
    IMAGES_PER_GPU = 1

    # Number of classes (including background)
    NUM_CLASSES = 1 + 3  # background + 3 shapes

    # Use small images for faster training. Set the limits of the small side
    # the large side, and that determines the image shape.
    IMAGE_MIN_DIM = 480
    IMAGE_MAX_DIM = 640

    # Use smaller anchors because our image and objects are small
    RPN_ANCHOR_SCALES = (8*6, 16*6, 32*6, 64*6, 128*6)  # anchor side in pixels

    # Reduce training ROIs per image because the images are small and have
    # few objects. Aim to allow ROI sampling to pick 33% positive ROIs.
    TRAIN_ROIS_PER_IMAGE = 32

    # Use a small epoch since the data is simple
    STEPS_PER_EPOCH = 100

    # use small validation steps since the epoch is small
    VALIDATION_STEPS = 5


config = ShapesConfig()
config.display()
Output :
Dataset
class DrugDataset(utils.Dataset):
    """Generates the shapes synthetic dataset. The dataset consists of simple
    shapes (triangles, squares, circles) placed randomly on a blank surface.
    The images are generated on the fly. No file access required.
    """

    # Get the number of instances in the figure ( object )
    def get_obj_index(self, image):
        n = np.max(image)
        return n


    # analysis labelme Obtained in yaml file , To get mask The instance label corresponding to each layer
    def from_yaml_get_class(self,image_id):
        info=self.image_info[image_id]
        with open(info['yaml_path']) as f:
            temp=yaml.load(f.read())
            labels=temp['label_names']
            del labels[0]
        return labels


    # Rewrite draw_mask
    def draw_mask(self, num_obj, mask, image, image_id):
        info = self.image_info[image_id]
        for index in range(num_obj):
            for i in range(info['width']):
                for j in range(info['height']):
                    at_pixel = image.getpixel((i, j))
                    if at_pixel == index + 1:
                        mask[j, i, index] = 1
        return mask


    def load_shapes(self, count, height, width, img_floder, mask_floder, imglist,dataset_root_path):
            """Generate the requested number of synthetic images.
            count: number of images to generate.
            height, width: the size of the generated images.
            """
            # Add classes
            self.add_class("shapes", 1, "rectangle")
            self.add_class("shapes", 2, "ball")
            self.add_class("shapes", 3, "triangle")

            # Add images
            # Generate random specifications of images (i.e. color and
            # list of shapes sizes and locations). This is more compact than
            # actual images. Images are generated on the fly in load_image().
            for i in range(count):
                filestr = imglist[i].split(".")[0]
                # filestr = filestr.split("_")[1]
                mask_path = mask_floder + "\\" + filestr + ".png"
                yaml_path=dataset_root_path+"labelme_json\\"+filestr+"_json\\info.yaml"

                cv_img = cv2.imread(dataset_root_path+"labelme_json\\"+filestr+"_json\\img.png")

                self.add_image("shapes", image_id=i, path=img_floder + "\\" + imglist[i],
                            width=cv_img.shape[1], height=cv_img.shape[0], mask_path=mask_path,yaml_path=yaml_path)
                # print(mask_path)

    def load_mask(self, image_id):
        """Generate instance masks for shapes of the given image ID.
        """
        global iter_num
        info = self.image_info[image_id]

        count = 1  # number of object
        img = Image.open(info['mask_path'])
        num_obj = self.get_obj_index(img)

        mask = np.zeros([info['height'], info['width'], num_obj], dtype=np.uint8)
        mask = self.draw_mask(num_obj, mask, img, image_id)
        # Handle occlusions
        occlusion = np.logical_not(mask[:, :, -1]).astype(np.uint8)
        for i in range(count-2, -1, -1):
            mask[:, :, i] = mask[:, :, i] * occlusion
            occlusion = np.logical_and(occlusion, np.logical_not(mask[:, :, i]))
        labels=[]
        labels=self.from_yaml_get_class(image_id)
        labels_form=[]
        for i in range(len(labels)):
            if labels[i].find("rectangle")!= -1:
                #print "box"
                labels_form.append("rectangle")
            elif labels[i].find("ball")!= -1:
                #print "column"
                labels_form.append("ball")
            elif labels[i].find("triangle")!= -1:
                #print "package"
                labels_form.append("triangle")
        # Map class names to class IDs.


        class_ids = np.array([self.class_names.index(s) for s in labels_form])
        return mask, class_ids.astype(np.int32)
def get_ax(rows=1, cols=1, size=8):
    """Return a Matplotlib Axes array to be used in
    all visualizations in the notebook. Provide a
    central point to control graph sizes.
    Change the default size attribute to control the size
    of rendered images
    """
    _, ax = plt.subplots(rows, cols, figsize=(size * cols, size * rows))
    return ax
# Foundation setup
dataset_root_path="C:\\Users\\91078\\Desktop\\testImg\\"
img_floder = dataset_root_path+"pic"
mask_floder = dataset_root_path+"cv2_mask"
#yaml_floder = dataset_root_path
imglist = os.listdir(img_floder)
count = len(imglist)
width = 480
height = 640
# Training dataset
dataset_train = DrugDataset()
# dataset_train.load_shapes(500, config.IMAGE_SHAPE[0], config.IMAGE_SHAPE[1])
dataset_train.load_shapes(count, 640, 480, img_floder, mask_floder, imglist,dataset_root_path)
dataset_train.prepare()
# Validation dataset
dataset_val = DrugDataset()
# dataset_val.load_shapes(50, config.IMAGE_SHAPE[0], config.IMAGE_SHAPE[1])
dataset_val.load_shapes(count, 640, 480, img_floder, mask_floder, imglist,dataset_root_path)
dataset_val.prepare()Create Model
# Create model in training mode
model = modellib.MaskRCNN(mode="training", config=config,
                          model_dir=MODEL_DIR)
Output :
# Which weights to start with?
init_with = "coco"  # imagenet, coco, or last

if init_with == "imagenet":
    model.load_weights(model.get_imagenet_weights(), by_name=True)
elif init_with == "coco":
    # Load weights trained on MS COCO, but skip layers that
    # are different due to the different number of classes
    # See README for instructions to download the COCO weights
    model.load_weights(COCO_MODEL_PATH, by_name=True,
                       exclude=["mrcnn_class_logits", "mrcnn_bbox_fc",
                                "mrcnn_bbox", "mrcnn_mask"])
elif init_with == "last":
    # Load the last model you trained and continue training
    model.load_weights(model.find_last()[1], by_name=True)
Training
# Train the head branches
# Passing layers="heads" freezes all layers except the head
# layers. You can also pass a regular expression to select
# which layers to train by name pattern.
model.train(dataset_train, dataset_val,
            learning_rate=config.LEARNING_RATE,
            epochs=1,
            layers='heads')
Output :

Well trained .h5 The file is in the project logs Inside looking for

ERROR
AttributeError: ‘Model‘ object has no attribute ‘metrics_tensors‘
边栏推荐
- 一位普通程序员一天工作清单
- [combinatorial mathematics] recursive equation (example of recursive equation 2 Hanoi Tower | example of recursive equation 3 insertion sequencing)
- One brush 145 force deduction hot question-2 sum of two numbers (m)
- 跨境电商:外贸企业做海外社媒营销的优势
- CC2530 common registers
- ucore概述
- kubernetes资源对象介绍及常用命令(四)
- 深入理解 SQL 中的 Grouping Sets 语句
- Atom QT 16_ audiorecorder
- BYD and great wall hybrid market "get together" again
猜你喜欢

Simple use of unity pen XR grab

手把手带你入门 API 开发
kubernetes资源对象介绍及常用命令(三)

网络安全web渗透技术

Redis:关于列表List类型数据的操作命令

Why is WPA3 security of enterprise business so important?
![[JDBC] API parsing](/img/75/0f69a4e246a571688355bb13e2cd73.jpg)
[JDBC] API parsing
The way of wisdom (unity of knowledge and action)

静态程序分析(一)—— 大纲思维导图与内容介绍
The largest matrix (H) in a brush 143 monotone stack 84 histogram

随机推荐
Why is WPA3 security of enterprise business so important?
The most complete postman interface test tutorial in the whole network, API interface test
C语言按行修改文件
定义一个结构体Fraction,表示分数,用于表示 2/3, 5/6这样的分数
Javescript variable declaration -- VaR, let, const
RedHat 6.2 配置 Zabbix
LeetCode 1656. Design ordered flow
[2. Basics of Delphi grammar] 2 Object Pascal data type
RF analyze demo build step by step
C language string practice
绝对定位时元素水平垂直居中
CC2530 common registers
Talk about several methods of interface optimization
Visual studio "usually, each socket address (Protocol / network address / port) can only be used once“
Network security web penetration technology
免费数据 | 新库上线 | CnOpenData中国保险中介机构网点全集数据
UCORE overview
The largest matrix (H) in a brush 143 monotone stack 84 histogram
kubernetes资源对象介绍及常用命令(四)
[mathematical logic] equivalent calculus and reasoning calculus of propositional logic (propositional logic | equivalent calculus | principal conjunctive (disjunctive) paradigm | reasoning calculus)**