当前位置:网站首页>Kubernetes集群部署
Kubernetes集群部署
2022-07-06 09:28:00 【萌褚】
镜像下载、域名解析、时间同步请点击 阿里云开源镜像站
一、环境要求
系统版本:CentOS7.x版本
硬件配置:内存2GB以上 cpu2核以上 硬盘大于30G
集群网络配置:集群中所有服务器内网必须互通,并且需要访问外网来拉取镜像
禁用swap分区
二、k8s基础环境操作:
1、关闭防火墙:
[[email protected] ~]# systemctl stop firewalld
[[email protected] ~]# systemctl disable firewalld
2、关闭selinux:
[[email protected] ~]# sed -i 's/enforcing/disabled/' /etc/selinux/config
[[email protected] ~]# getenforce
3、关闭swap分区:
临时关闭:
[[email protected] ~]# swapoff -a永久关闭:注释掉/etc/fstab文件中的swap行
4、进行hosts文件编辑:
192.168.8.146 k8s-master
192.168.8.141 k8s-node1
192.168.8.129 k8s-node2
5、将桥接的IPv4流量传递到iptables的链
[[email protected] ~]# cat > /etc/sysctl.d/k8s.conf << EOF
> net.bridge.bridge-nf-call-ip6tables = 1
> net.bridge.bridge-nf-call-iptables = 1
> EOF[[email protected] ~]# sysctl --system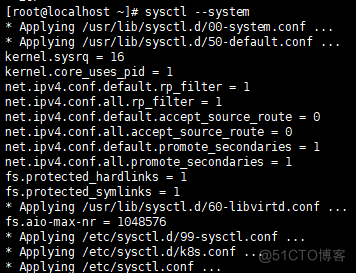
6、开启IP转发功能
[[email protected] ~]# echo "1" > /proc/sys/net/ipv4/ip_forward三、安装docker(三台机器都操作)
1、卸载旧版docker
[[email protected] ~]# yum remove docker docker-common docker-selinux docker-engine2、安装一些必要的系统工具
[[email protected] ~]# yum install -y yum-utils device-mapper-persistent-data lvm23、配置docker的稳定版本仓库
yum-config-manager --add-repo https://download.docker.com/linux/centos/docker-ce.repo4、更新安装包索引
[[email protected] ~]# yum makecache fast5、安装docker ce
[[email protected] ~]# yum -y install docker-ce-18.06.1.ce-3.el76、开机自启和启动docker
[[email protected] ~]# systemctl enable docker && systemctl start docker7、查看docker版本
[[email protected] ~]# docker --version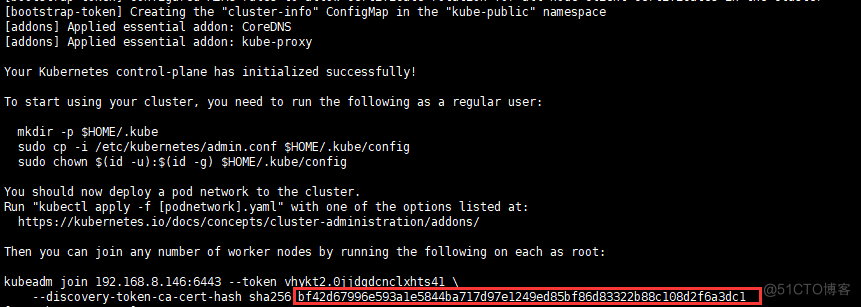
8、添加阿里云YUM软件源
[[email protected] ~]# vim /etc/yum.repos.d/kubernetes.repo
[Kubernetes]
baseurl=https://mirrors.aliyun.com/kubernetes/yum/repos/kubernetes-el7-x86_64
enabled=1
gpgcheck=1
repo_gpgcheck=1
gpgkey=https://mirrors.aliyun.com/kubernetes/yum/doc/yum-key.gpg
9、
[[email protected] ~]# yum clean all10、
[[email protected] ~]# yum makecache安装kubeadm,kubelet和kubectl
11、由于版本更新频繁,这里指定版本号部署:
[[email protected] ~]# yum install -y kubelet-1.15.0 kubeadm-1.15.0 kubectl-1.15.0
[[email protected] ~]# systemctl enable kubelet
四、部署Kubernetes Master(这个在master主机里操作):
[[email protected]~]#kubeadm init --apiserver-advertise-address=192.168.8.146 --image-repository registry.aliyuncs.com/google_containers --kubernetes-version v1.15.0 --service-cidr=10.1.0.0/16 --pod-network-cidr=10.244.0.0/16注意:192.168.8.146ip是master主机的ip地址

五、配置kubectl访问集群(三台机器操作):
1、
[[email protected] ~]# mkdir -p $HOME/.kube2、
[[email protected] ~]# cp -i /etc/kubernetes/admin.conf $HOME/.kube/config3、
[[email protected] ~]# chown $(id -u):$(id -g) $HOME/.kube/config六、Master安装flannel(主机master里操作):
[[email protected]~]#kubectl apply -f https://raw.githubusercontent.com/coreos/flannel/master/Documentation/kube-flannel.yml1、查看索引pod
[[email protected] ~]# kubectl get pod -n kube-system2、查看节点
[[email protected] ~]# kubectl get node七、加入node节点(在两台node上做):
1、
[[email protected] ~]# kubeadm join 192.168.8.146:6443 --token vhykt2.0jjdgdcnclxhts41 --discovery-token-ca-cert-hash sha256:bf42d67996e593a1e5844ba717d97e1249ed85bf86d83322b88c108d2f6a3dc1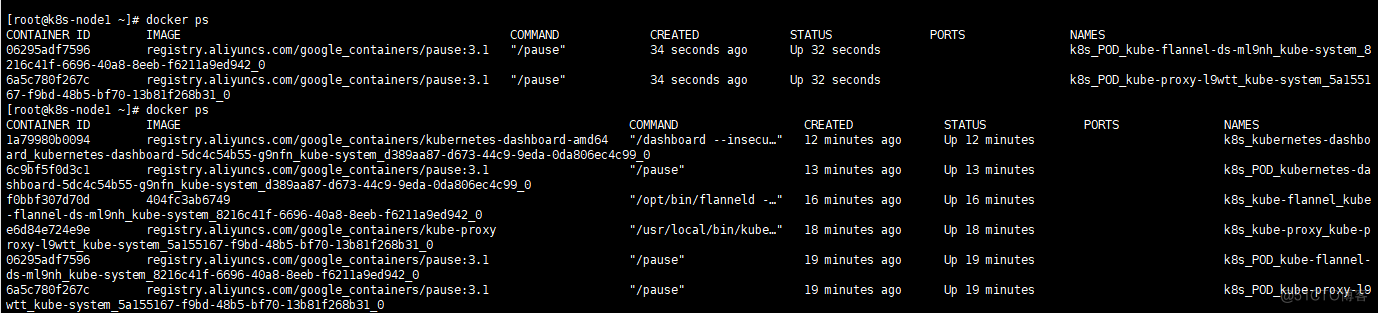
2、查看node1节点是否成功(在node1上做)
[[email protected] ~]# docker ps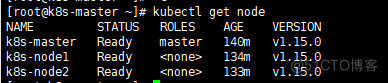
八、查看节点信息(在master操作)
[[email protected] ~]# kubectl get node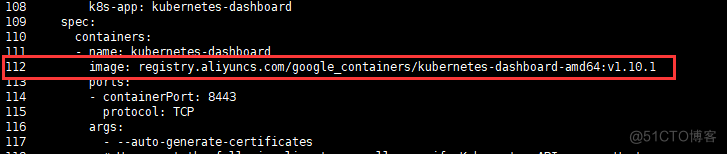
九、部署dashboard(master主机操作)
[[email protected]~]#wget https://raw.githubusercontent.com/kubernetes/dashboard/v1.10.1/src/deploy/recommended/kubernetes-dashboard.yaml1、
[[email protected] ~]# vim kubernetes-dashboard.yaml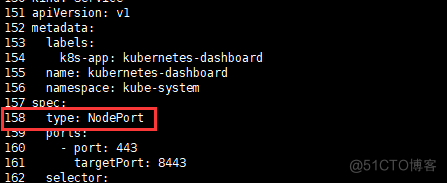

2、安装dashboard
[[email protected] ~]# kubectl apply -f kubernetes-dashboard.yaml3、使用master节点ip地址+端口来访问,协议是https的
查看Dashboard端口信息:
[[email protected] ~]# kubectl --namespace=kube-system get service kubernetes-dashboard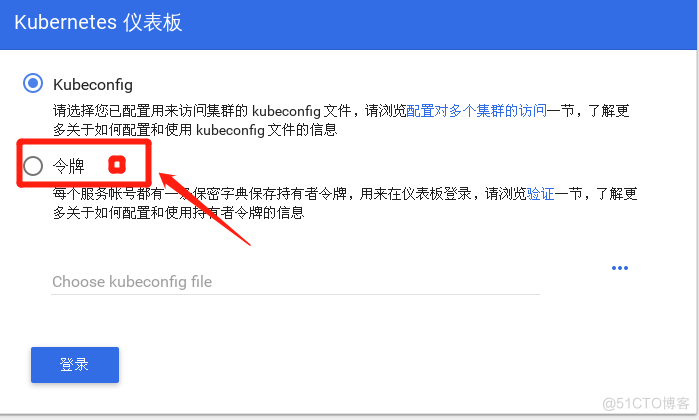
4、以我自己的服务器为访问对象,使用 https://172.16.204.130:30310即可访问
5、Token
[[email protected] ~]# kubectl create serviceaccount dashboard-admin -n kube-system
[[email protected]~]#kubectl create clusterrolebinding dashboard-admin --clusterrole=cluster-admin --serviceaccount=kube-system:dashboard-admin
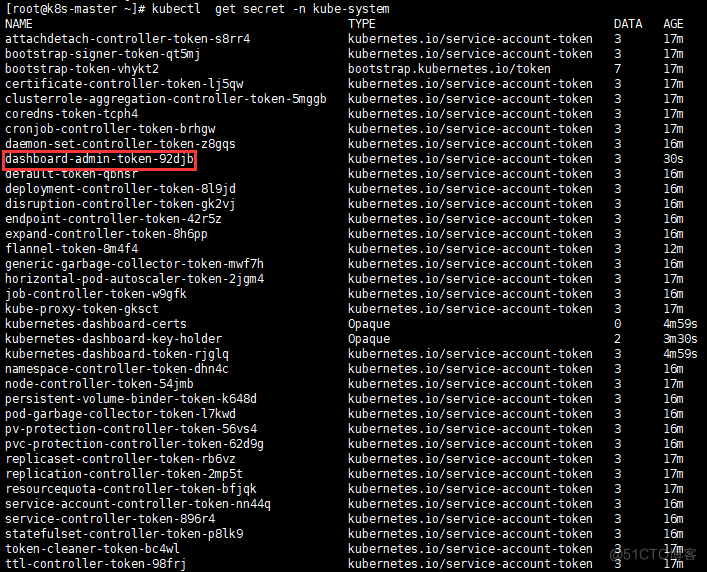
[[email protected] ~]# kubectl get secret -n kube-system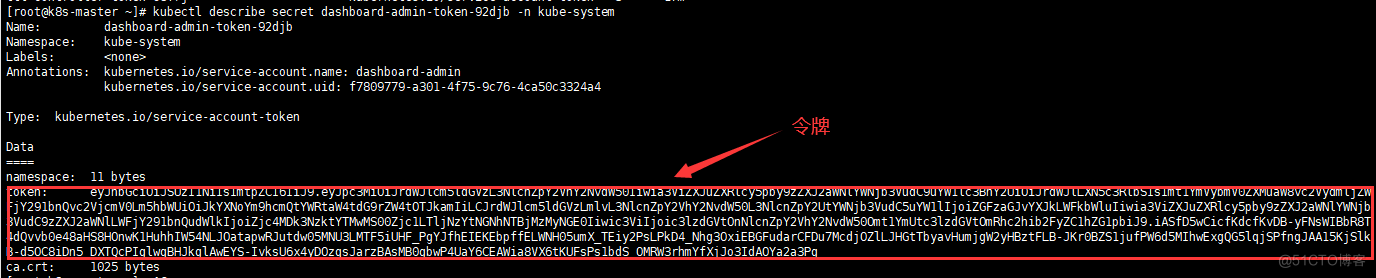
6、查看token的具体信息
[[email protected]~]# kubectl describe secret dashboard-admin-token-92djb -n kube-system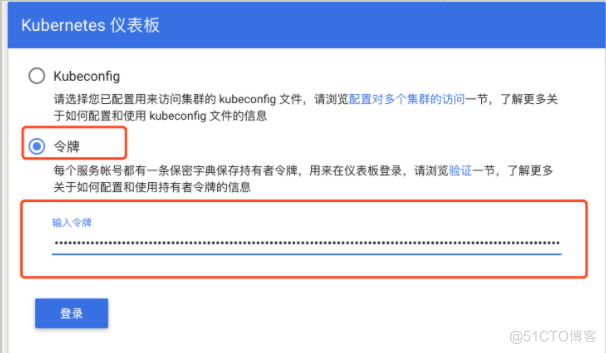
7、把密令输入在令牌中
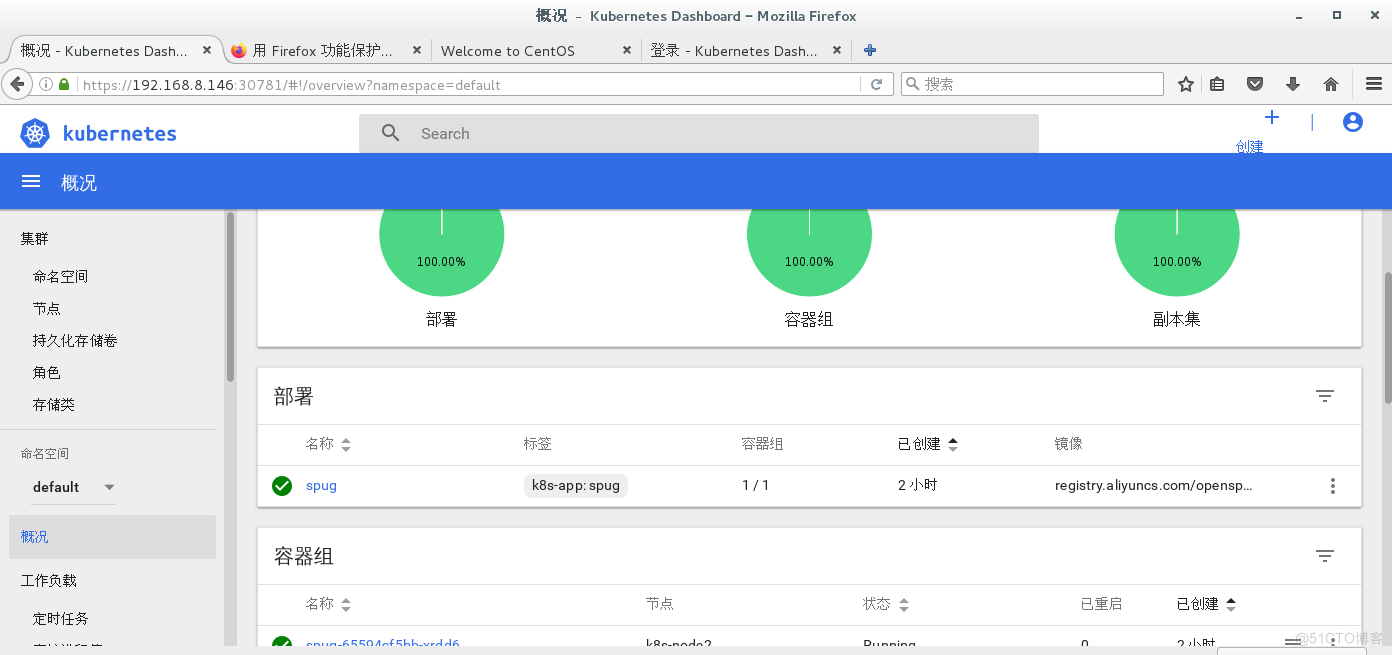
8、登陆成功的页面:
边栏推荐
- Flask框架配置loguru日志庫
- The "sneaky" new asteroid will pass the earth safely this week: how to watch it
- [exercise 4-1] cake distribution
- Codeforces Round #798 (Div. 2)A~D
- Analyse du format protobuf du rideau en temps réel et du rideau historique de la station B
- 1689. Ten - the minimum number of binary numbers
- Radar equipment (greedy)
- Common configuration files of SSM framework
- b站 实时弹幕和历史弹幕 Protobuf 格式解析
- Hdu-6025-prime sequence (girls' competition)
猜你喜欢
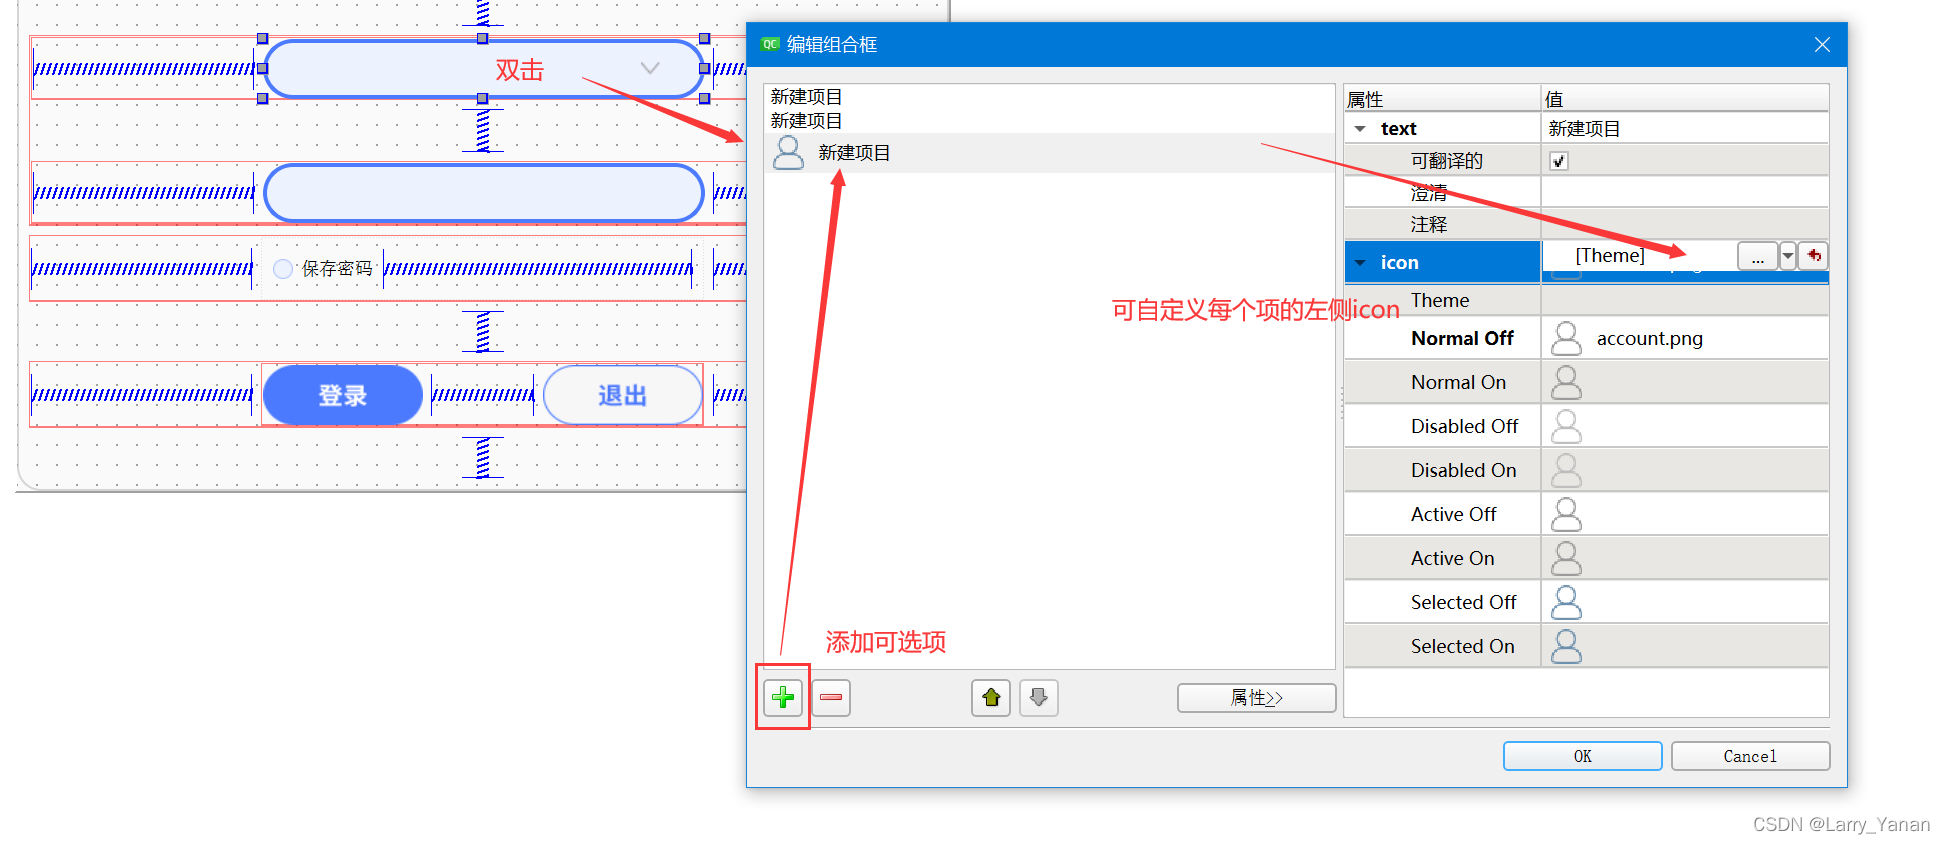
QT有关QCobobox控件的样式设置(圆角、下拉框,向上展开、可编辑、内部布局等)
力扣——第298场周赛

window11 conda安装pytorch过程中遇到的一些问题
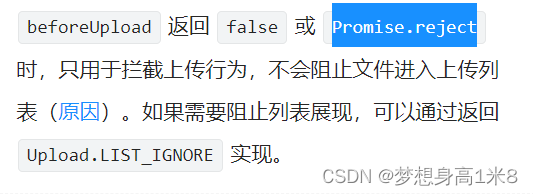
It is forbidden to trigger onchange in antd upload beforeupload
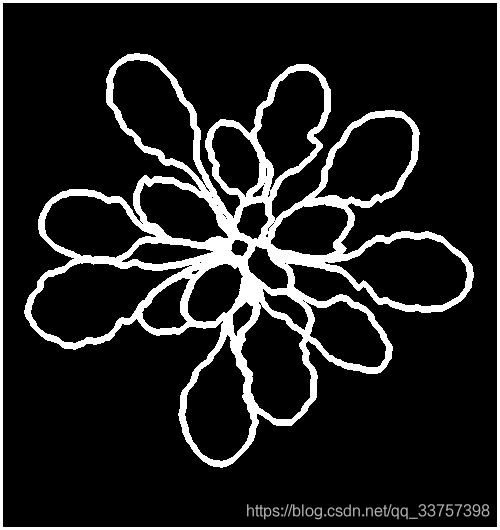
Pytorch extract skeleton (differentiable)
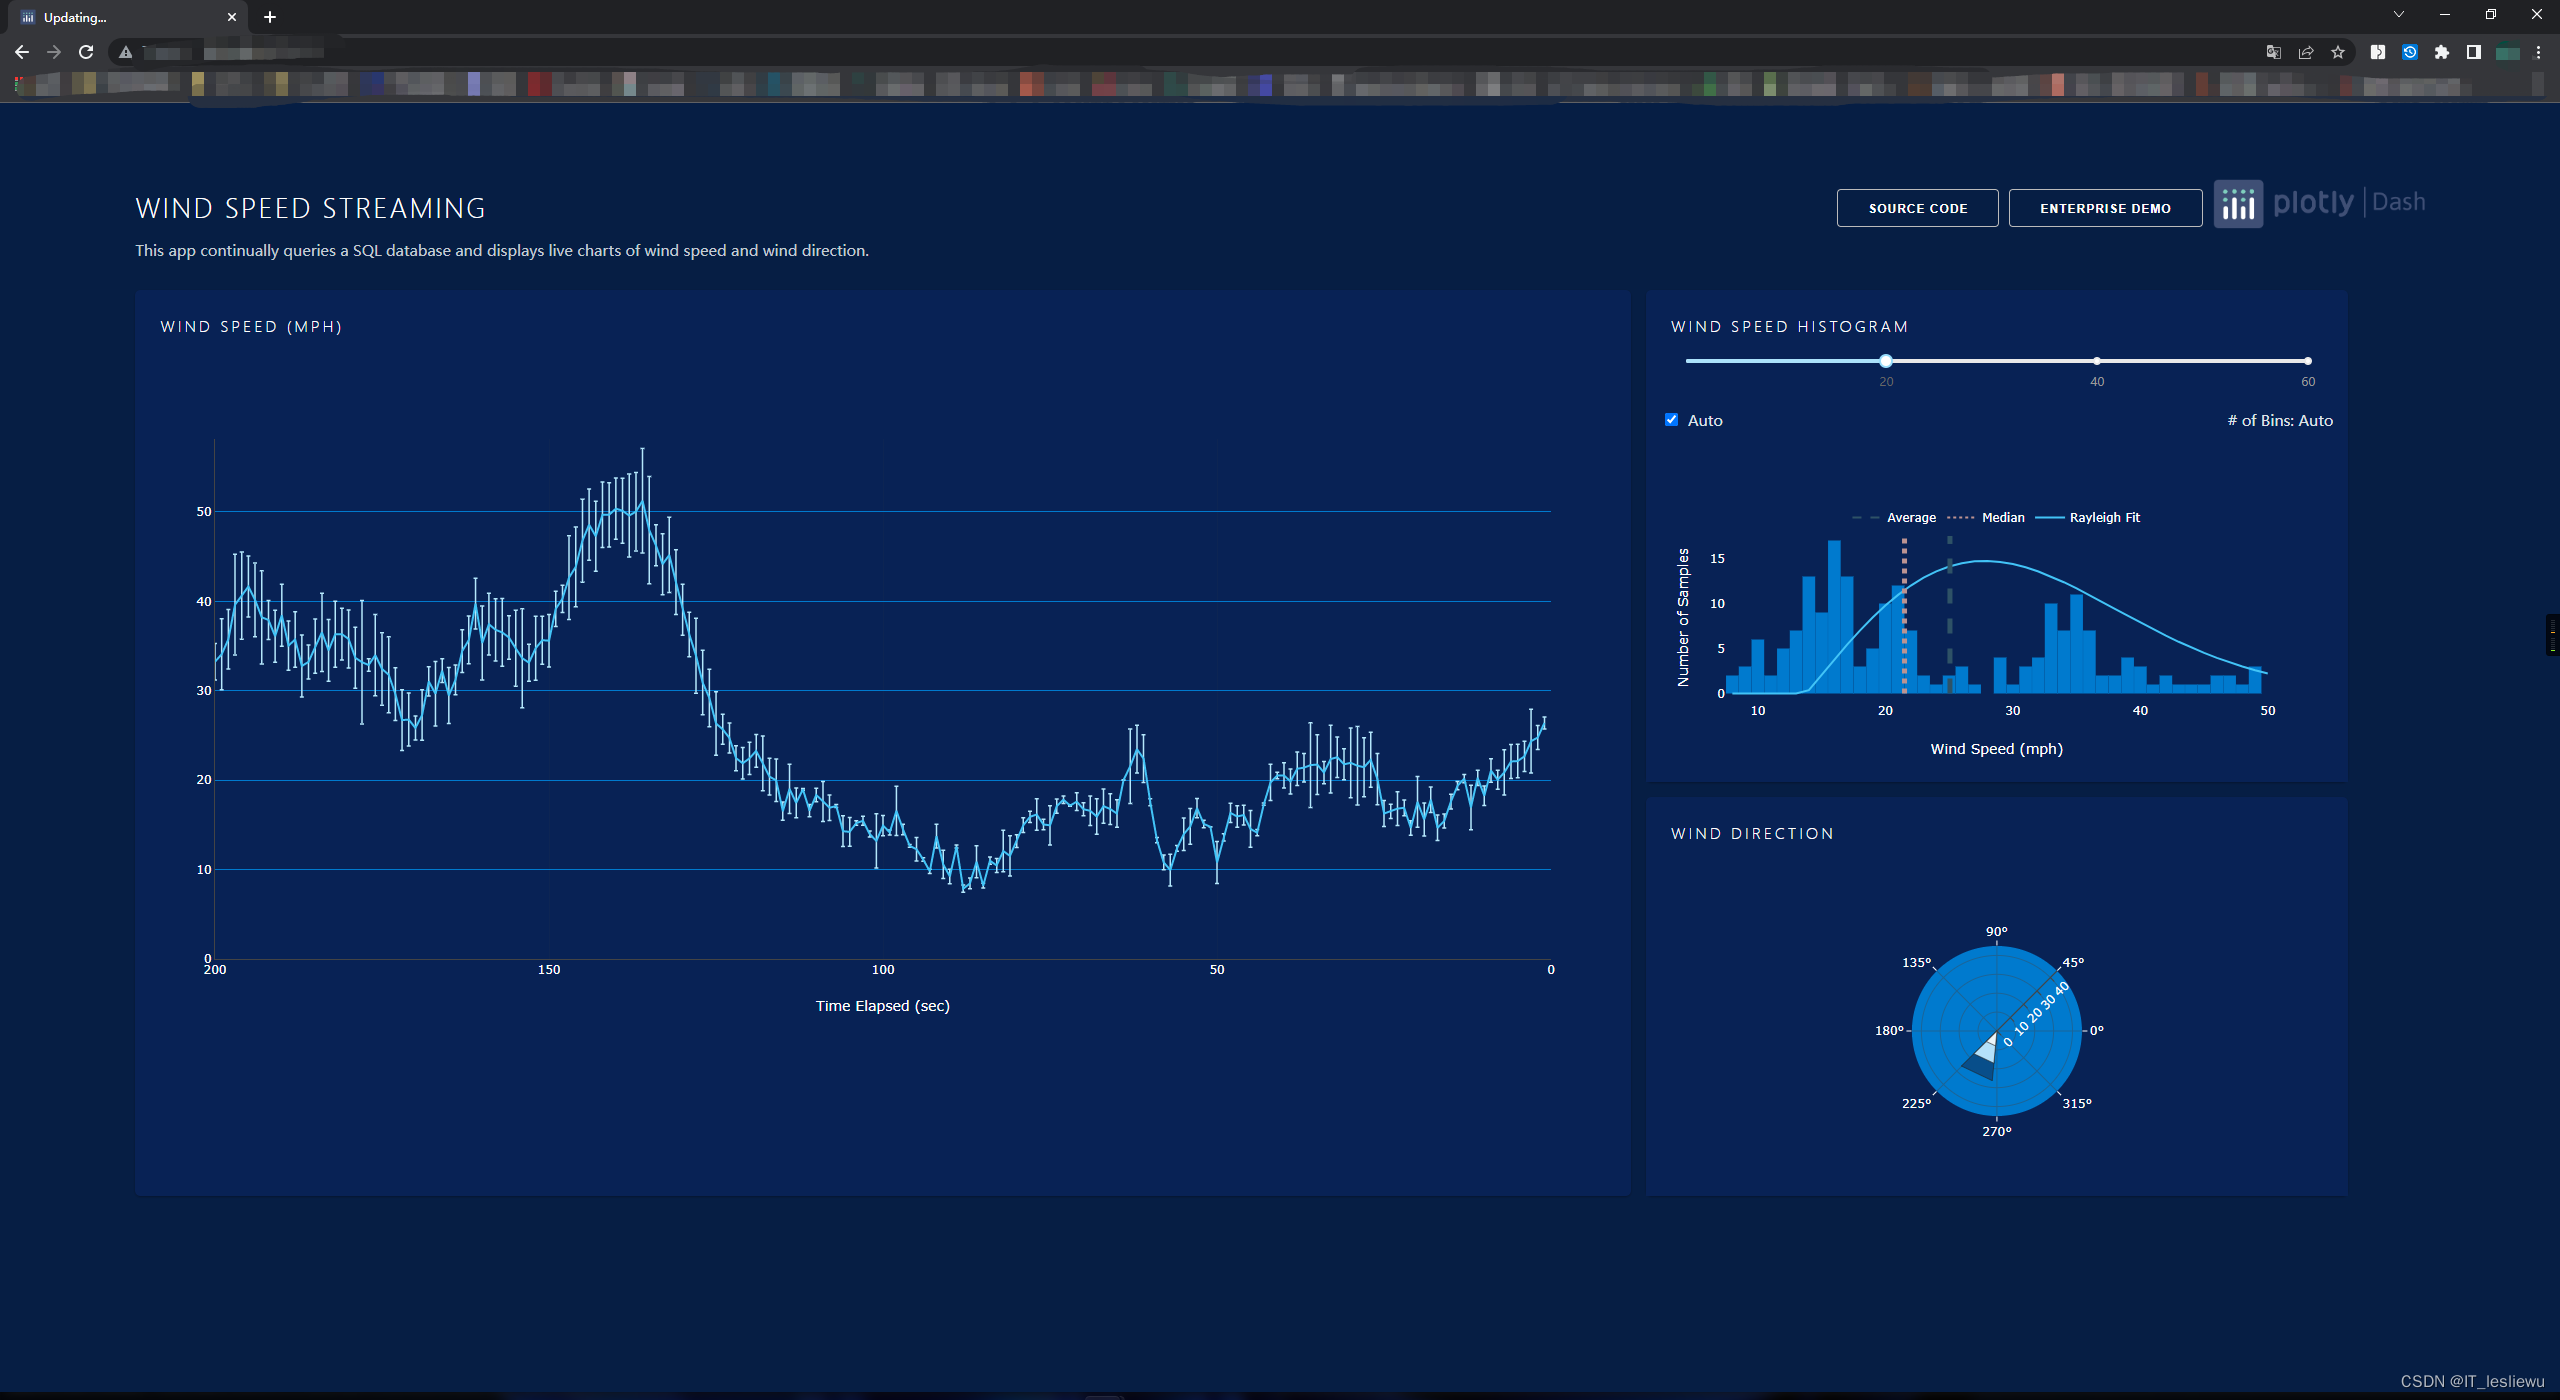
分享一个在树莓派运行dash应用的实例。
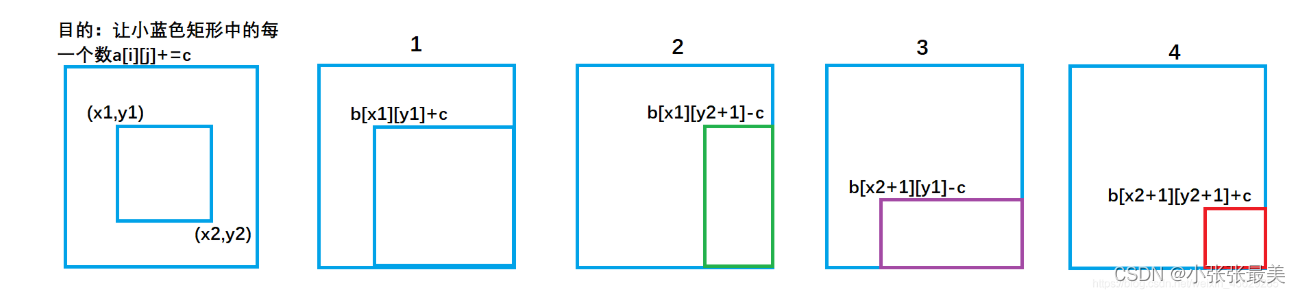
Differential (one-dimensional, two-dimensional, three-dimensional) Blue Bridge Cup three body attack

Flask框架配置loguru日志库
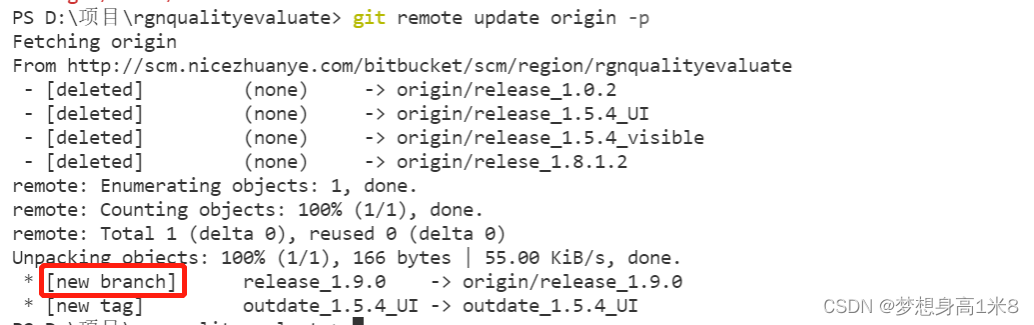
拉取分支失败,fatal: ‘origin/xxx‘ is not a commit and a branch ‘xxx‘ cannot be created from it
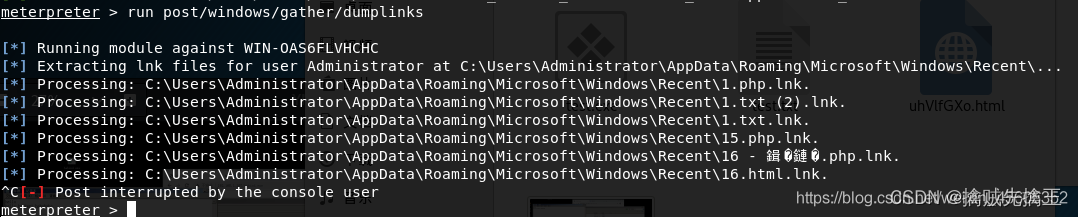
Penetration test (4) -- detailed explanation of meterpreter command
随机推荐
Luogu P1102 A-B number pair (dichotomy, map, double pointer)
605. Planting flowers
栈的经典应用—括号匹配问题
input 只能输入数字,限定输入
C basic grammar
Candy delivery (Mathematics)
Borg maze (bfs+ minimum spanning tree) (problem solving report)
Generate random password / verification code
QT实现窗口置顶、置顶状态切换、多窗口置顶优先关系
useEffect,函數組件掛載和卸載時觸發
Codeforces Round #797 (Div. 3)无F
Date plus 1 day
QT模拟鼠标事件,实现点击双击移动拖拽等
“鬼鬼祟祟的”新小行星将在本周安全掠过地球:如何观看
Maximum product (greedy)
Educational Codeforces Round 130 (Rated for Div. 2)A~C
Calculate the time difference
socket通讯
双向链表—全部操作
Codeforces Round #798 (Div. 2)A~D