当前位置:网站首页>Intermediate use tutorial of postman [environment variables, test scripts, assertions, interface documents, etc.]
Intermediate use tutorial of postman [environment variables, test scripts, assertions, interface documents, etc.]
2022-07-06 12:16:00 【A pole】
Postman
First of all, introduce a way to transfer to Chinese version ,GitHub link :https://github.com/hlmd/Postman-cn
Catalog
Preface
This paper is about postman Intermediate use tutorial , Suitable for a certain postman Basic friends read , If not used postman Or similar software , Reading this article may be uncomfortable .
environment variable
New environment variable
Defined global variables and environment variables , It can be referenced in the interface .
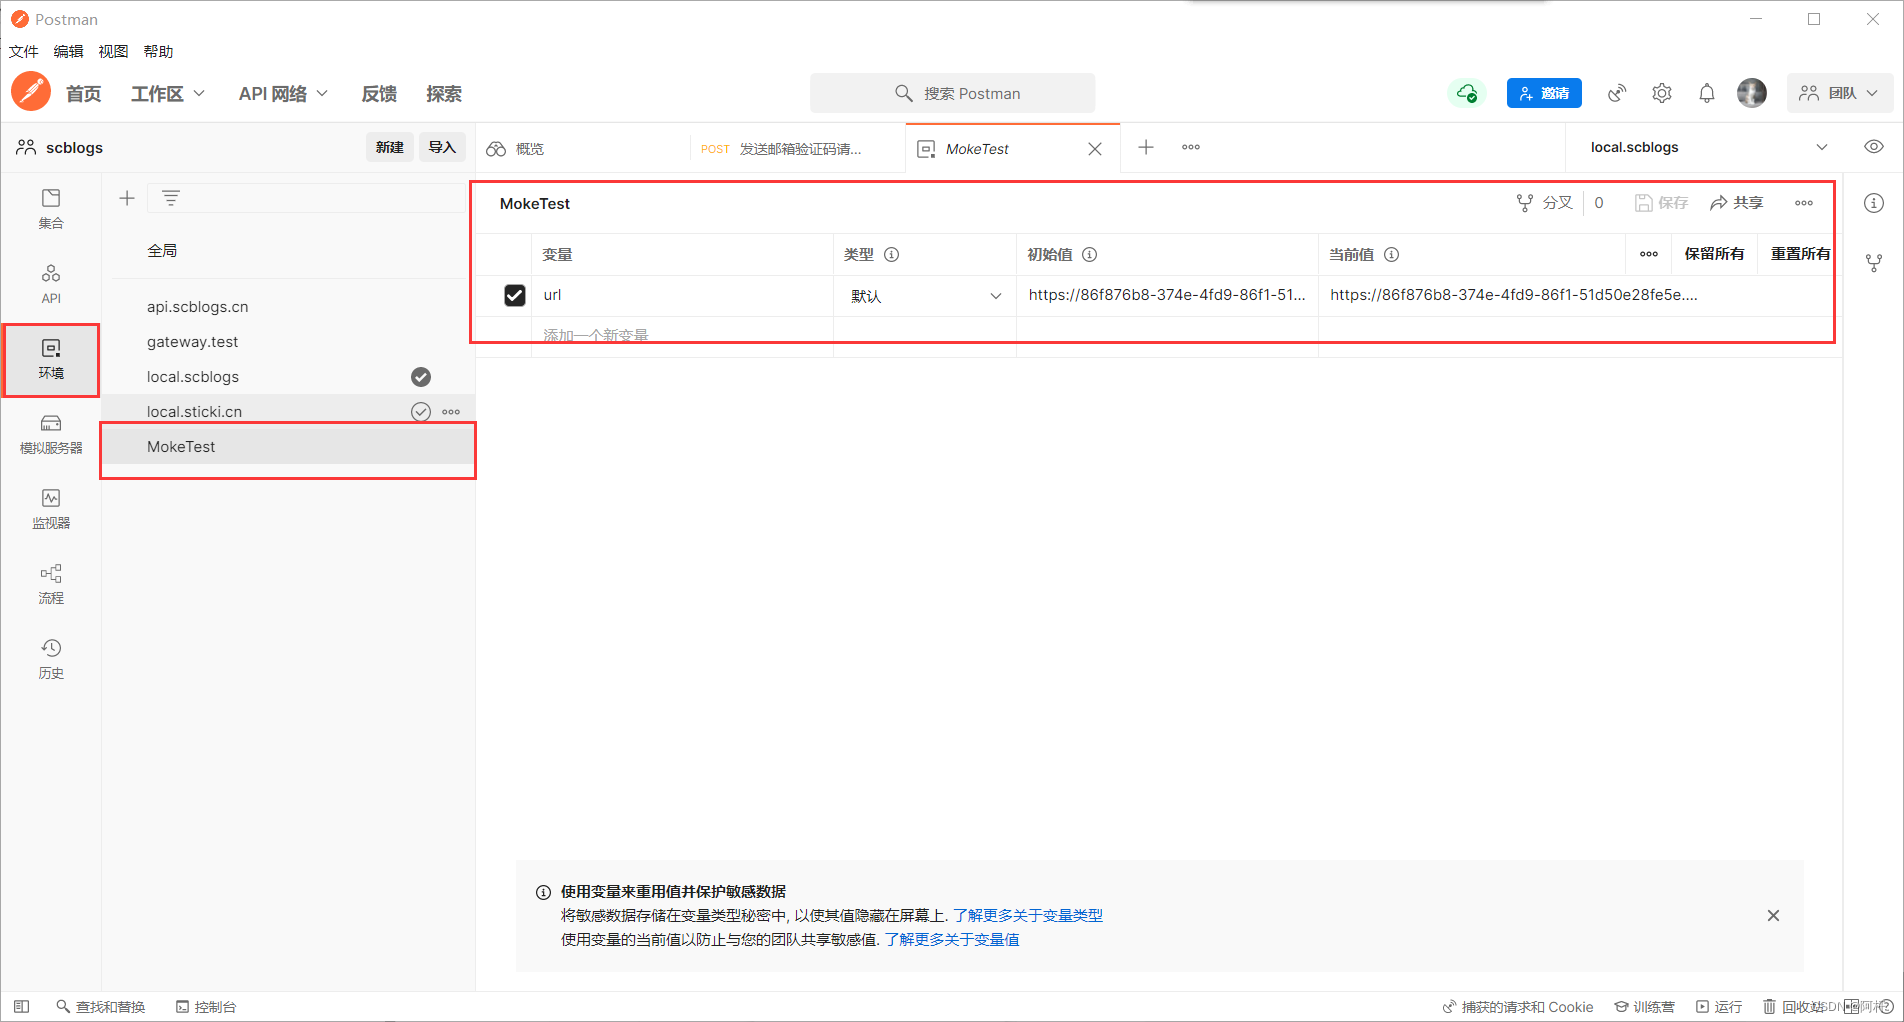
When adding an environment, you can click the plus sign in the upper left corner , Then add the public variables you want to use in the environment .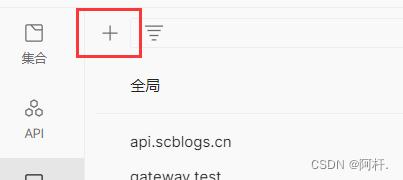
This function is generally used for things like url Prefix This kind of variable will be reused in many places .
The reference method is to put the variable you want to reference between two curly braces , for example :{ {url}}
Like this :
Of course, if you need to switch in multiple environments , There is no need to always modify url Value , You can create several more environment variables , Then switch quickly in the upper right corner :
Switch environment variables
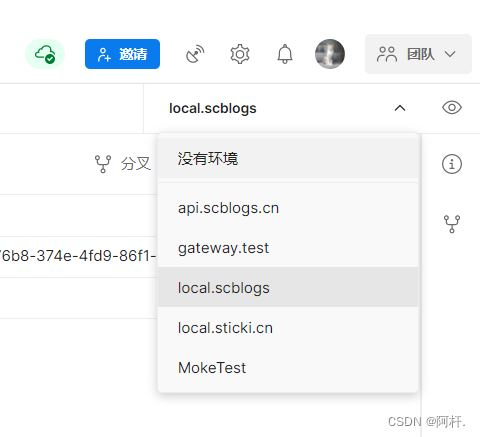
Click the small eye to see what variables are in the environment you are currently using :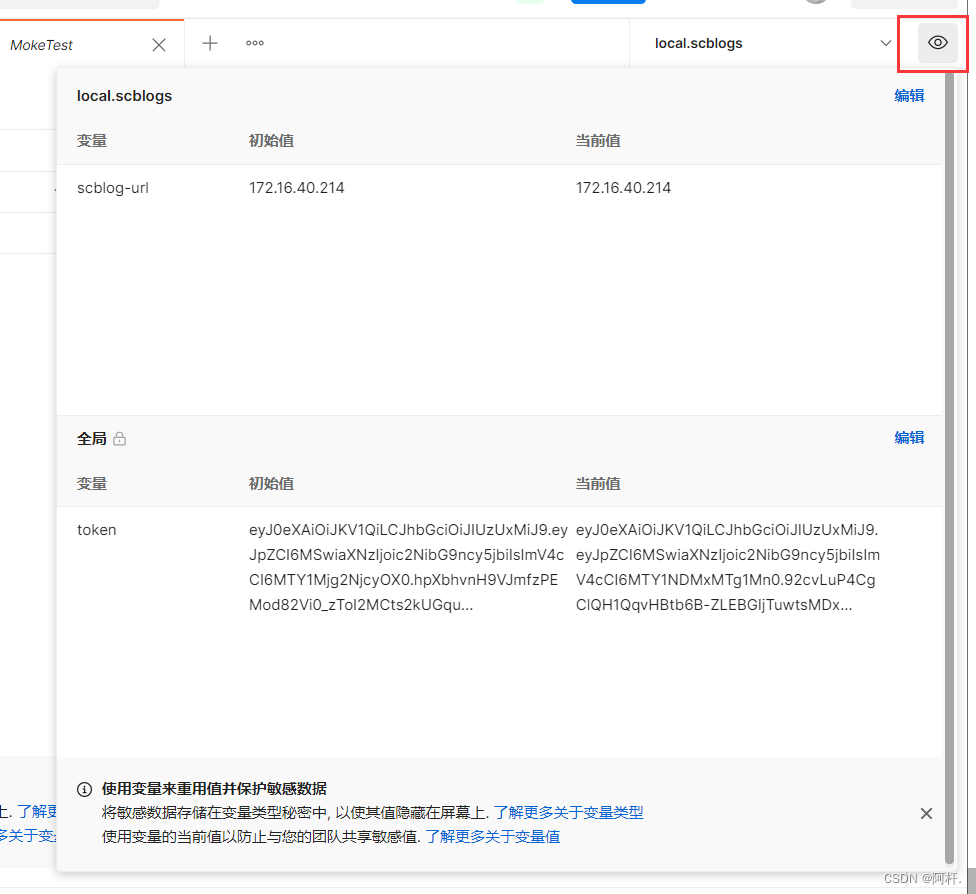
Interface Association
In fact, it also uses global variables
Write test script
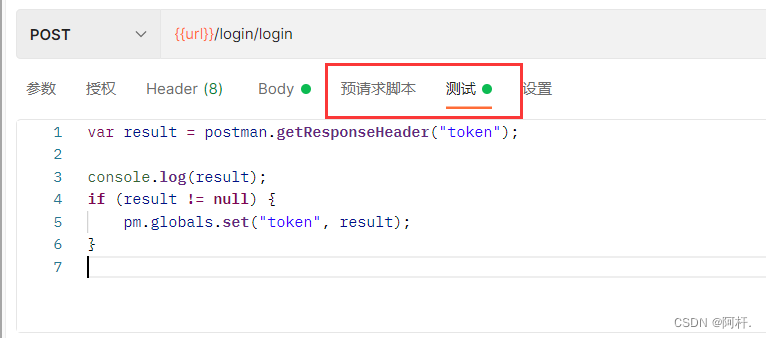
Pre request script and test script can be written js Code , The difference between them is , The pre request script is run before sending the request , The test script is run after sending .
Get the data in the test script and set it as a global variable , For example, when logging in token:
var result = postman.getResponseHeader("token");

console.log(result);

pm.globals.set("token", result);
The global variables set in this way token Can be used on other interfaces , Use { {token}} To reference variables .
Of course , You can also use regular expressions to get variables , Just use it js Write regular , There is not much here .
Dynamic parameters
Built in dynamic parameters
- { {$timestamp}} Generate timestamp of current time
- { {$randomint}} Generate 0-1000 Between random numbers
- { {$guid}} Generate shorthand GUID character string
Custom dynamic parameters
Pass in the pre request script js Code to set variables , Use when using { {times}} To get variables , It is similar to the test script written in Interface Association .
var times = Date.now();

pm.globals.set("times", times);
How to get global variables :
pm.globals.get("token", result);
global["token"];
global.token;
Assertion
Assertions can be used to determine whether the request is successful , Used for automated testing .
postman Support multiple assertion methods , On the right side of the test script, you can see , Click the blue word to get the code directly :
![[(img-DBU0AJoL-1653794601797)(https://cdn.jsdelivr.net/gh/stick-i/resources@main/img/image-20220514114901534.png)]](/img/8b/a60594a96f270f7c65412bbff7dc15.png)
Here are some common :
pm.test("Status code is 200", function () {

	pm.response.to.have.status(200);
});
pm.test("Body matches string", function () {

	pm.expect(pm.response.text()).to.include("string_you_want_to_search");
});
pm.test("Your test name", function () {

	var jsonData = pm.response.json();
	pm.expect(jsonData.value).to.eql(100);
});
pm.test("Body is correct", function () {

	pm.response.to.have.body("response_body_string");
});
MokeService
Create an impersonation server . Before the back-end interface is developed , The front end wants to call the interface , You can use it first postman Simulation server functions provided .
![[ Failed to transfer the external chain picture , The origin station may have anti-theft chain mechanism , It is suggested to save the pictures and upload them directly (img-lb0hd92r-1653794601798)(https://cdn.jsdelivr.net/gh/stick-i/resources@main/img/image-20220514150956834.png)]](/img/49/ac0ffbd80354f54978f030bc816271.png)
Create an impersonation server , Just set the request name ,postman It will automatically generate a url For your temporary use , The url It can be accessed directly through the external network , But the returned data is fixed , But it's enough for the front-end to use temporarily .
Write interface documentation
There is a document button on the right side of each interface , Click to edit the description of the current interface :
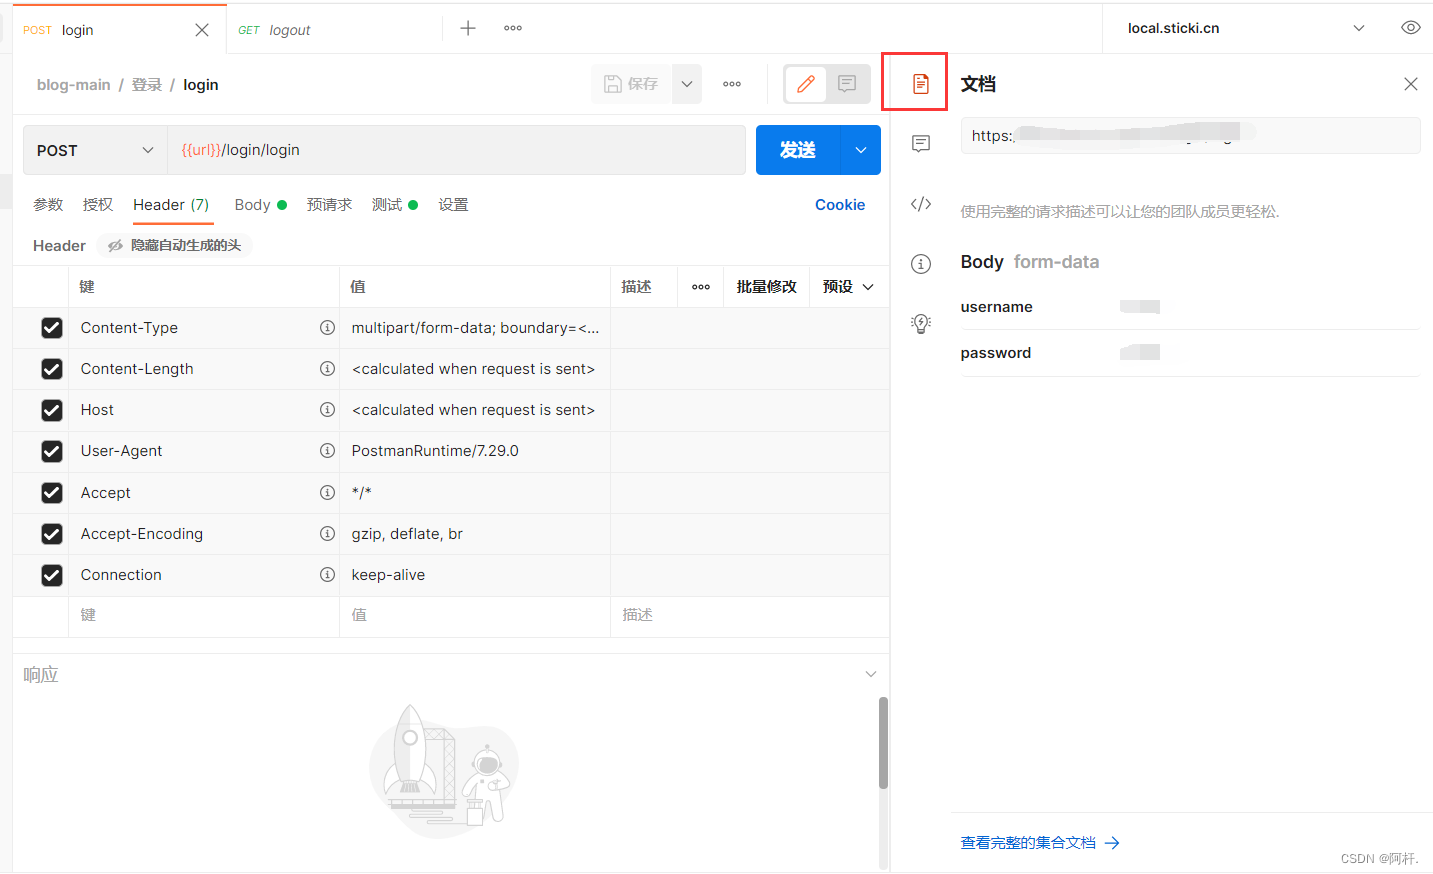
The tested interface and written documents can directly generate documents , You can see :
![[ Failed to transfer the external chain picture , The origin station may have anti-theft chain mechanism , It is suggested to save the pictures and upload them directly (img-sNHaSKGs-1653794601799)(https://cdn.jsdelivr.net/gh/stick-i/resources@main/img/image-20220514154220912.png)]](/img/9f/5509129f259d4e557d825a3c41df9f.png)
Then there is a Publish button in the upper right corner of the document , Clicking publish seems to generate online documents , But I haven't used .
Save test samples
Send the completed request , You can save the request results , Provide reference for others .
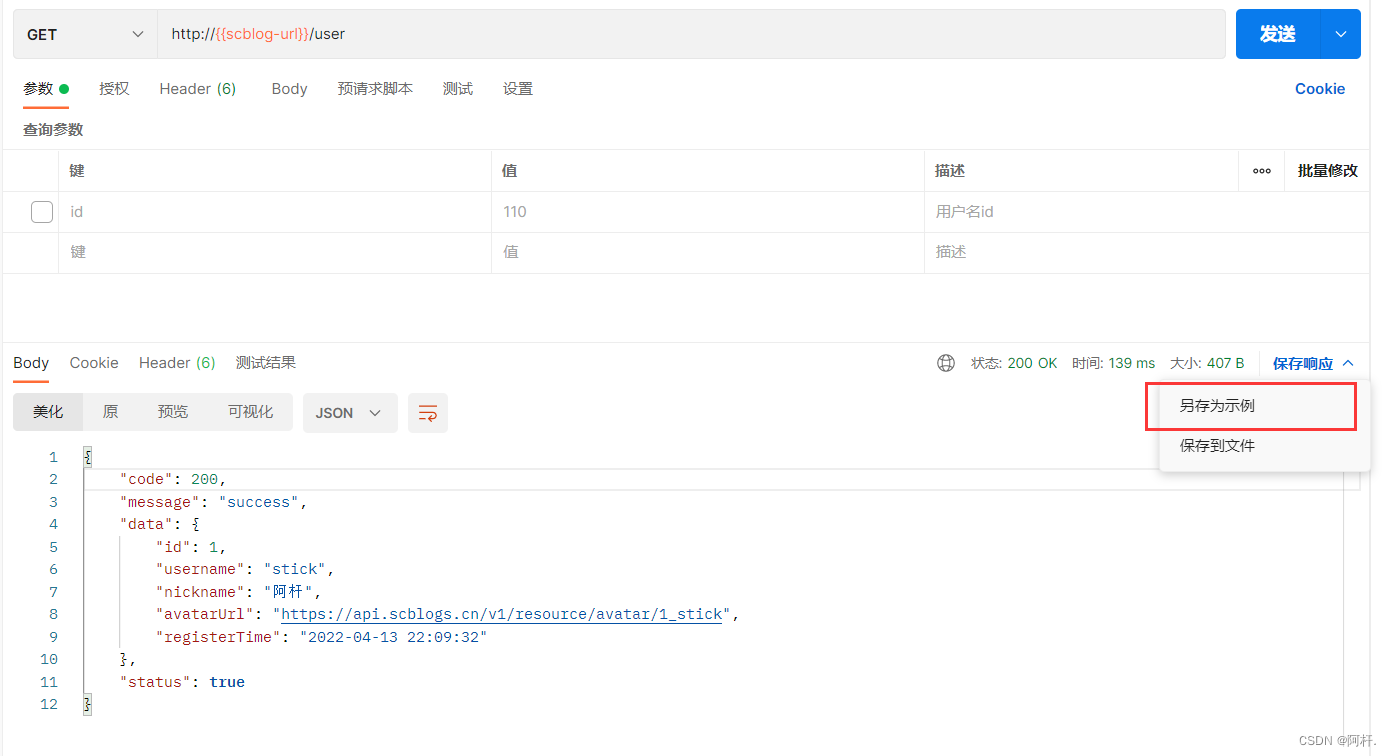
The saved example will be displayed in the left set , Placed under this interface .
Conclusion
The above content only describes the general method of use , You still need to use it yourself , If this article helps you , Welcome to my collection .
边栏推荐
- Important methods of array and string
- Basic operations of databases and tables ----- classification of data
- 共用体(union)详解【C语言】
- Arduino get random number
- VSCode基础配置
- MySQL时间、时区、自动填充0的问题
- Custom view puzzle getcolor r.color The color obtained by colorprimary is incorrect
- 选择法排序与冒泡法排序【C语言】
- C语言函数之可变参数原理:va_start、va_arg及va_end
- MP3mini播放模块arduino<DFRobotDFPlayerMini.h>函数详解
猜你喜欢
Reno7 60W super flash charging architecture
open-mmlab labelImg mmdetection
js 变量作用域和函数的学习笔记
几个关于指针的声明【C语言】
Pytorch four commonly used optimizer tests

记一次云服务器被密码爆破的经历——关小黑屋、改密码、改端口
优先级反转与死锁
Redis based distributed locks and ultra detailed improvement ideas
Oppo vooc fast charging circuit and protocol
AMBA、AHB、APB、AXI的理解
随机推荐
Esp8266 connects to onenet cloud platform (mqtt) through Arduino IDE
C language, log print file name, function name, line number, date and time
Stm32f1+bc20+mqtt+freertos system is connected to Alibaba cloud to transmit temperature and humidity and control LED lights
RT-Thread 线程的时间片轮询调度
Postman 中级使用教程【环境变量、测试脚本、断言、接口文档等】
Mp3mini playback module Arduino < dfrobotdfplayermini H> function explanation
Basic operations of databases and tables ----- classification of data
Who says that PT online schema change does not lock the table, or deadlock
JS object and event learning notes
Amba, ahb, APB, Axi Understanding
GNN的第一个简单案例:Cora分类
选择法排序与冒泡法排序【C语言】
Basic operations of databases and tables ----- modifying data tables
arduino获取数组的长度
关于Gateway中使用@Controller的问题
STM32 如何定位导致发生 hard fault 的代码段
GCC compilation options
Mysqldump error1066 error solution
Working principle of genius telephone watch Z3
Walk into WPF's drawing Bing Dwen Dwen