当前位置:网站首页>Hongmeng smart home [1.0]
Hongmeng smart home [1.0]
2022-07-07 19:09:00 【InfoQ】
Application scenarios :
- Smart home .
build OpenHarmony Environmental Science
- obtain OpenHarmony System version: Standard system solutions ( Binary system )
- With 3.0 Version as an example :
- Set up a burning environment
- complete DevEco Device Tool Installation
- complete Dayu200 Development board burning
- Build development environment
- Please refer to before startingTool preparation, complete DevEco Studio Installation and development environment configuration of .
- After the development environment is configured , Please refer toUse the project wizardCreate a project ( Template selection “Empty Ability”), choice eTS Language development .
- After the project is created , Choose to useReal machine for debugging.
Relevant concepts
- Column
- Row
- Stack
- Text
- TextInput
- Button
- Image
- Navigation
- Border settings
- Size settings
- Click Control
- Layout constraints
- Background setting
- Click event
Develop teaching
Create good eTS Project directory
- index.ets: Used to describe UI Layout 、 style 、 Event interaction and page logic .
- app.ets: For global application logic and application lifecycle management .
- pages: Used to store all component pages .
- resources: It is used to store resource configuration files .
Take apart
import { SettingDetails } from './common/SettingDetails';
import router from '@ohos.router';
@Entry
@Component
struct Index {
@State title: string = ' Smart home experience '
@State message: string = ' Now you want to open those settings ?'
@State desc: string = ' Click on all applicable options . This will help us \n Customize your homepage '
@State Number: String[] = ['0', '1', '2', '3', '4']
@State private isSelect: boolean = true;
build() {
Column() {
Text(this.title)
.fontSize(80)
.fontWeight(FontWeight.Bold).onClick(() => {
router.push({ url: 'pages/SensorScreen' })
}).margin({ bottom: 60, top: 40 })
Text(this.message)
.fontSize(50)
.fontWeight(FontWeight.Bold).onClick(() => {
router.push({ url: 'pages/SensorScreen' })
}).margin({ bottom: 60 })
Text(this.desc)
.fontSize(30)
.textAlign(TextAlign.Center)
.fontWeight(FontWeight.Bold)
.onClick(() => {
})
.margin({ bottom: 60 })
Row() {
SettingDetails({
image: "common/images/setting.png",
title: "Maintenance\nRequests",
isSelected: this.isSelect!
})
SettingDetails({ image: "common/images/grain.png", title: "Integrations\n", isSelected: this.isSelect! })
SettingDetails({
image: "common/images/ic_highlight.png",
title: "Light\nControl",
isSelected: this.isSelect!
})
}
Row() {
SettingDetails({ image: "common/images/opacity.png", title: "Leak\nDetector", isSelected: this.isSelect! })
SettingDetails({
image: "common/images/ac_unit.png",
title: "Temperature\nControl",
isSelected: this.isSelect!
})
SettingDetails({ image: "common/images/key.png", title: "Guest\nAccess", isSelected: this.isSelect! })
}
Button("NEXT")
.fontSize(60)
.fontColor(Color.Black)
.width(600)
.height(100)
.backgroundColor(Color.Red)
.margin({ top: 100 })
.onClick(() => {
router.push({ url: 'pages/SensorScreen' })
})
}
.width('100%')
.height('100%').backgroundColor("#F5F5F5")
}
}Specific layout
The code structure
code
Index.ets
import { SettingDetails } from './common/SettingDetails';
import router from '@ohos.router';
@Entry
@Component
struct Index {
@State title: string = ' Smart home experience '
@State message: string = ' Now you want to open those settings ?'
@State desc: string = ' Click on all applicable options . This will help us \n Customize your homepage '
@State Number: String[] = ['0', '1', '2', '3', '4']
@State private isSelect: boolean = true;
build() {
Column() {
Text(this.title)
.fontSize(80)
.fontWeight(FontWeight.Bold).onClick(() => {
router.push({ url: 'pages/SensorScreen' })
}).margin({ bottom: 60, top: 40 })
Text(this.message)
.fontSize(50)
.fontWeight(FontWeight.Bold).onClick(() => {
router.push({ url: 'pages/SensorScreen' })
}).margin({ bottom: 60 })
Text(this.desc)
.fontSize(30)
.textAlign(TextAlign.Center)
.fontWeight(FontWeight.Bold)
.onClick(() => {
})
.margin({ bottom: 60 })
Row() {
SettingDetails({
image: "common/images/setting.png",
title: "Maintenance\nRequests",
isSelected: this.isSelect!
})
SettingDetails({ image: "common/images/grain.png", title: "Integrations\n", isSelected: this.isSelect! })
SettingDetails({
image: "common/images/ic_highlight.png",
title: "Light\nControl",
isSelected: this.isSelect!
})
}
Row() {
SettingDetails({ image: "common/images/opacity.png", title: "Leak\nDetector", isSelected: this.isSelect! })
SettingDetails({
image: "common/images/ac_unit.png",
title: "Temperature\nControl",
isSelected: this.isSelect!
})
SettingDetails({ image: "common/images/key.png", title: "Guest\nAccess", isSelected: this.isSelect! })
}
Button("NEXT")
.fontSize(60)
.fontColor(Color.Black)
.width(600)
.height(100)
.backgroundColor(Color.Red)
.margin({ top: 100 })
.onClick(() => {
router.push({ url: 'pages/SensorScreen' })
})
}
.width('100%')
.height('100%').backgroundColor("#F5F5F5")
}
} Row() {
Image($r("app.media.logo"))
.objectFit(ImageFit.Contain)
.width(200)
.height(200)
.borderRadius(21)
Column() {
Text('June 14, 2022')
.fontSize(40).opacity(0.4)
.fontWeight(FontWeight.Bold)
Text('Good Morning,\nJianGuo',)
.fontSize(60)
.fontWeight(FontWeight.Bold)
}
}ow({ space: 120 }) {
Column() {
Text('40°',)
.fontSize(40).opacity(0.4)
.fontWeight(FontWeight.Bold)
Text('TEMPERATURE',)
.fontSize(40).opacity(0.4)
}.margin({ left: 60 })
Column() {
Text('59%',)
.fontSize(40).opacity(0.4)
.fontWeight(FontWeight.Bold)
Text('HUMIDITY',)
.fontSize(40).opacity(0.4)
}.margin({ right: 60 })
}.margin({ top: 20 })SensorScreen.ets
import { HomeDetails } from './common/homedetails';
// second.ets
import router from '@ohos.router';
@Entry
@Component
struct Second {
@State message: string = 'Hi there'
@State private isSelect: boolean = true;
build() {
Column() {
Row() {
Image($r("app.media.back"))
.objectFit(ImageFit.Contain)
.width(80)
.height(80)
.onClick(() => {
router.back()
})
Blank()
Text('Home')
.fontSize(45)
.fontWeight(FontWeight.Bold)
Blank()
Image($r("app.media.notifications_none"))
.objectFit(ImageFit.Contain)
.width(80)
.height(80)
.onClick(() => {
router.back()
})
}
.width('100%')
Row() {
Image($r("app.media.logo"))
.objectFit(ImageFit.Contain)
.width(200)
.height(200)
.borderRadius(21)
Column() {
Text('June 14, 2022')
.fontSize(40).opacity(0.4)
.fontWeight(FontWeight.Bold)
Text('Good Morning,\nJianGuo',)
.fontSize(60)
.fontWeight(FontWeight.Bold)
}
}
Row({ space: 120 }) {
Column() {
Text('40°',)
.fontSize(40).opacity(0.4)
.fontWeight(FontWeight.Bold)
Text('TEMPERATURE',)
.fontSize(40).opacity(0.4)
}.margin({ left: 60 })
Column() {
Text('59%',)
.fontSize(40).opacity(0.4)
.fontWeight(FontWeight.Bold)
Text('HUMIDITY',)
.fontSize(40).opacity(0.4)
}.margin({ right: 60 })
}.margin({ top: 20 })
Row() {
HomeDetails({})
HomeDetails({ image: "common/images/lightbull.png", isSelected: this.isSelect! })
}
Row() {
HomeDetails({ image: "common/images/opacity.png" })
HomeDetails({ image: "common/images/yytem0.png" })
}
 Row(){
 Column(){
 Text('ADD',)
 .fontSize(40).opacity(0.4)
 .fontWeight(FontWeight.Bold)
 Text('NEW CONTROL',)
 .fontSize(40).opacity(0.4)
 }
 Blank()

 Image($r("app.media.add"))
 .objectFit(ImageFit.Contain)
 .width(100)
 .height(100)
 .borderRadius(21).margin({right:40})

 }.border({
 color:Color.White,
 width:8,
 radius:20
 }).width("88%").height(150)
}.width("100%")
.height('100%').backgroundColor("#F5F5F5")
}
}@Entry
@Component
export struct SettingDetails {
@State private image: string = "common/images/setting.png"
@State private title: string = "Maintenance\nRequests"
@State private isSelected: boolean = true;
build() {
Column() {
Image(this.image)
.objectFit(ImageFit.Contain)
.width(140)
.height(120)
.margin(20)
.border({
width: 12, color: this.isSelected ? Color.White : Color.Red,
radius: 20
})
.onClick(() => {
this.isSelected = !this.isSelected;
})
Text(this.title).fontSize(32).width(200).textAlign(TextAlign.Center)
}
}}@Entry
@Component
export struct SettingDetails {
@State private image: string = "common/images/setting.png"
@State private title: string = "Maintenance\nRequests"
@State private isSelected: boolean = true;
build() {
Column() {
Image(this.image)
.objectFit(ImageFit.Contain)
.width(140)
.height(120)
.margin(20)
.border({
width: 12, color: this.isSelected ? Color.White : Color.Red,
radius: 20
})
.onClick(() => {
this.isSelected = !this.isSelected;
})
Text(this.title).fontSize(32).width(200).textAlign(TextAlign.Center)
}
}} Row(){
Column(){
Text('ADD',)
.fontSize(40).opacity(0.4)
.fontWeight(FontWeight.Bold)
Text('NEW CONTROL',)
.fontSize(40).opacity(0.4)
}
Blank()
Image($r("app.media.add"))
.objectFit(ImageFit.Contain)
.width(100)
.height(100)
.borderRadius(21).margin({right:40})
}.border({
color:Color.White,
width:8,
radius:20
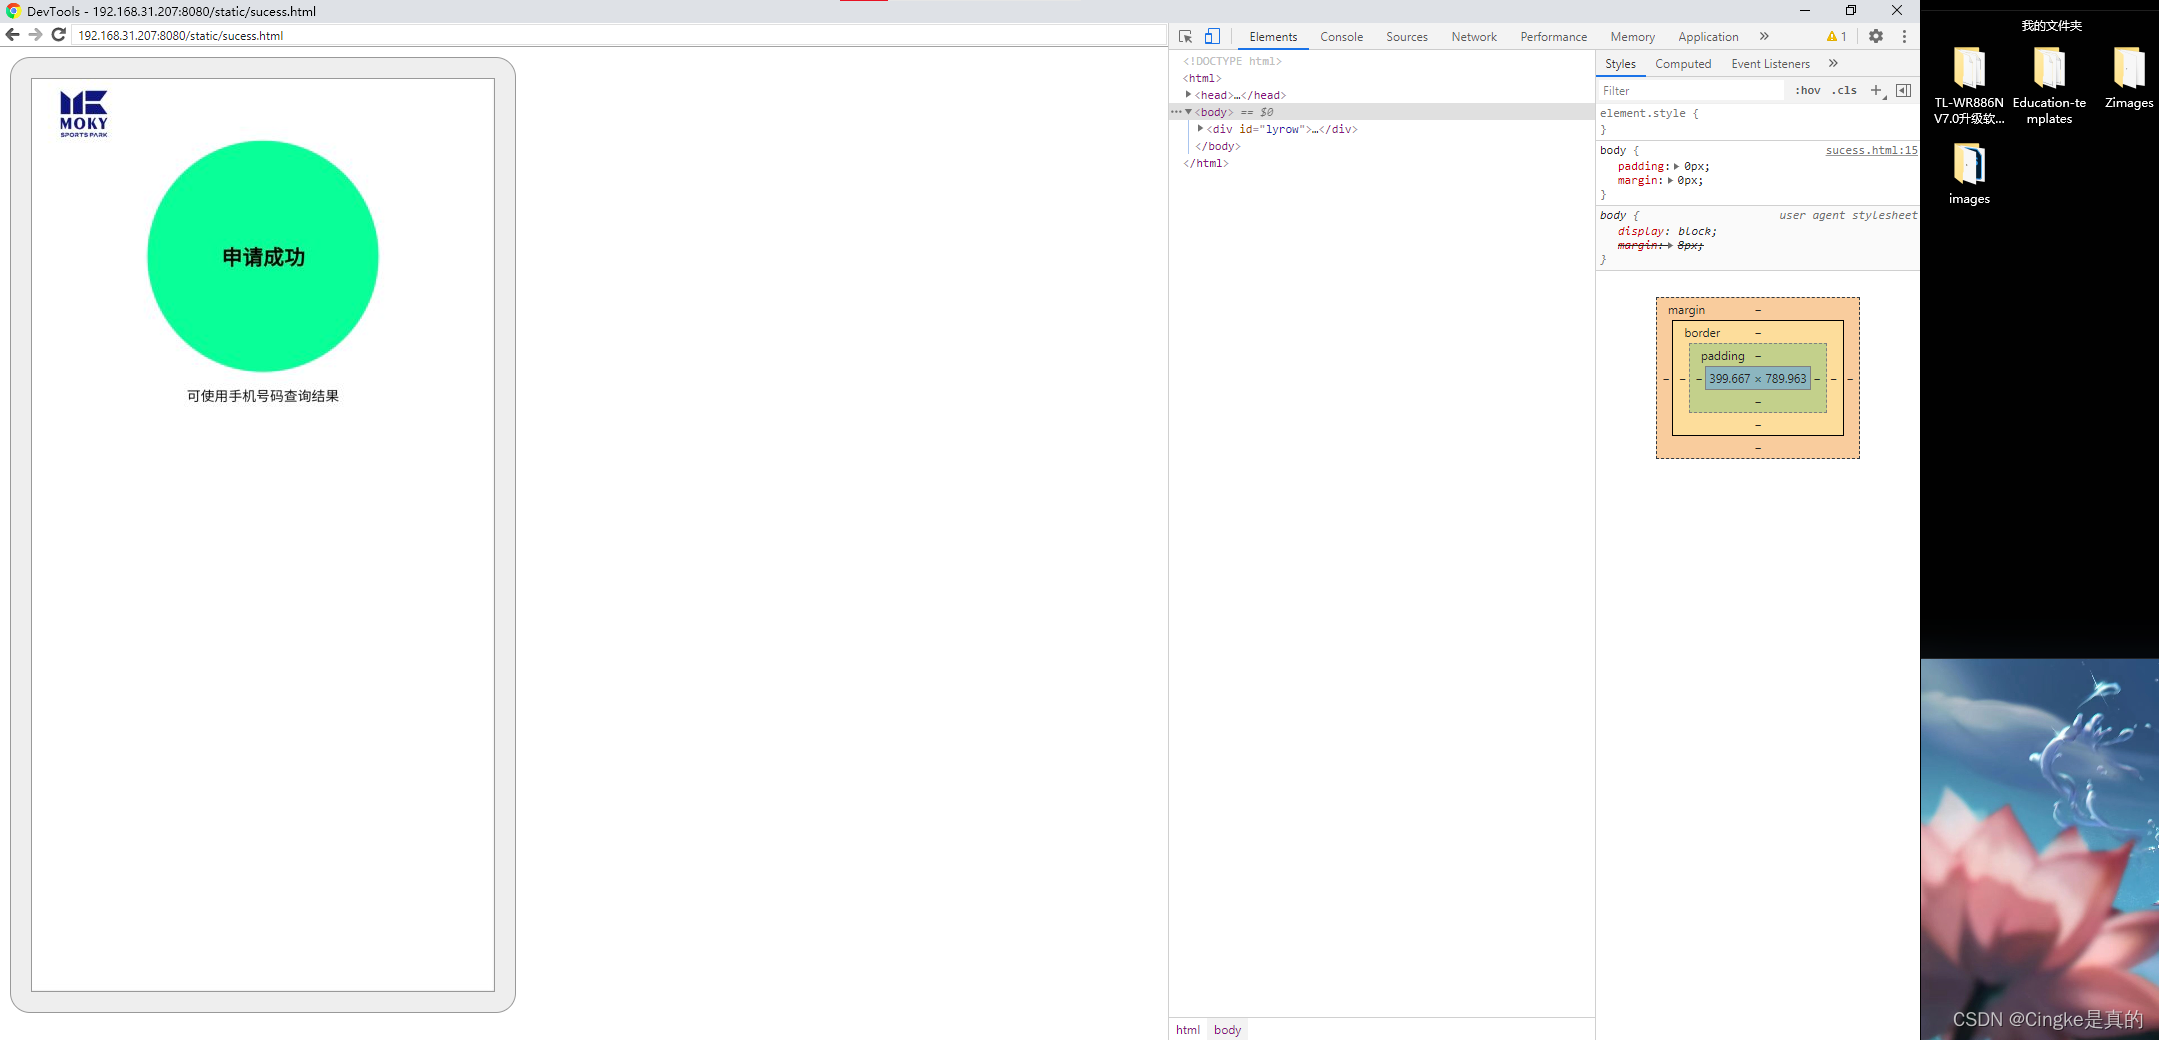
}).width("88%").height(150)congratulations
- Column
- Row
- Stack
- Text
- Button
- Image
- Navigation
- Border settings
- Size settings
- Click Control
- Layout constraints
- Background setting
- Click event
- Intelligent interconnection
- Hardware interaction
- Animation interaction
边栏推荐
- Tsinghua, Cambridge and UIC jointly launched the first Chinese fact verification data set: evidence-based, covering many fields such as medical society
- How to implement safety practice in software development stage
- RISCV64
- AI来搞财富分配比人更公平?来自DeepMind的多人博弈游戏研究
- Datasimba launched wechat applet, and datanuza accepted the test of the whole scene| StartDT Hackathon
- 【软件测试】从企业版BOSS直聘,看求职简历,你没被面上是有原因的
- Save the memory of the model! Meta & UC Berkeley proposed memvit. The modeling time support is 30 times longer than the existing model, and the calculation amount is only increased by 4.5%
- Embedded interview questions (algorithm part)
- Golang client server login
- Learn open62541 -- [67] add custom enum and display name
猜你喜欢

单臂路由和三层交换的简单配置

面试唯品会实习测试岗、抖音实习测试岗【真实投稿】
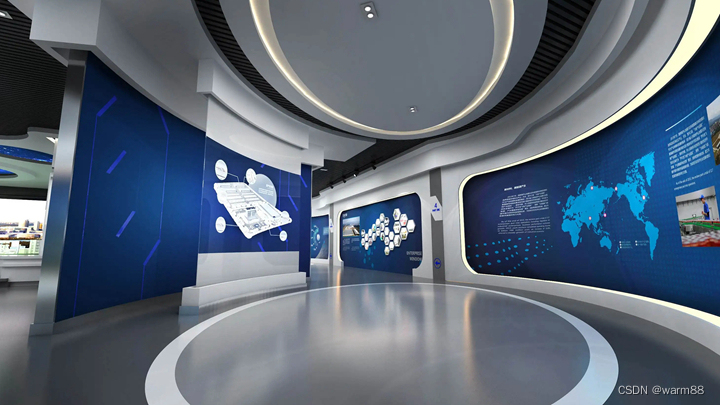
企业展厅设计中常用的三种多媒体技术形式

Save the memory of the model! Meta & UC Berkeley proposed memvit. The modeling time support is 30 times longer than the existing model, and the calculation amount is only increased by 4.5%
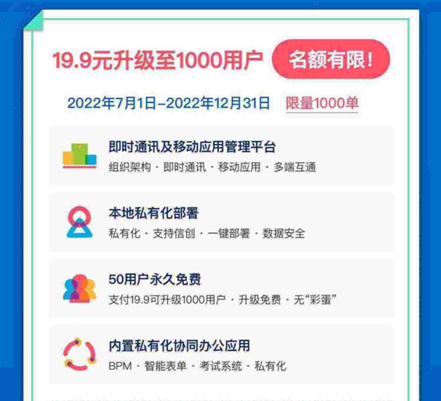
99% of people don't know that privatized deployment is also a permanently free instant messaging software!
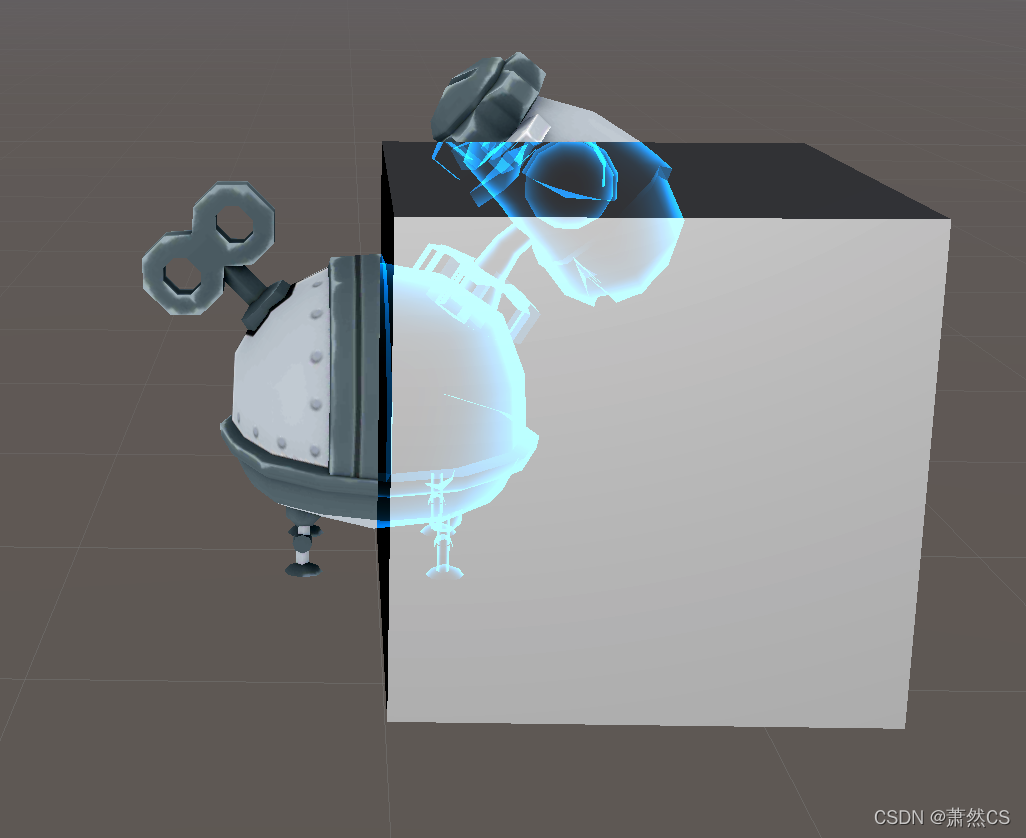
【Unity Shader】插入Pass实现模型遮挡X光透视效果
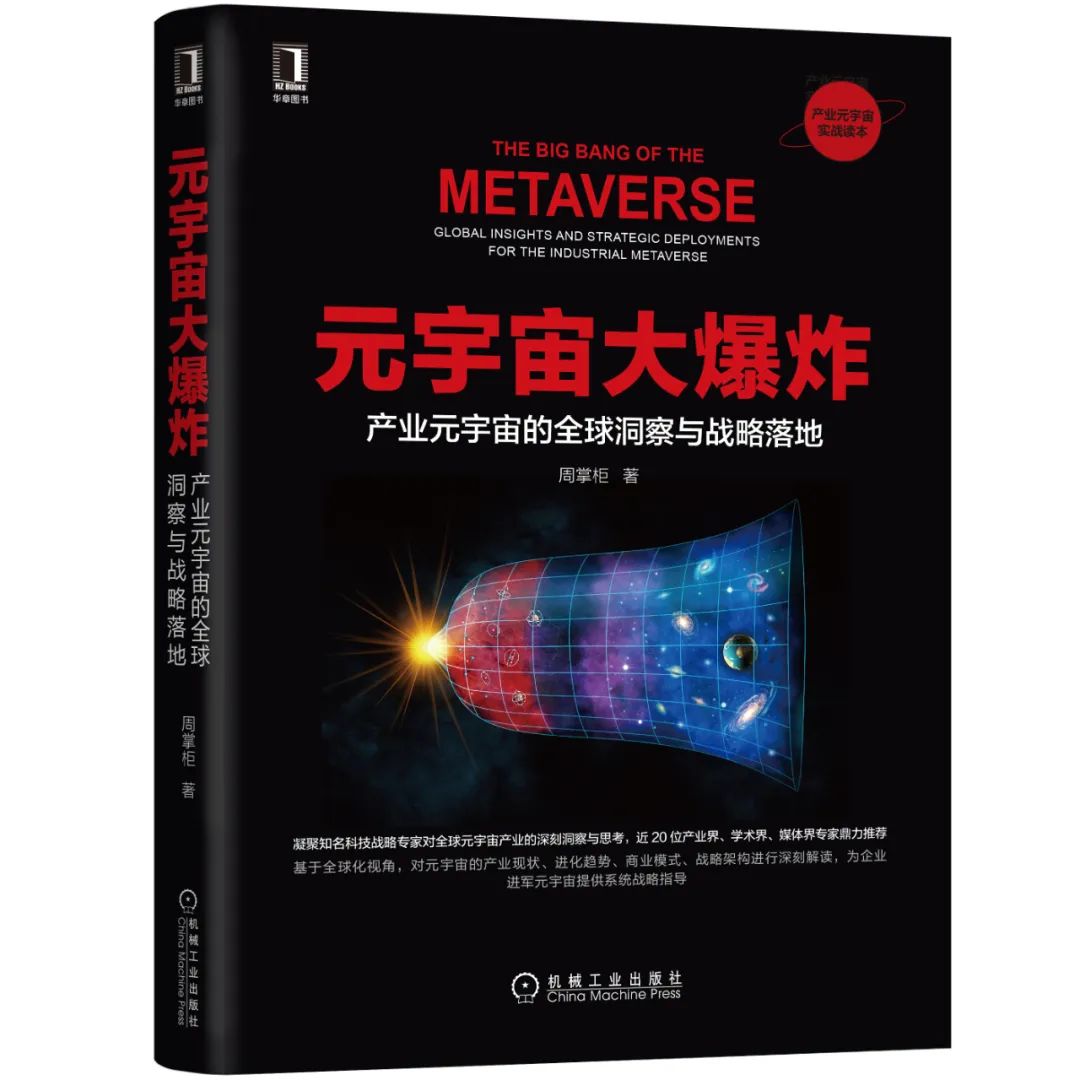
2022上半年朋友圈都在传的10本书,找到了
微信网页调试8.0.19换掉X5内核,改用xweb,所以x5调试方式已经不能用了,现在有了解决方案

Skills of embedded C language program debugging and macro use
Redis
随机推荐
The performance and efficiency of the model that can do three segmentation tasks at the same time is better than maskformer! Meta & UIUC proposes a general segmentation model with better performance t
2022上半年朋友圈都在传的10本书,找到了
String type, constant type and container type of go language
高温火烧浑不怕,钟薛高想留清白在人间
[paper sharing] where's crypto?
Review of network attack and defense
Static routing configuration
3. About cookies
将模型的记忆保存下来!Meta&UC Berkeley提出MeMViT,建模时间支持比现有模型长30倍,计算量仅增加4.5%...
unity2d的Rigidbody2D的MovePosition函数移动时人物或屏幕抖动问题解决
How to choose the appropriate automated testing tools?
抢占周杰伦
I feel cheated. Wechat tests the function of "size number" internally, and two wechat can be registered with the same mobile number
How many times is PTA 1101 B than a
数据验证框架 Apache BVal 再使用
【Unity Shader】插入Pass实现模型遮挡X光透视效果
RISCV64
静态路由配置
Antisamy: a solution against XSS attack tutorial
Creative changes brought about by the yuan universe