当前位置:网站首页>鸿蒙智能家居【1.0】
鸿蒙智能家居【1.0】
2022-07-07 16:59:00 【InfoQ】
应用场景:
- 智能家居。
搭建OpenHarmony环境
- 获取OpenHarmony系统版本:标准系统解决方案(二进制)
- 以3.0版本为例:
- 搭建烧录环境
- 完成DevEco Device Tool的安装
- 完成Dayu200开发板的烧录
- 搭建开发环境
- 开始前请参考工具准备,完成DevEco Studio的安装和开发环境配置。
- 开发环境配置完成后,请参考使用工程向导创建工程(模板选择“Empty Ability”),选择eTS语言开发。
- 工程创建完成后,选择使用真机进行调测。
相关概念
- Column
- Row
- Stack
- Text
- TextInput
- Button
- Image
- Navigation
- 边框设置
- 尺寸设置
- 点击控制
- 布局约束
- 背景设置
- 点击事件
开发教学
创建好的 eTS工程目录
- index.ets:用于描述UI布局、样式、事件交互和页面逻辑。
- app.ets:用于全局应用逻辑和应用生命周期管理。
- pages:用于存放所有组件页面。
- resources:用于存放资源配置文件。
拆解
import { SettingDetails } from './common/SettingDetails';
import router from '@ohos.router';
@Entry
@Component
struct Index {
@State title: string = '智能家居体验'
@State message: string = '你现在想要打开那些设置?'
@State desc: string = '点击所有适用的选项。这将帮助我们\n自定义您的主页'
@State Number: String[] = ['0', '1', '2', '3', '4']
@State private isSelect: boolean = true;
build() {
Column() {
Text(this.title)
.fontSize(80)
.fontWeight(FontWeight.Bold).onClick(() => {
router.push({ url: 'pages/SensorScreen' })
}).margin({ bottom: 60, top: 40 })
Text(this.message)
.fontSize(50)
.fontWeight(FontWeight.Bold).onClick(() => {
router.push({ url: 'pages/SensorScreen' })
}).margin({ bottom: 60 })
Text(this.desc)
.fontSize(30)
.textAlign(TextAlign.Center)
.fontWeight(FontWeight.Bold)
.onClick(() => {
})
.margin({ bottom: 60 })
Row() {
SettingDetails({
image: "common/images/setting.png",
title: "Maintenance\nRequests",
isSelected: this.isSelect!
})
SettingDetails({ image: "common/images/grain.png", title: "Integrations\n", isSelected: this.isSelect! })
SettingDetails({
image: "common/images/ic_highlight.png",
title: "Light\nControl",
isSelected: this.isSelect!
})
}
Row() {
SettingDetails({ image: "common/images/opacity.png", title: "Leak\nDetector", isSelected: this.isSelect! })
SettingDetails({
image: "common/images/ac_unit.png",
title: "Temperature\nControl",
isSelected: this.isSelect!
})
SettingDetails({ image: "common/images/key.png", title: "Guest\nAccess", isSelected: this.isSelect! })
}
Button("NEXT")
.fontSize(60)
.fontColor(Color.Black)
.width(600)
.height(100)
.backgroundColor(Color.Red)
.margin({ top: 100 })
.onClick(() => {
router.push({ url: 'pages/SensorScreen' })
})
}
.width('100%')
.height('100%').backgroundColor("#F5F5F5")
}
}具体布局
代码结构
编码
Index.ets
import { SettingDetails } from './common/SettingDetails';
import router from '@ohos.router';
@Entry
@Component
struct Index {
@State title: string = '智能家居体验'
@State message: string = '你现在想要打开那些设置?'
@State desc: string = '点击所有适用的选项。这将帮助我们\n自定义您的主页'
@State Number: String[] = ['0', '1', '2', '3', '4']
@State private isSelect: boolean = true;
build() {
Column() {
Text(this.title)
.fontSize(80)
.fontWeight(FontWeight.Bold).onClick(() => {
router.push({ url: 'pages/SensorScreen' })
}).margin({ bottom: 60, top: 40 })
Text(this.message)
.fontSize(50)
.fontWeight(FontWeight.Bold).onClick(() => {
router.push({ url: 'pages/SensorScreen' })
}).margin({ bottom: 60 })
Text(this.desc)
.fontSize(30)
.textAlign(TextAlign.Center)
.fontWeight(FontWeight.Bold)
.onClick(() => {
})
.margin({ bottom: 60 })
Row() {
SettingDetails({
image: "common/images/setting.png",
title: "Maintenance\nRequests",
isSelected: this.isSelect!
})
SettingDetails({ image: "common/images/grain.png", title: "Integrations\n", isSelected: this.isSelect! })
SettingDetails({
image: "common/images/ic_highlight.png",
title: "Light\nControl",
isSelected: this.isSelect!
})
}
Row() {
SettingDetails({ image: "common/images/opacity.png", title: "Leak\nDetector", isSelected: this.isSelect! })
SettingDetails({
image: "common/images/ac_unit.png",
title: "Temperature\nControl",
isSelected: this.isSelect!
})
SettingDetails({ image: "common/images/key.png", title: "Guest\nAccess", isSelected: this.isSelect! })
}
Button("NEXT")
.fontSize(60)
.fontColor(Color.Black)
.width(600)
.height(100)
.backgroundColor(Color.Red)
.margin({ top: 100 })
.onClick(() => {
router.push({ url: 'pages/SensorScreen' })
})
}
.width('100%')
.height('100%').backgroundColor("#F5F5F5")
}
} Row() {
Image($r("app.media.logo"))
.objectFit(ImageFit.Contain)
.width(200)
.height(200)
.borderRadius(21)
Column() {
Text('June 14, 2022')
.fontSize(40).opacity(0.4)
.fontWeight(FontWeight.Bold)
Text('Good Morning,\nJianGuo',)
.fontSize(60)
.fontWeight(FontWeight.Bold)
}
}ow({ space: 120 }) {
Column() {
Text('40°',)
.fontSize(40).opacity(0.4)
.fontWeight(FontWeight.Bold)
Text('TEMPERATURE',)
.fontSize(40).opacity(0.4)
}.margin({ left: 60 })
Column() {
Text('59%',)
.fontSize(40).opacity(0.4)
.fontWeight(FontWeight.Bold)
Text('HUMIDITY',)
.fontSize(40).opacity(0.4)
}.margin({ right: 60 })
}.margin({ top: 20 })SensorScreen.ets
import { HomeDetails } from './common/homedetails';
// second.ets
import router from '@ohos.router';
@Entry
@Component
struct Second {
@State message: string = 'Hi there'
@State private isSelect: boolean = true;
build() {
Column() {
Row() {
Image($r("app.media.back"))
.objectFit(ImageFit.Contain)
.width(80)
.height(80)
.onClick(() => {
router.back()
})
Blank()
Text('Home')
.fontSize(45)
.fontWeight(FontWeight.Bold)
Blank()
Image($r("app.media.notifications_none"))
.objectFit(ImageFit.Contain)
.width(80)
.height(80)
.onClick(() => {
router.back()
})
}
.width('100%')
Row() {
Image($r("app.media.logo"))
.objectFit(ImageFit.Contain)
.width(200)
.height(200)
.borderRadius(21)
Column() {
Text('June 14, 2022')
.fontSize(40).opacity(0.4)
.fontWeight(FontWeight.Bold)
Text('Good Morning,\nJianGuo',)
.fontSize(60)
.fontWeight(FontWeight.Bold)
}
}
Row({ space: 120 }) {
Column() {
Text('40°',)
.fontSize(40).opacity(0.4)
.fontWeight(FontWeight.Bold)
Text('TEMPERATURE',)
.fontSize(40).opacity(0.4)
}.margin({ left: 60 })
Column() {
Text('59%',)
.fontSize(40).opacity(0.4)
.fontWeight(FontWeight.Bold)
Text('HUMIDITY',)
.fontSize(40).opacity(0.4)
}.margin({ right: 60 })
}.margin({ top: 20 })
Row() {
HomeDetails({})
HomeDetails({ image: "common/images/lightbull.png", isSelected: this.isSelect! })
}
Row() {
HomeDetails({ image: "common/images/opacity.png" })
HomeDetails({ image: "common/images/yytem0.png" })
}
 Row(){
 Column(){
 Text('ADD',)
 .fontSize(40).opacity(0.4)
 .fontWeight(FontWeight.Bold)
 Text('NEW CONTROL',)
 .fontSize(40).opacity(0.4)
 }
 Blank()

 Image($r("app.media.add"))
 .objectFit(ImageFit.Contain)
 .width(100)
 .height(100)
 .borderRadius(21).margin({right:40})

 }.border({
 color:Color.White,
 width:8,
 radius:20
 }).width("88%").height(150)
}.width("100%")
.height('100%').backgroundColor("#F5F5F5")
}
}@Entry
@Component
export struct SettingDetails {
@State private image: string = "common/images/setting.png"
@State private title: string = "Maintenance\nRequests"
@State private isSelected: boolean = true;
build() {
Column() {
Image(this.image)
.objectFit(ImageFit.Contain)
.width(140)
.height(120)
.margin(20)
.border({
width: 12, color: this.isSelected ? Color.White : Color.Red,
radius: 20
})
.onClick(() => {
this.isSelected = !this.isSelected;
})
Text(this.title).fontSize(32).width(200).textAlign(TextAlign.Center)
}
}}@Entry
@Component
export struct SettingDetails {
@State private image: string = "common/images/setting.png"
@State private title: string = "Maintenance\nRequests"
@State private isSelected: boolean = true;
build() {
Column() {
Image(this.image)
.objectFit(ImageFit.Contain)
.width(140)
.height(120)
.margin(20)
.border({
width: 12, color: this.isSelected ? Color.White : Color.Red,
radius: 20
})
.onClick(() => {
this.isSelected = !this.isSelected;
})
Text(this.title).fontSize(32).width(200).textAlign(TextAlign.Center)
}
}} Row(){
Column(){
Text('ADD',)
.fontSize(40).opacity(0.4)
.fontWeight(FontWeight.Bold)
Text('NEW CONTROL',)
.fontSize(40).opacity(0.4)
}
Blank()
Image($r("app.media.add"))
.objectFit(ImageFit.Contain)
.width(100)
.height(100)
.borderRadius(21).margin({right:40})
}.border({
color:Color.White,
width:8,
radius:20
}).width("88%").height(150)恭喜你
- Column
- Row
- Stack
- Text
- Button
- Image
- Navigation
- 边框设置
- 尺寸设置
- 点击控制
- 布局约束
- 背景设置
- 点击事件
- 智能互联
- 硬件交互
- 动画交互
边栏推荐
- 学习open62541 --- [67] 添加自定义Enum并显示名字
- The moveposition function of rigidbody2d of unity2d solves the problem of people or screen jitter when moving
- 6. About JWT
- Continuous test (CT) practical experience sharing
- I feel cheated. Wechat tests the function of "size number" internally, and two wechat can be registered with the same mobile number
- 2022上半年朋友圈都在传的10本书,找到了
- 【Unity Shader】插入Pass实现模型遮挡X光透视效果
- DeSci:去中心化科学是Web3.0的新趋势?
- SlashData开发者工具榜首等你而定!!!
- 数据验证框架 Apache BVal 再使用
猜你喜欢
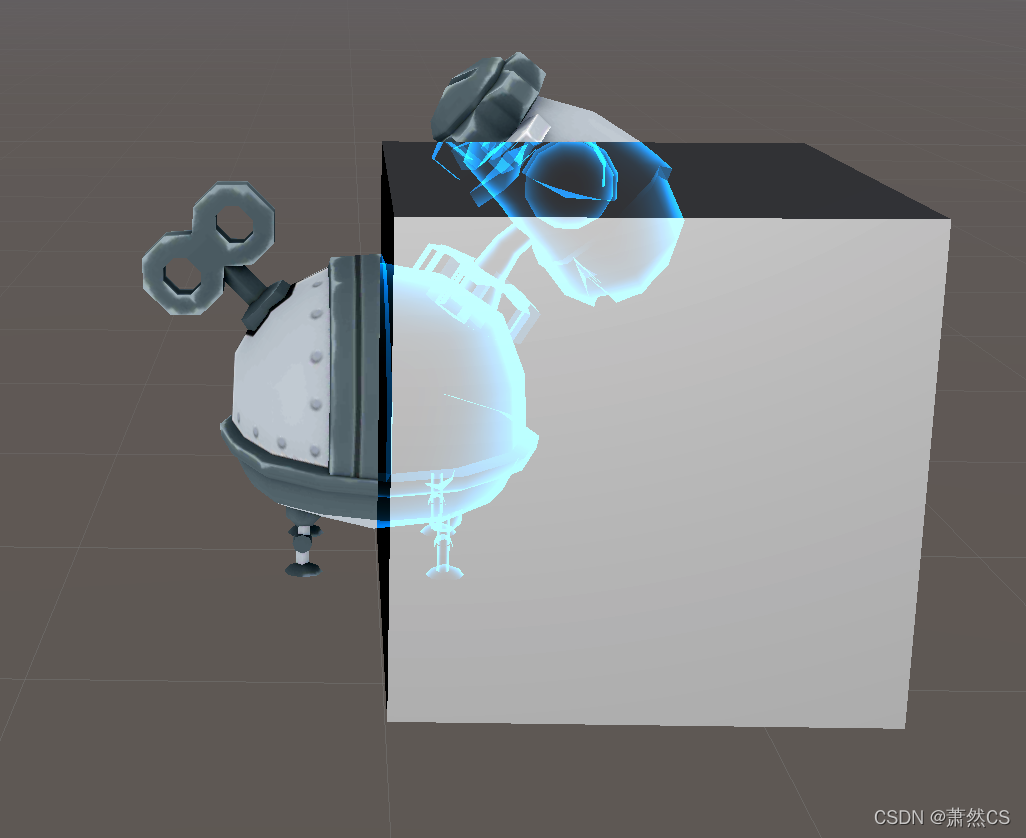
【Unity Shader】插入Pass实现模型遮挡X光透视效果
Reuse of data validation framework Apache bval

Creative changes brought about by the yuan universe

GSAP animation library
微信网页调试8.0.19换掉X5内核,改用xweb,所以x5调试方式已经不能用了,现在有了解决方案

The highest level of anonymity in C language
Thread pool and singleton mode and file operation

清华、剑桥、UIC联合推出首个中文事实核查数据集:基于证据、涵盖医疗社会等多个领域
![Interview vipshop internship testing post, Tiktok internship testing post [true submission]](/img/69/b27255c303150430df467ff3b5cd08.gif)
Interview vipshop internship testing post, Tiktok internship testing post [true submission]
Charles+Postern的APP抓包
随机推荐
Calculation of torque target value (ftorque) in servo torque control mode
基于图像和激光的多模态点云融合与视觉定位
虚拟数字人里的生意经
DataSimba推出微信小程序,DataNuza接受全场景考验? | StartDT Hackathon
Interview vipshop internship testing post, Tiktok internship testing post [true submission]
"Decryption" Huawei machine vision Corps: Huawei is moving up and the industry is moving forward
Cloud security daily 220707: Cisco Expressway series and telepresence video communication server have found remote attack vulnerabilities and need to be upgraded as soon as possible
静态路由配置
unity2d的Rigidbody2D的MovePosition函数移动时人物或屏幕抖动问题解决
Redis
DeSci:去中心化科学是Web3.0的新趋势?
Do you know all four common cache modes?
RIP和OSPF的区别和配置命令
微服务远程Debug,Nocalhost + Rainbond微服务开发第二弹
Flipping Game(枚举)
[paper sharing] where's crypto?
Simple configuration of single arm routing and layer 3 switching
How many times is PTA 1101 B than a
Creative changes brought about by the yuan universe
Will domestic software testing be biased