当前位置:网站首页>Nx10.0 installation tutorial
Nx10.0 installation tutorial
2022-07-07 22:30:00 【Eva215665】
Download resources : download , Extraction code :4epw
step 1
Right mouse click 【UG NX10.0(64bit)】 choice 【 Unzip to UG NX10.0(64bit)】
step 2
Open the unzipped folder , Right mouse click 【NX10.0_JAVA-x64 position 】 choice 【 Run as administrator 】.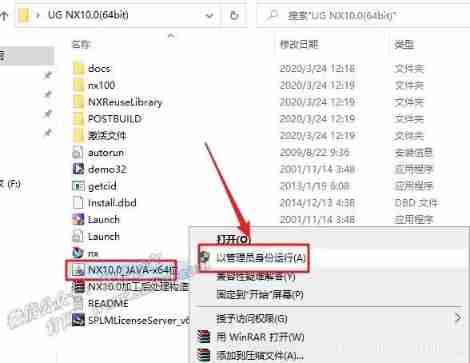
step 3
Click on 【 next step 】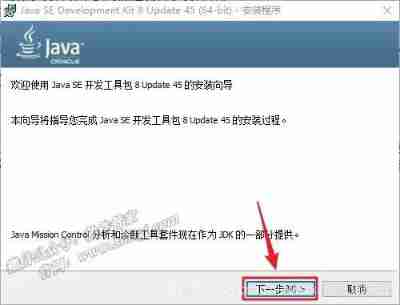
step 4
Click on 【 next step 】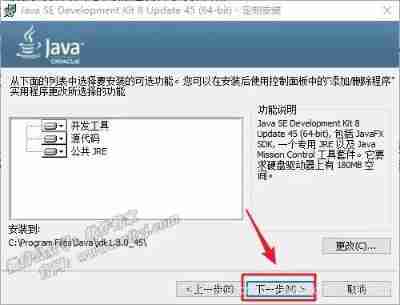
step 5
Click on 【 next step 】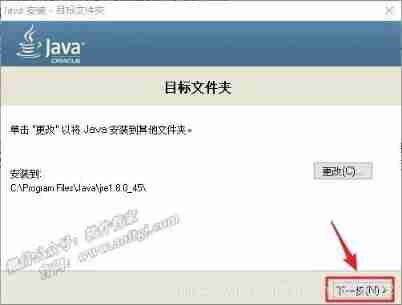
step 6
Java JDK Installation will take approximately 1 minute 
step 7
Java JDK Installation completed , Click on 【 close 】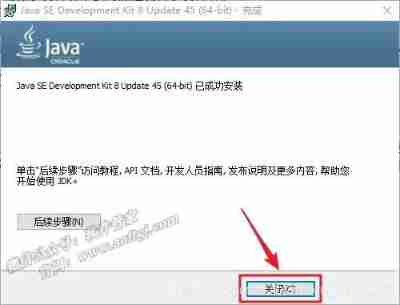
step 8
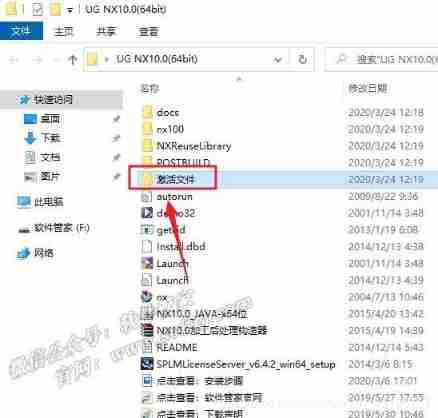
Double click to open the unpacked installation package 【UG NX10.0(64bit)】 In folder 【 Activate file 】 Folder 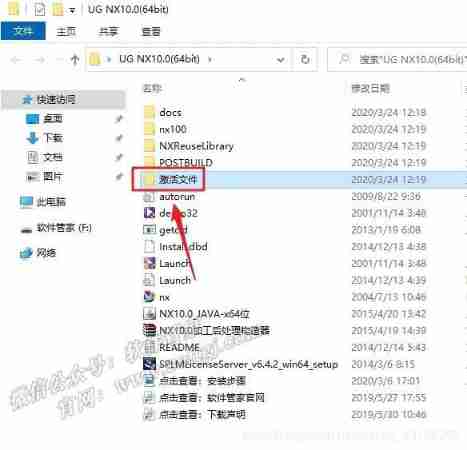
step 9
Double-click to open 【splm8.lic】, choice 【 Notepad 】, Click on 【 determine 】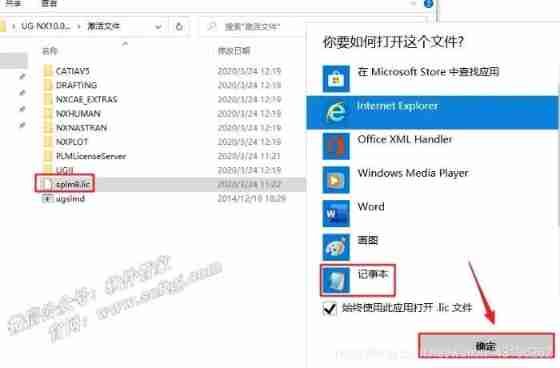
step 10
Click on 【 edit 】 choice 【 Replace 】, Enter what to find 【softgj.com】, stay 【 Replace with 】 Enter your own “ Full computer name ”, Click on 【 All replacement 】.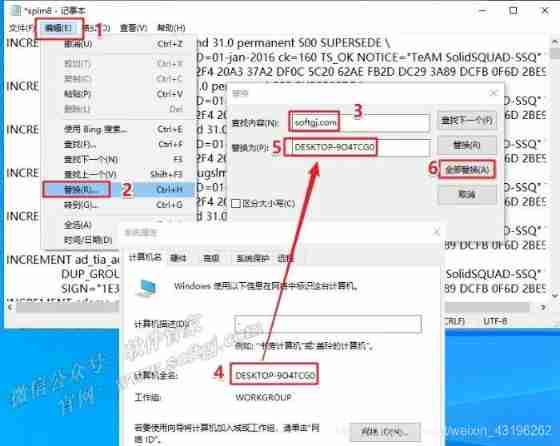
step 11
Please save the saved 【splm8】 File copy to C Plate ( This file cannot be deleted after installation , Otherwise, the software cannot be opened ).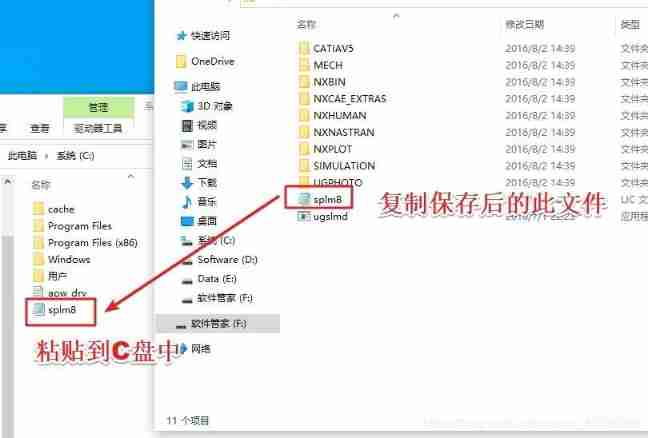
step 12
Open the installation package after decompression 【UG NX10.0(64bit)】 Folder , Right mouse click 【Launch】 choice 【 Run as administrator 】.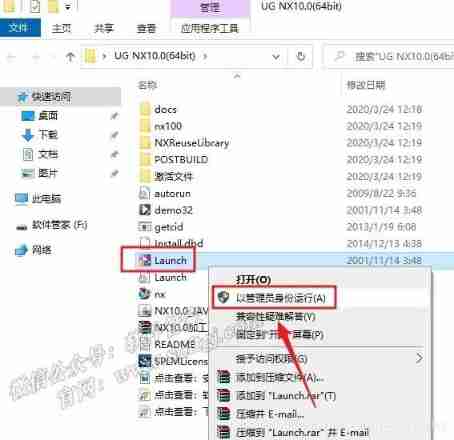
step 13
Click on 【Install Lincense Server】.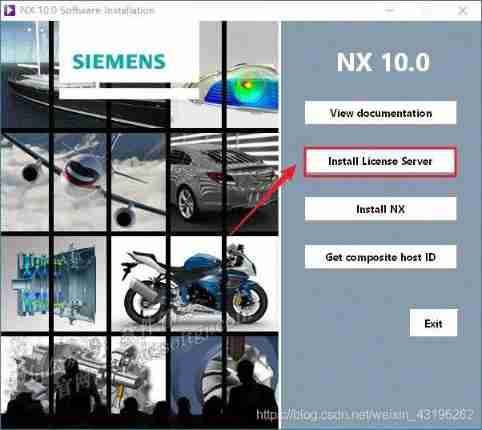
here , When I first installed , Click on 【Install License Server】 The following figure appears after , as a result of Java JDK It is the same as the one originally installed on my computer Java JDK Are not compatible , The solution is , I uninstalled the previously installed Java JDK, Only install NX Given in the installation package 【NX10.0_JAVA-x64 position .exe】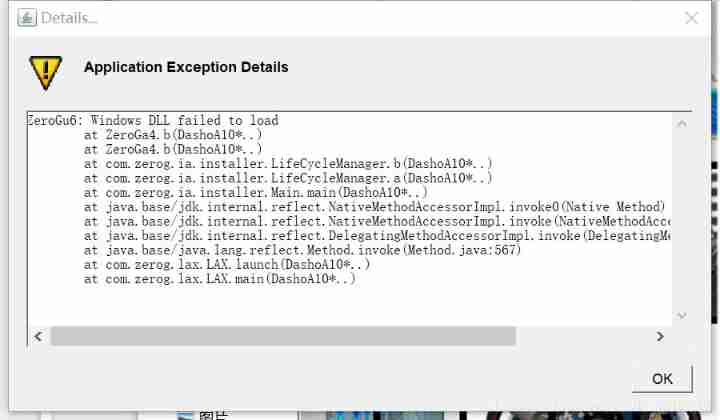
step 14
Click on 【Next】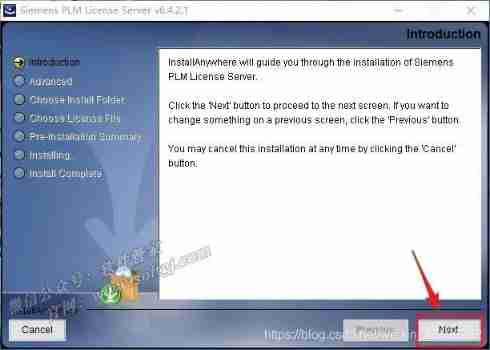
step 15
Click on 【Choose】 Installation location can be changed , Here I install by default , The installation path has not been changed , My installation path is :
C:\Program Files\Siemens\PLMLicenseServer
( Click on 【 next step 】.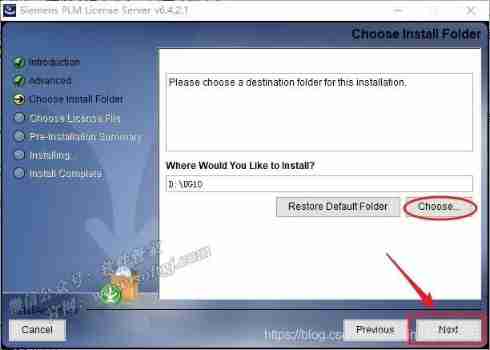
step 16
Click on 【Choose……】 choice 【splm8】 file ( This file is located at C Plate , step 11 After the save , Then copied to C Plate ), Click on 【 next step 】.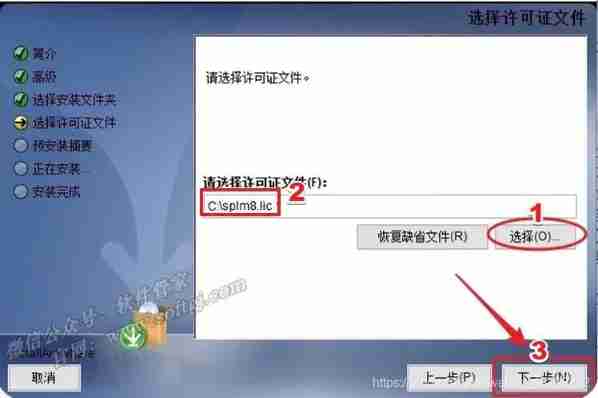
step 17
Click on 【Install】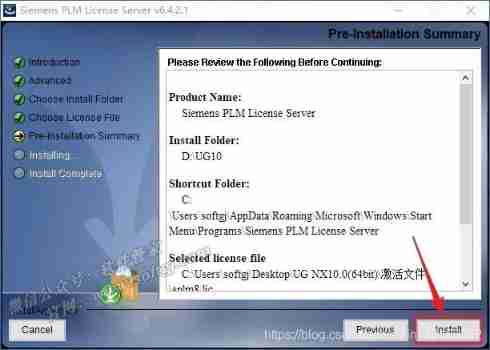
step 18
Software installation ( About need 2 minute )
step 19
Click on 【OK】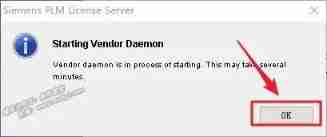
step 20
installation is complete , Click on 【Done】
step 21
Click on the desktop 【 The task bar 】 Installation icon for , Click on 【Install NX】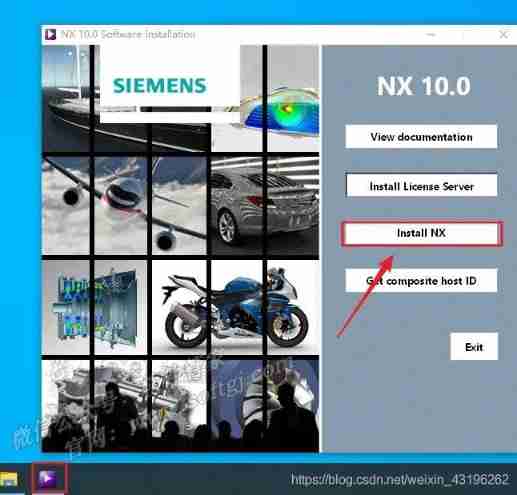
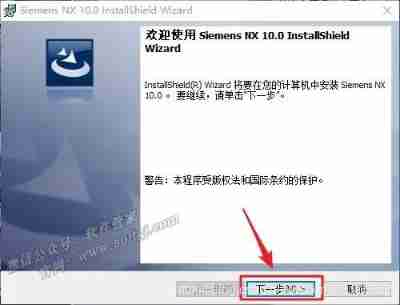
step 22 Click on 【 determine 】
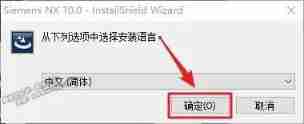
step 23 Click on 【 next step 】
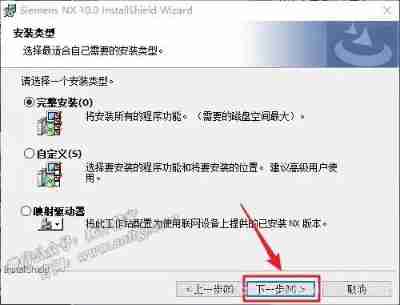
step 24 Click on 【 next step 】
step 25
The installation path is the same as PLMLicenseServer The installation path of is consistent :
C:\Program Files\Siemens\NX 10.0
Install directory structure
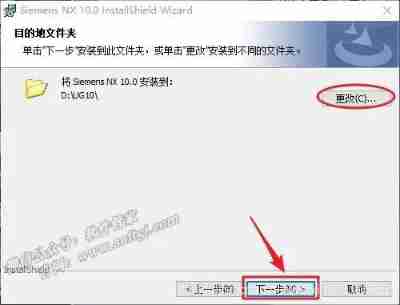

step 26 Click on 【 next step 】
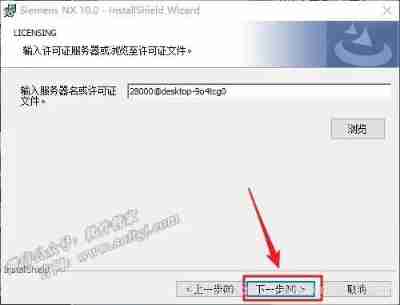
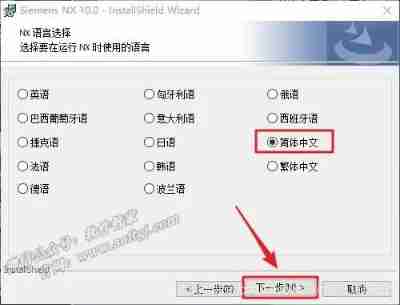
step 27 choice 【 Simplified Chinese 】 And then click 【 next step 】
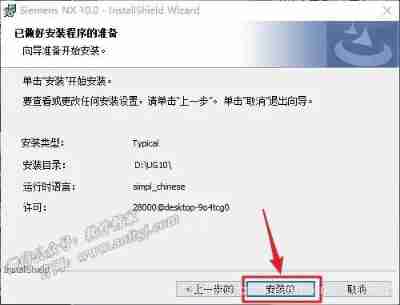
28 Click on 【 install 】
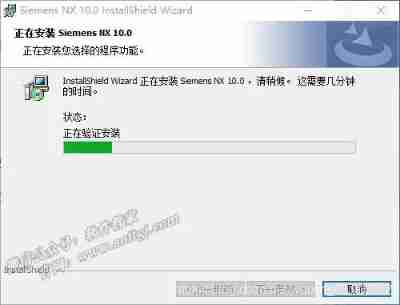
29 Installing ( about 20 minute )
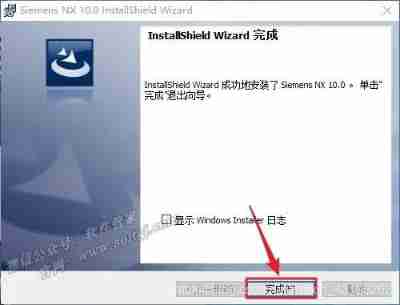
step 30 Click on 【 complete 】
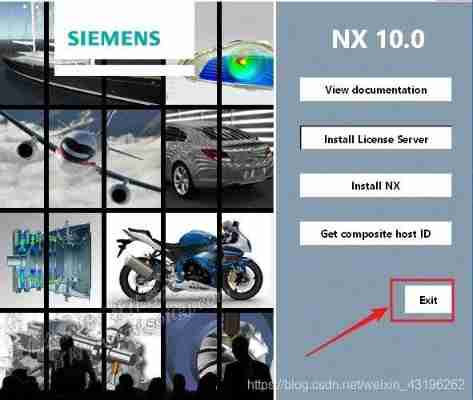
step 31 Click on 【Exit】
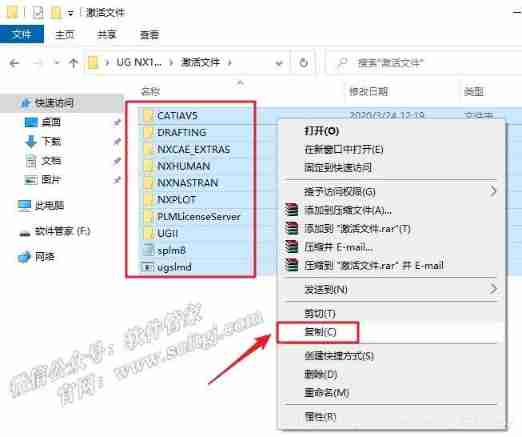
step 32 Open the installation package after decompression 【UG NX10.0(64bit)】 In folder 【 Activate file 】 Folder
step 33 Select all files in the folder , Right-click to select 【 Copy 】
step 34
Switch to NX Under installation path , namely
C:\Program Files\Siemens\NX 10.0
Paste the file into this path , Replace files in destination

step 34
Switch to C:\Program Files\Siemens\PLMLicenseServer Under the path , Copy the selected 10 File 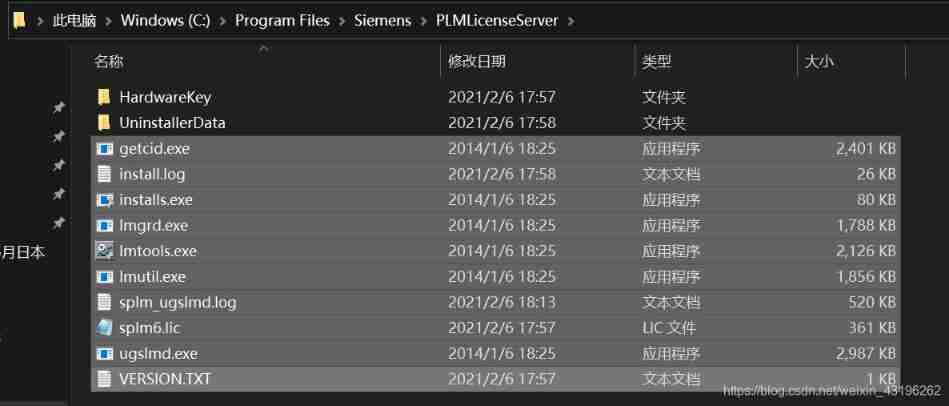
step 35
take 【 step 34】 Selected replicated 10 Paste files into C:\Program Files\Siemens\NX 10.0, then C Packing list ,【 step 11】 Documents in splm8.lic Also copy to this path , The file structure under this path is shown in the following figure 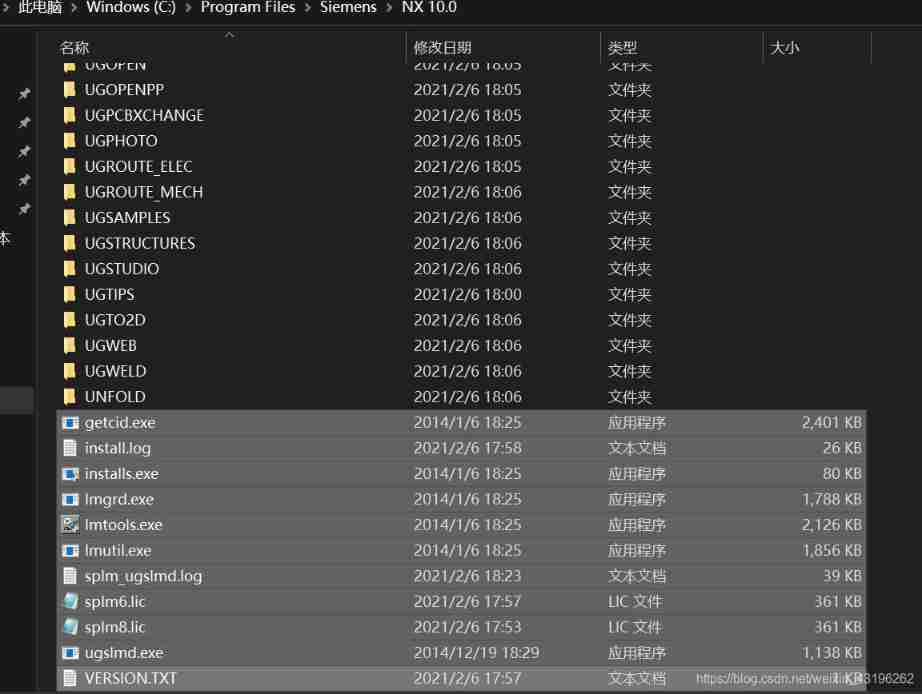
step 36 Right click the folder 【lmtools】 choice 【 Run as administrator 】
Tips : Close before running this file windows A firewall ,windows defender etc. 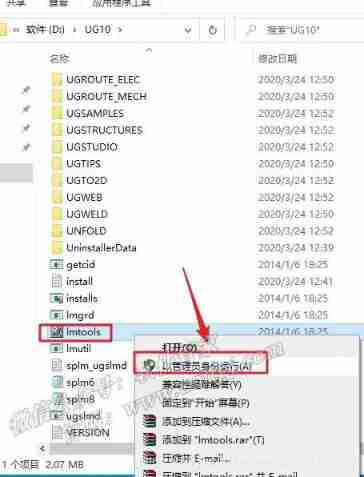
step 37
choice Config Services tab , Be careful 【2】 Several file paths in , Click on 【3】 Medium Save Service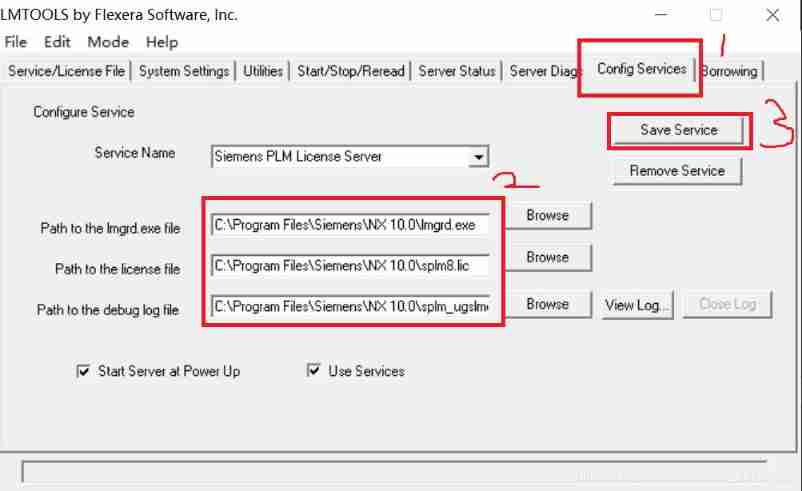
step 38
Click on 【Start/Stop/Reread】, Check 【Force sever Shutdown】【 Click on 【Stop Server】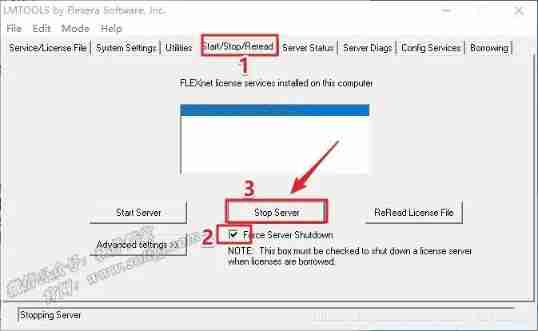
step 39
Click on 【Start Server】, Tips 【Server Start Succesful】 Then click in the upper right corner 【X】 sign out 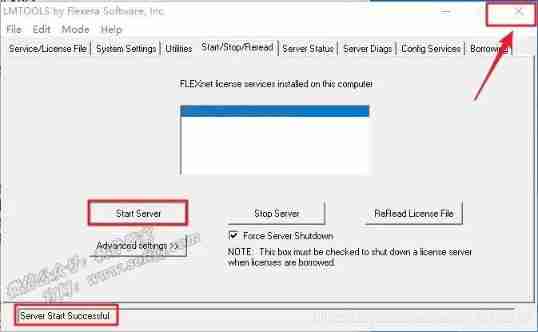
step 40
Get into 【NX 10.0】, execute 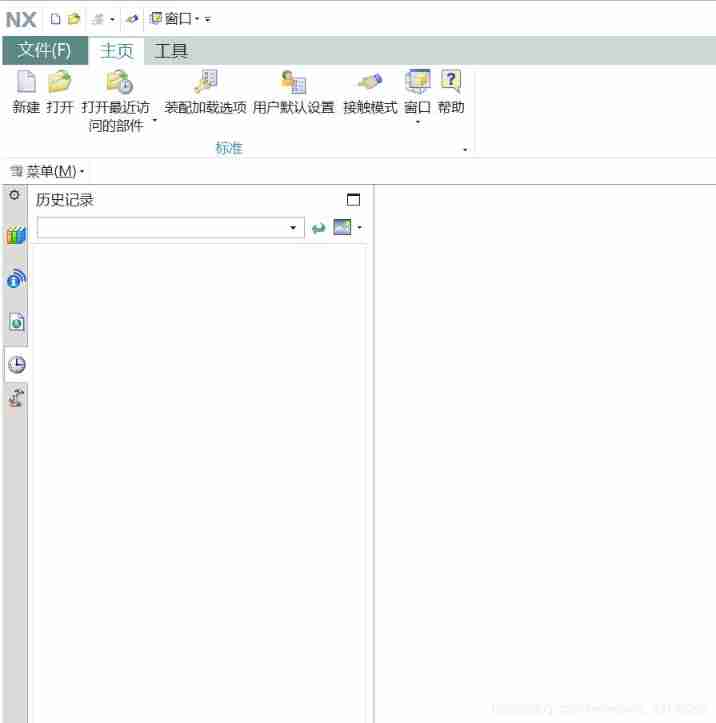
边栏推荐
- How does win11 unblock the keyboard? Method of unlocking keyboard in win11
- Which futures company is the safest to open a futures account?
- UWA问答精选
- Main functions of OS, Sys and random Standard Libraries
- 【Azure微服务 Service Fabric 】如何转移Service Fabric集群中的种子节点(Seed Node)
- 使用 BlocConsumer 同时构建响应式组件和监听状态
- OpenGL homework - Hello, triangle
- Revit secondary development - collision detection
- Aspose. Word operation word document (I)
- Application practice | the efficiency of the data warehouse system has been comprehensively improved! Data warehouse construction based on Apache Doris in Tongcheng digital Department
猜你喜欢
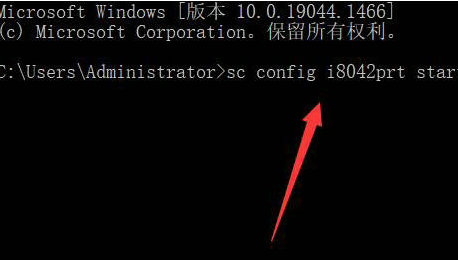
How does win11 unblock the keyboard? Method of unlocking keyboard in win11

Pre sale 179000, hengchi 5 can fire? Product power online depends on how it is sold
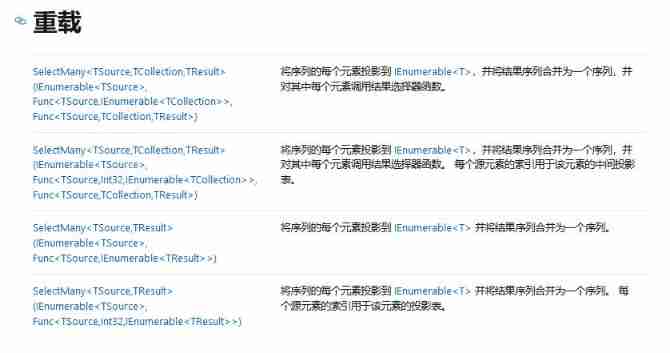
Remember an experience of using selectmany
Matplotlib quick start
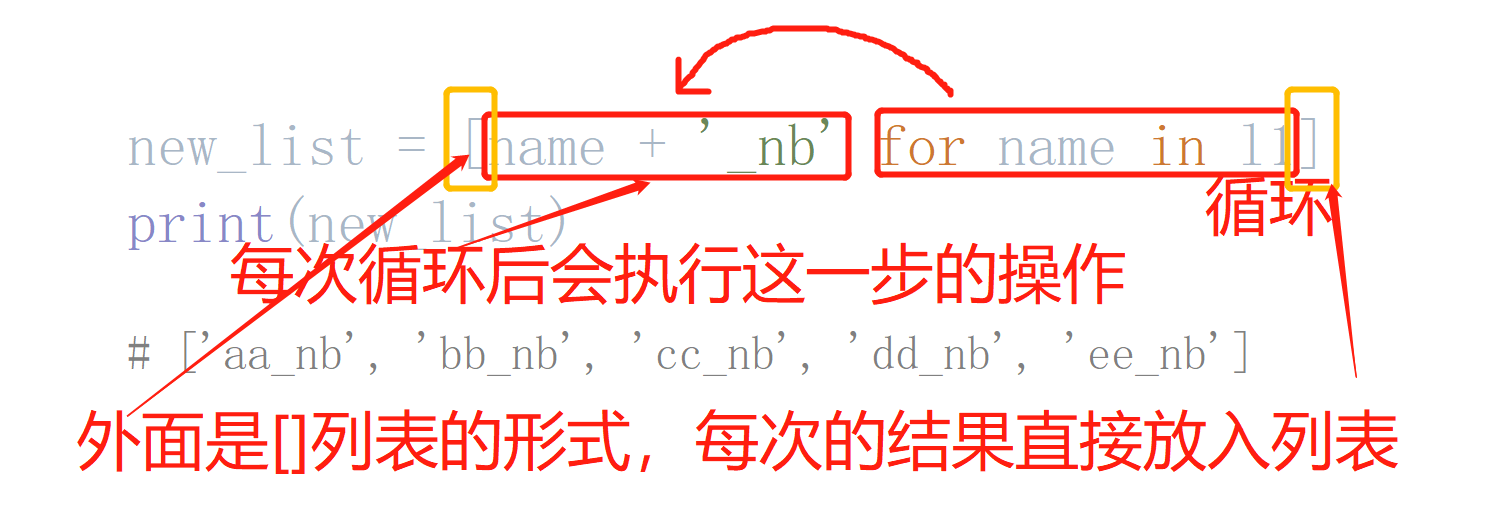
Ternary expressions, generative expressions, anonymous functions
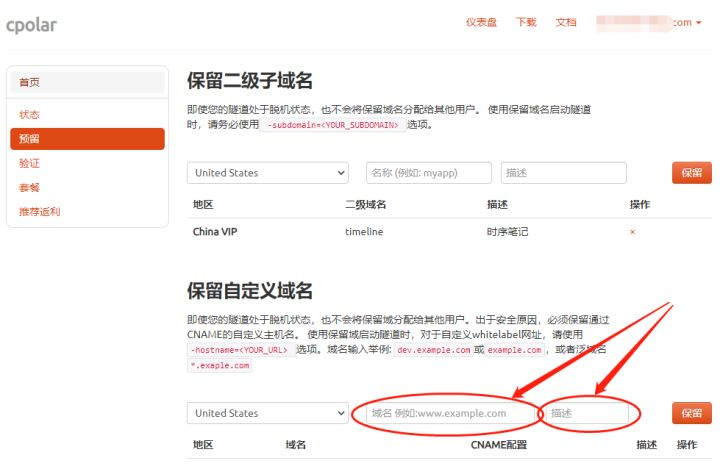
Build your own website (18)
![[azure microservice service fabric] start the performance monitor in the SF node and set the method of capturing the process](/img/80/11c2b539c217ecd6ba55668d3e71e9.png)
[azure microservice service fabric] start the performance monitor in the SF node and set the method of capturing the process
What does it mean to prefix a string with F?
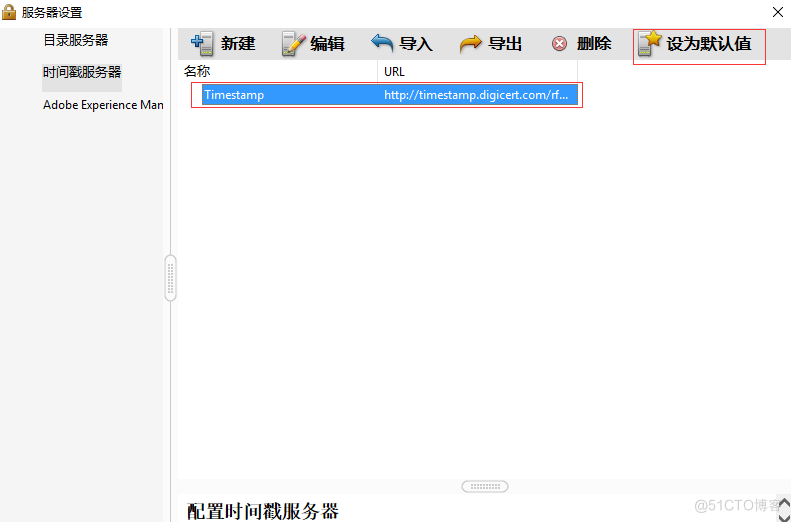
Pdf document signature Guide
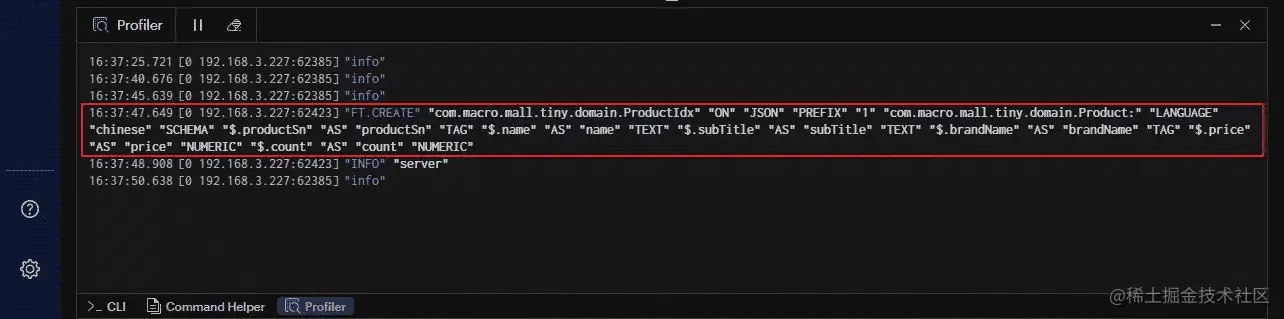
Redis官方ORM框架比RedisTemplate更优雅
随机推荐
[开源] .Net ORM 访问 Firebird 数据库
变量与常量
The free styling service of Dyson's official direct store is now open for appointment. Pioneer Technology interprets the styling concept of hair care and helps consumers unlock diversified and shiny s
IP网络主动测评系统——X-Vision
谈谈制造企业如何制定敏捷的数字化转型策略
Relationship between URL and URI
Revit secondary development - intercept project error / warning pop-up
Ueeditor custom display insert code
Latest Android advanced interview questions summary, Android interview questions and answers
Implementation method of data platform landing
Px4 autonomous flight
Antd date component appears in English
The essence of analog Servlet
Robot autonomous exploration series papers environment code
The whole network "chases" Zhong Xuegao
null == undefined
UnicodeDecodeError: ‘gbk‘ codec can‘t decode byte 0xf9 in position 56: illegal multibyte sequence
This experimental syntax requires enabling the parser plugin: ‘optionalChaining‘
It's worth seeing. Interview sites and interview skills
Variables and constants