当前位置:网站首页>【Flask】官方教程(Tutorial)-part3:blog蓝图、项目可安装化
【Flask】官方教程(Tutorial)-part3:blog蓝图、项目可安装化
2022-07-06 01:26:00 【科皮子菊】
前序文章:
官方教程(Tutorial)-part1:项目布局、应用程序设置、定义和访问数据库
官方教程(Tutorial)-part2:蓝图-视图、模板、静态文件
blog蓝图
下面我们使用书写验证蓝图模型的相关技术来写博客的蓝图。博客应该列出所有帖子,允许登录用户创建帖子,并允许帖子作者编辑或删除它。
在实现每个视图时,请保持开发服务器运行。保存更改时,请尝试转到浏览器中的 URL 并对其进行测试。
蓝图
定义蓝图并在应用工厂中注册。使用app.register_blueprint() 从工厂导入并注册蓝图。在返回应用程序之前,将新代码放在工厂函数的末尾。
flaskr/__init__.py
def create_app():
    app = ...
    # existing code omitted

    from . import blog
    app.register_blueprint(blog.bp)
    app.add_url_rule('/', endpoint='index')

    return app
与身份验证蓝图不同,博客蓝图没有 url_prefix。所以索引视图将在 /,创建视图在 /create,依此类推。博客是 Flaskr 的主要功能,因此博客索引将成为主要索引是有道理的。
但是,下面定义的index视图的端点将是 blog.index。一些身份验证视图引用了普通索引端点。 app.add_url_rule() 将端点名称'index' 与 / 链接相关联,以便 url_for('index') 或 url_for('blog.index') 都可以工作,生成相同的/URL。
在另一个应用程序中,您可能会给博客蓝图一个 url_prefix 并在应用程序工厂中定义一个单独的索引视图,类似于 hello 视图。那么 index 和 blog.index 端点和 URL 就会不同。
index页面
该索引将显示所有帖子,最近的在前。使用 JOIN 以便用户表中的作者信息在结果中可用。
flaskr/blog.py
@bp.route('/')
def index():
    db = get_db()
    posts = db.execute(
        'SELECT p.id, title, body, created, author_id, username'
        ' FROM post p JOIN user u ON p.author_id = u.id'
        ' ORDER BY created DESC'
    ).fetchall()
    return render_template('blog/index.html', posts=posts)
flaskr/templates/blog/index.html
{% extends 'base.html' %}

{% block header %}
  <h1>{% block title %}Posts{% endblock %}</h1>
  {% if g.user %}
    <a class="action" href="{
     { url_for('blog.create') }}">New</a>
  {% endif %}
{% endblock %}

{% block content %}
  {% for post in posts %}
    <article class="post">
      <header>
        <div>
          <h1>{
   { post['title'] }}</h1>
          <div class="about">by {
   { post['username'] }} on {
   { post['created'].strftime('%Y-%m-%d') }}</div>
        </div>
        {% if g.user['id'] == post['author_id'] %}
          <a class="action" href="{
     { url_for('blog.update', id=post['id']) }}">Edit</a>
        {% endif %}
      </header>
      <p class="body">{
   { post['body'] }}</p>
    </article>
    {% if not loop.last %}
      <hr>
    {% endif %}
  {% endfor %}
{% endblock %}
当用户登录时,标题块会添加一个指向创建视图的链接。当用户是帖子的作者时,他们会看到指向该帖子更新视图的“编辑”链接。loop.last是 Jinja for 循环中可用的特殊变量。它用于在除最后一个帖子之外的每个帖子之后显示一行,以在视觉上将它们分开。
创建帖子
create 视图的工作方式与 auth register 视图相同。要么显示表单,要么验证发布的数据并将帖子添加到数据库或显示错误。
您之前编写的login_required装饰器用于博客视图。用户必须登录才能访问这些视图,否则它们将被重定向到登录页面。
flaskr/blog.py
@bp.route('/create', methods=('GET', 'POST'))
@login_required
def create():
    if request.method == 'POST':
        title = request.form['title']
        body = request.form['body']
        error = None

        if not title:
            error = 'Title is required.'

        if error is not None:
            flash(error)
        else:
            db = get_db()
            db.execute(
                'INSERT INTO post (title, body, author_id)'
                ' VALUES (?, ?, ?)',
                (title, body, g.user['id'])
            )
            db.commit()
            return redirect(url_for('blog.index'))

    return render_template('blog/create.html')
flaskr/templates/blog/create.html
{% extends 'base.html' %}

{% block header %}
  <h1>{% block title %}New Post{% endblock %}</h1>
{% endblock %}

{% block content %}
  <form method="post">
    <label for="title">Title</label>
    <input name="title" id="title" value="{
     { request.form['title'] }}" required>
    <label for="body">Body</label>
    <textarea name="body" id="body">{
   { request.form['body'] }}</textarea>
    <input type="submit" value="Save">
  </form>
{% endblock %}
更新
更新和删除视图都需要通过 id 获取帖子并检查作者是否与登录用户匹配。为避免重复代码,您可以编写一个函数来获取帖子并从每个视图中调用它。
flaskr/blog.py
def get_post(id, check_author=True):
    post = get_db().execute(
        'SELECT p.id, title, body, created, author_id, username'
        ' FROM post p JOIN user u ON p.author_id = u.id'
        ' WHERE p.id = ?',
        (id,)
    ).fetchone()

    if post is None:
        abort(404, f"Post id {
      id} doesn't exist.")

    if check_author and post['author_id'] != g.user['id']:
        abort(403)

    return post
abort() 将引发一个返回 HTTP 状态代码的特殊异常。它需要一条可选消息来显示错误,否则使用默认消息。404 表示“未找到”,403 表示“禁止”。 (401 表示“未经授权”,但您重定向到登录页面而不是返回该状态。)
定义了 check_author 参数,以便该函数可用于在不检查作者的情况下获取帖子。如果您编写视图以在页面上显示单个帖子,这将很有用,用户并不重要,因为他们没有修改帖子。
flaskr/blog.py
@bp.route('/<int:id>/update', methods=('GET', 'POST'))
@login_required
def update(id):
    post = get_post(id)

    if request.method == 'POST':
        title = request.form['title']
        body = request.form['body']
        error = None

        if not title:
            error = 'Title is required.'

        if error is not None:
            flash(error)
        else:
            db = get_db()
            db.execute(
                'UPDATE post SET title = ?, body = ?'
                ' WHERE id = ?',
                (title, body, id)
            )
            db.commit()
            return redirect(url_for('blog.index'))

    return render_template('blog/update.html', post=post)
与您目前编写的视图不同,更新函数接受一个参数 id。这对应于路由中的 <int:id>。一个真实的 URL 看起来像 /1/update。 Flask 将捕获 1,确保它是一个 int,并将其作为 id 参数传递。如果你不指定 int: 而是使用 <id>,它将是一个字符串。要生成更新页面的 URL,需要向 url_for() 传递 id,以便它知道要填写什么:url_for('blog.update', id=post['id'])。这也在上面的 index.html 文件中。
创建和更新视图看起来非常相似。主要区别在于更新视图使用一个 post 对象和一个 UPDATE 查询而不是一个 INSERT。通过一些巧妙的重构,您可以为这两个操作使用一个视图和模板,但对于本教程来说,将它们分开会更清楚。
flaskr/templates/blog/update.html
{% extends 'base.html' %}

{% block header %}
  <h1>{% block title %}Edit "{
   { post['title'] }}"{% endblock %}</h1>
{% endblock %}

{% block content %}
  <form method="post">
    <label for="title">Title</label>
    <input name="title" id="title" value="{
     { request.form['title'] or post['title'] }}" required>
    <label for="body">Body</label>
    <textarea name="body" id="body">{
   { request.form['body'] or post['body'] }}</textarea>
    <input type="submit" value="Save">
  </form>
  <hr>
  <form action="{
     { url_for('blog.delete', id=post['id']) }}" method="post">
    <input class="danger" type="submit" value="Delete" onclick="return confirm('Are you sure?');">
  </form>
{% endblock %}
该模板有两个form。第一个将编辑后的数据发布到当前页面 (/<id>/update)。另一种形式只包含一个按钮,并指定一个发布到删除视图的操作属性。该按钮使用一些 JavaScript 在提交之前显示确认对话框。
模式 { { request.form['title'] 或 post['title'] }} 用于选择表单中显示的数据。当表单尚未提交时,会出现原始的发布数据,但如果发布了无效的表单数据,您希望显示它以便用户修复错误,因此使用 request.form 代替。request 是模板中自动可用的另一个变量。
删除
删除视图没有自己的模板,删除按钮是 update.html 的一部分,并发布到/<id>/deleteURL。由于没有模板,它只会处理 POST 方法,然后重定向到索引视图。
flaskr/blog.py
@bp.route('/<int:id>/delete', methods=('POST',))
@login_required
def delete(id):
    get_post(id)
    db = get_db()
    db.execute('DELETE FROM post WHERE id = ?', (id,))
    db.commit()
    return redirect(url_for('blog.index'))
开启服务测试
由于之前的服务没有关闭,并且使用的是开发模式,那么就可以直接访问了。
登陆之后有如下效果: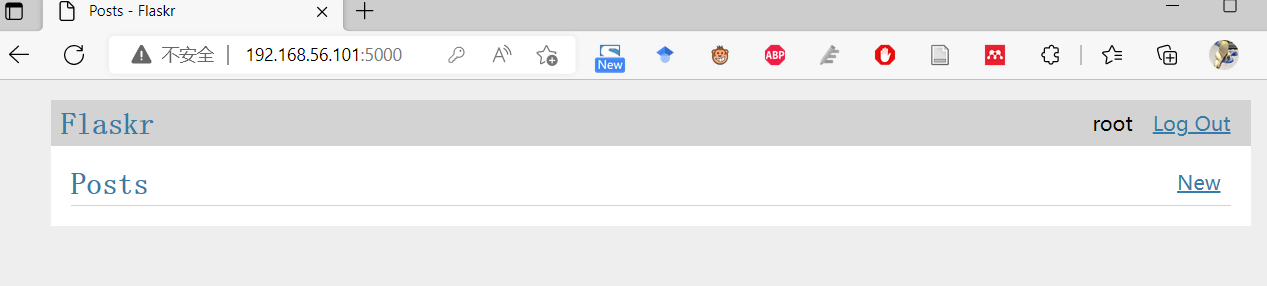
那么我们点击“New”可以去创建一个篇文章: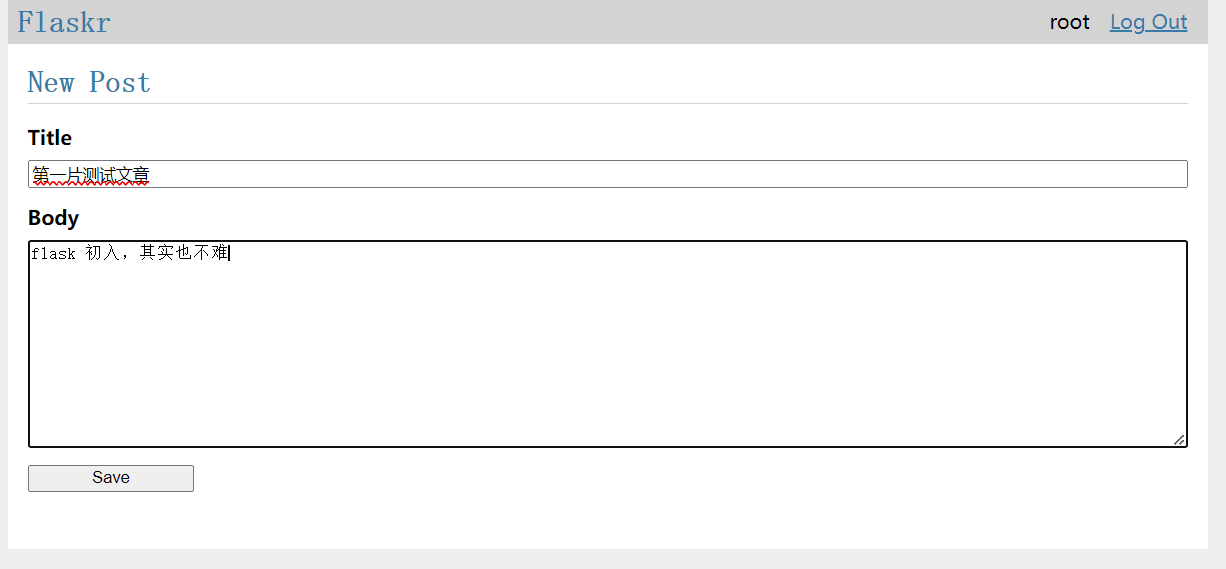
点击保存后,就跳转到博客的首页: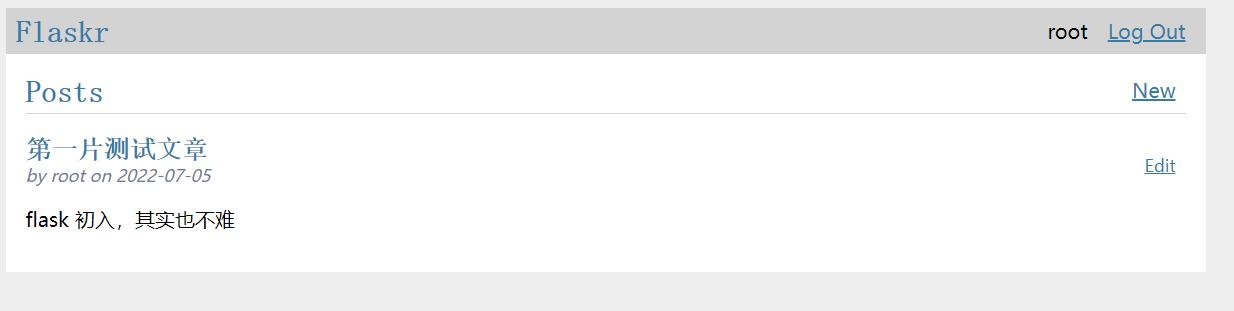
对于该篇博客,我们可以选择“Edit”,则进入下面的页面: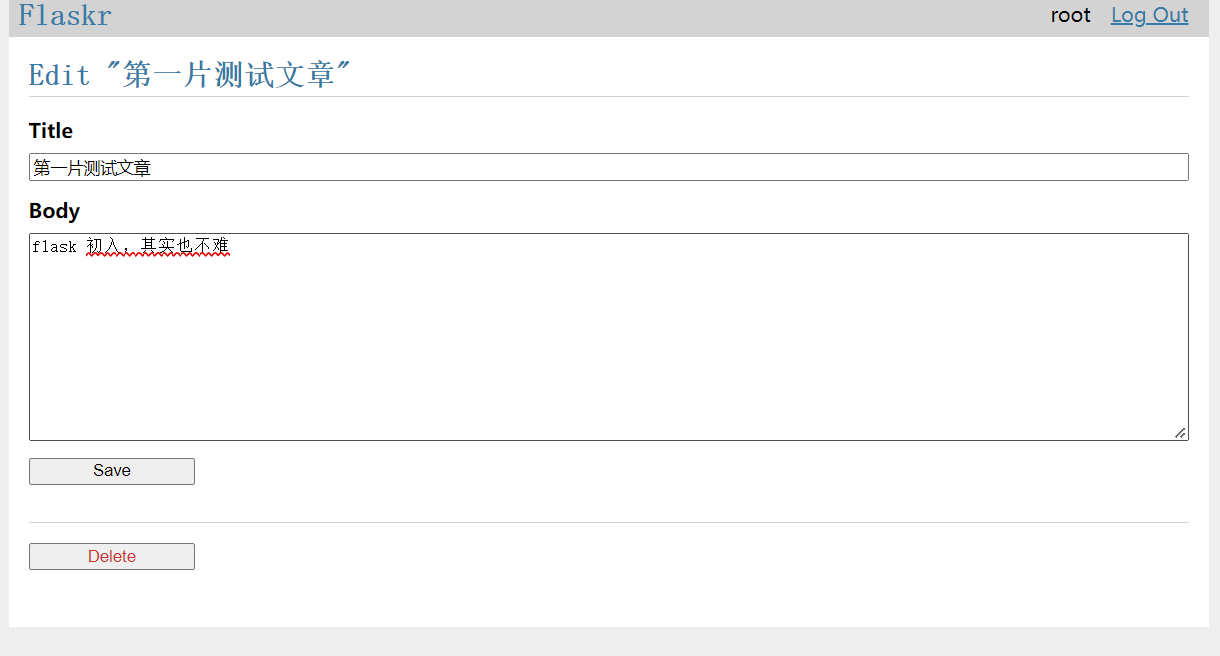
我们可以修改,也可以删除。后面的读者可以自己去尝试。
项目可安装化
使您的项目可安装意味着您可以构建一个分发文件并将其安装在另一个环境中,就像您在项目环境中安装 Flask 一样。这使得部署您的项目与安装任何其他库相同,因此您使用所有标准 Python 工具来管理所有内容。
安装还带来了其他从教程中或作为新 Python 用户可能不明显的好处,包括:
- 目前,Python 和 Flask 了解如何使用 flaskr 包只是因为您是从项目目录运行的。安装意味着无论您从哪里运行都可以导入它。
- 您可以像管理其他软件包一样管理项目的依赖项,因此
pip install yourproject.whl会安装它们。 - 测试工具可以将您的测试环境与您的开发环境隔离开来。
项目描述
setup.py 文件描述了您的项目和属于它的文件。
setup.py
from setuptools import find_packages, setup

setup(
    name='flaskr',
    version='1.0.0',
    packages=find_packages(),
    include_package_data=True,
    zip_safe=False,
    install_requires=[
        'flask',
    ],
)
packages 告诉 Python 要包含哪些包目录(以及它们包含的 Python 文件)。 find_packages() 会自动找到这些目录,因此您不必输入它们。要包含其他文件,例如静态和模板目录,请设置 include_package_data。 Python 需要另一个名为MANIFEST.in的文件来说明其他数据是什么。
MANIFEST.in
include flaskr/schema.sql
graft flaskr/static
graft flaskr/templates
global-exclude *.pyc
这告诉 Python 复制静态和模板目录以及 schema.sql 文件中的所有内容,但排除所有字节码文件。
项目安装
使用 pip 在虚拟环境中安装您的项目。
pip install -e .
这告诉 pip 在当前目录中找到 setup.py 并以可编辑或开发模式安装它。可编辑模式意味着当您更改本地代码时,如果您更改了有关项目的元数据(例如其依赖项),则只需重新安装。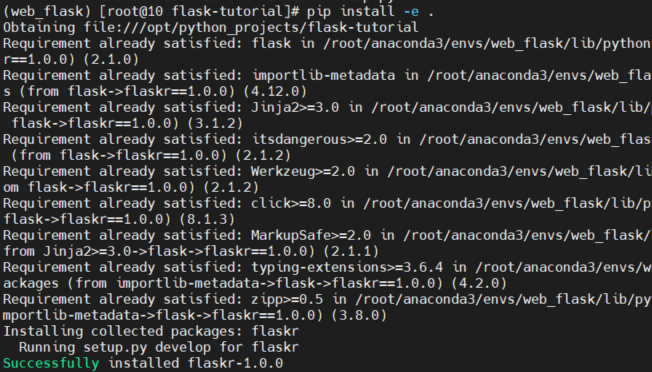
您可以观察到该项目现在安装了 pip list。
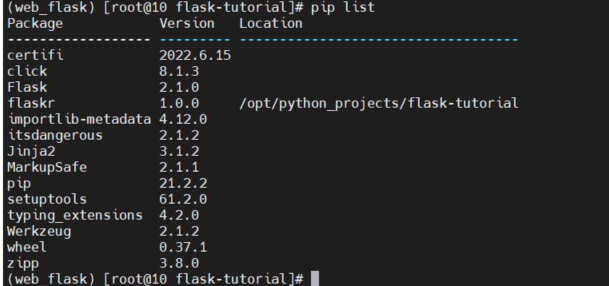
到目前为止,您运行项目的方式没有任何变化。 FLASK_APP 仍然设置为 flaskr 并且 flask run 仍然运行应用程序,但是您可以从任何地方调用它,而不仅仅是 flask-tutorial 目录
边栏推荐
- Leetcode 208. Implement trie (prefix tree)
- Pbootcms plug-in automatically collects fake original free plug-ins
- File upload vulnerability test based on DVWA
- Finding the nearest common ancestor of binary tree by recursion
- 一图看懂!为什么学校教了你Coding但还是不会的原因...
- ORA-00030
- Leetcode1961. Check whether the string is an array prefix
- 【全網最全】 |MySQL EXPLAIN 完全解讀
- Gartner发布2022-2023年八大网络安全趋势预测,零信任是起点,法规覆盖更广
- Who knows how to modify the data type accuracy of the columns in the database table of Damon
猜你喜欢
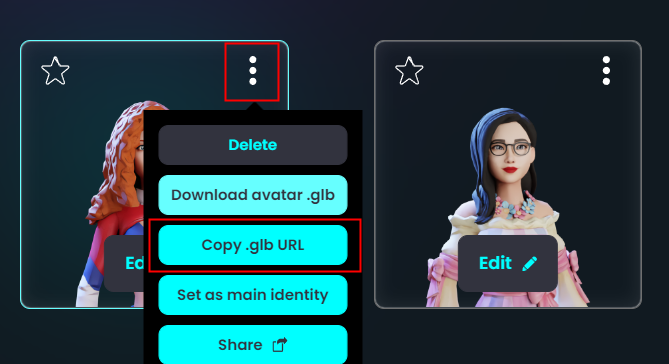
3D model format summary
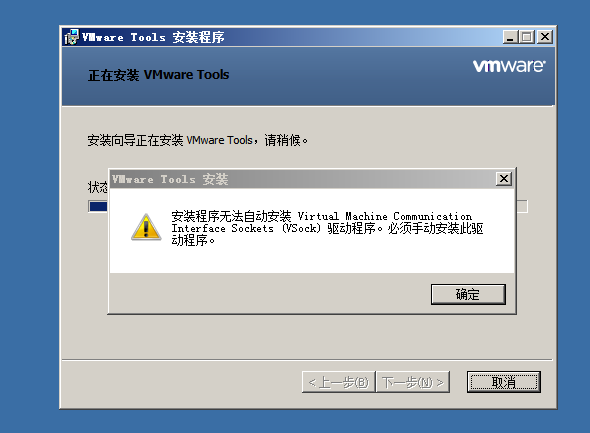
VMware Tools installation error: unable to automatically install vsock driver
![[technology development -28]: overview of information and communication network, new technology forms, high-quality development of information and communication industry](/img/94/05b2ff62a8a11340cc94c69645db73.png)
[technology development -28]: overview of information and communication network, new technology forms, high-quality development of information and communication industry
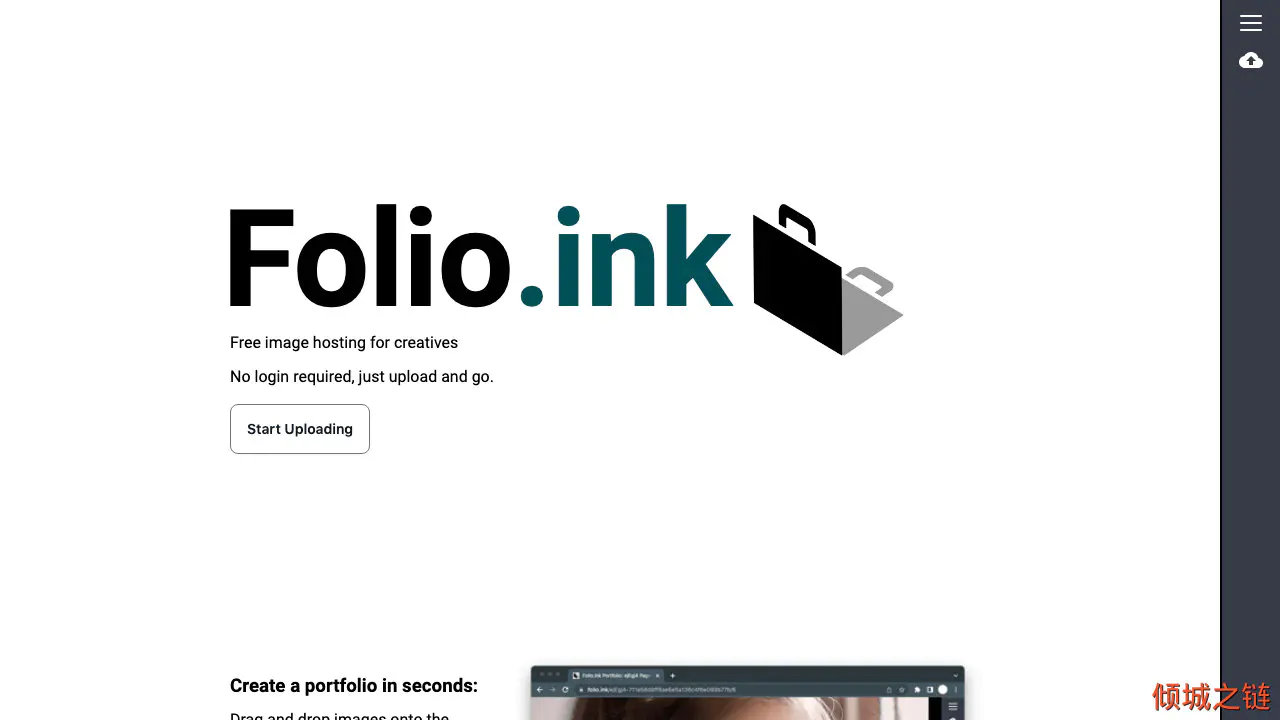
Folio.ink 免费、快速、易用的图片分享工具
leetcode刷题_验证回文字符串 Ⅱ
![[solved] how to generate a beautiful static document description page](/img/c1/6ad935c1906208d81facb16390448e.png)
[solved] how to generate a beautiful static document description page
WordPress collection plug-in automatically collects fake original free plug-ins
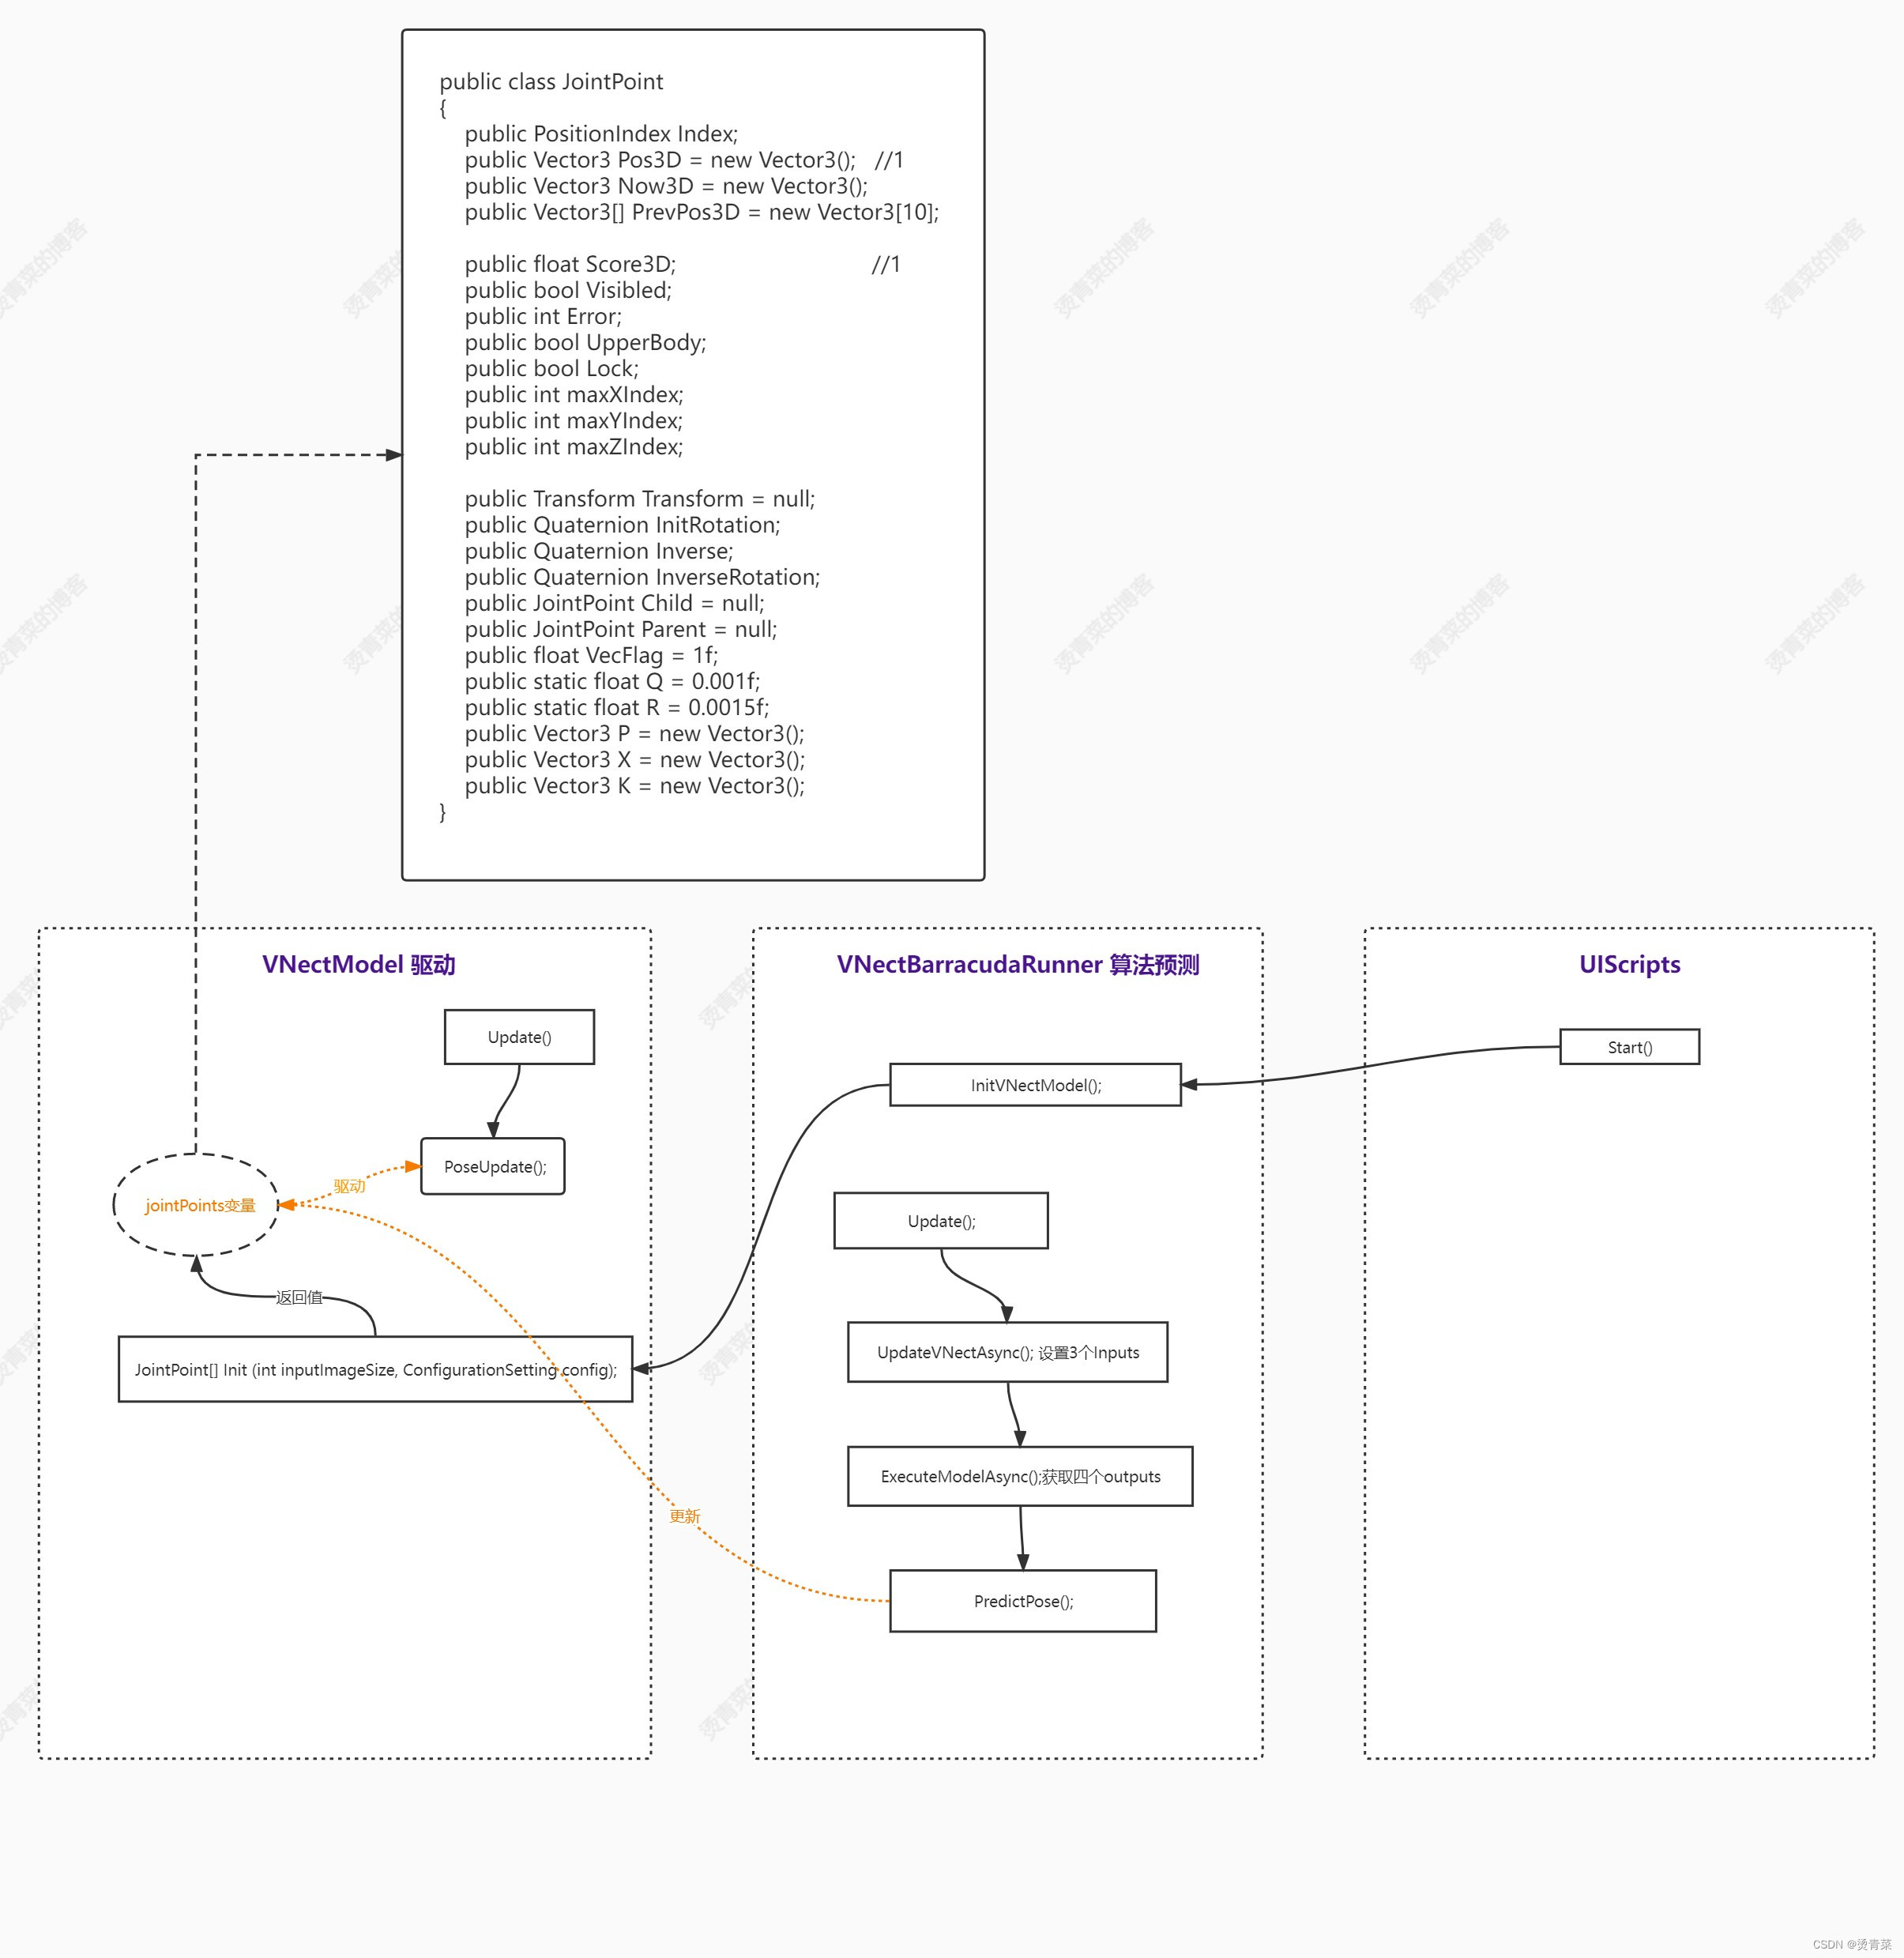
Threedposetracker project resolution

一圖看懂!為什麼學校教了你Coding但還是不會的原因...
【已解决】如何生成漂亮的静态文档说明页
随机推荐
Leetcode skimming questions_ Sum of squares
伦敦银走势中的假突破
A Cooperative Approach to Particle Swarm Optimization
Loop structure of program (for loop)
A glimpse of spir-v
Huawei Hrbrid interface and VLAN division based on IP
ORA-00030
ClickOnce does not support request execution level 'requireAdministrator'
DOM introduction
C web page open WinForm exe
Paging of a scratch (page turning processing)
Idea sets the default line break for global newly created files
Huawei converged VLAN principle and configuration
1791. Find the central node of the star diagram / 1790 Can two strings be equal by performing string exchange only once
3D视觉——4.手势识别(Gesture Recognition)入门——使用MediaPipe含单帧(Singel Frame)和实时视频(Real-Time Video)
ctf. Show PHP feature (89~110)
Who knows how to modify the data type accuracy of the columns in the database table of Damon
Dede collection plug-in free collection release push plug-in
Test de vulnérabilité de téléchargement de fichiers basé sur dvwa
关于softmax函数的见解