当前位置:网站首页>Fairygui character status Popup
Fairygui character status Popup
2022-07-06 12:42:00 【SQ Liu】
FairyGUI Character status popup
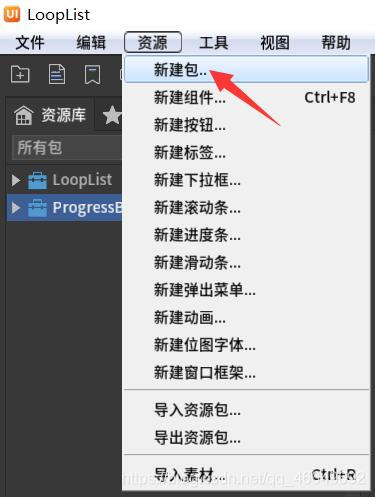
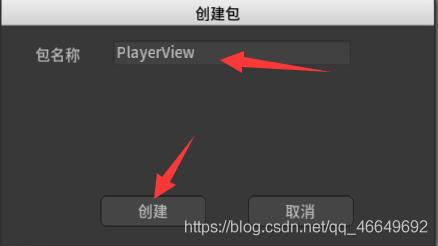
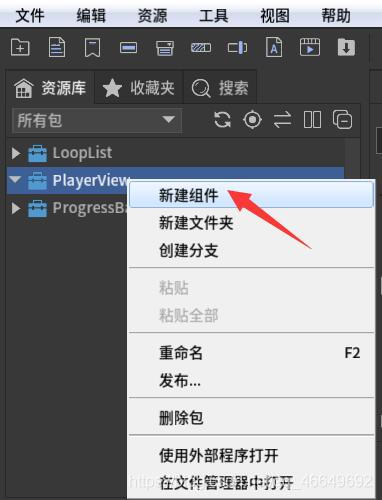
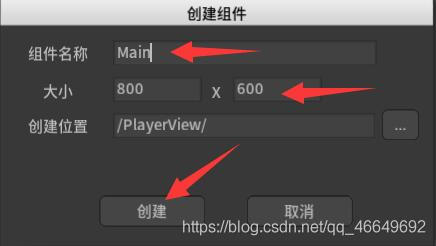
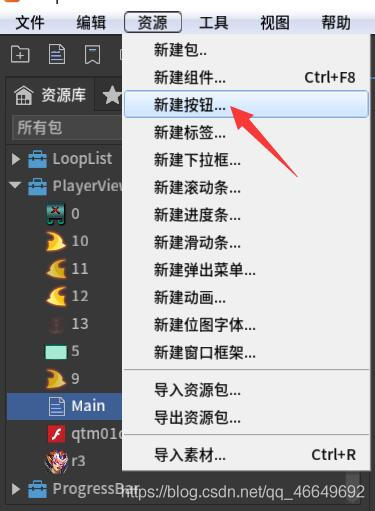
One 、 New packages and components
Two 、 Import material
Click here to download the material
3、 ... and 、 Making the main interface
The main interface is a simple avatar button
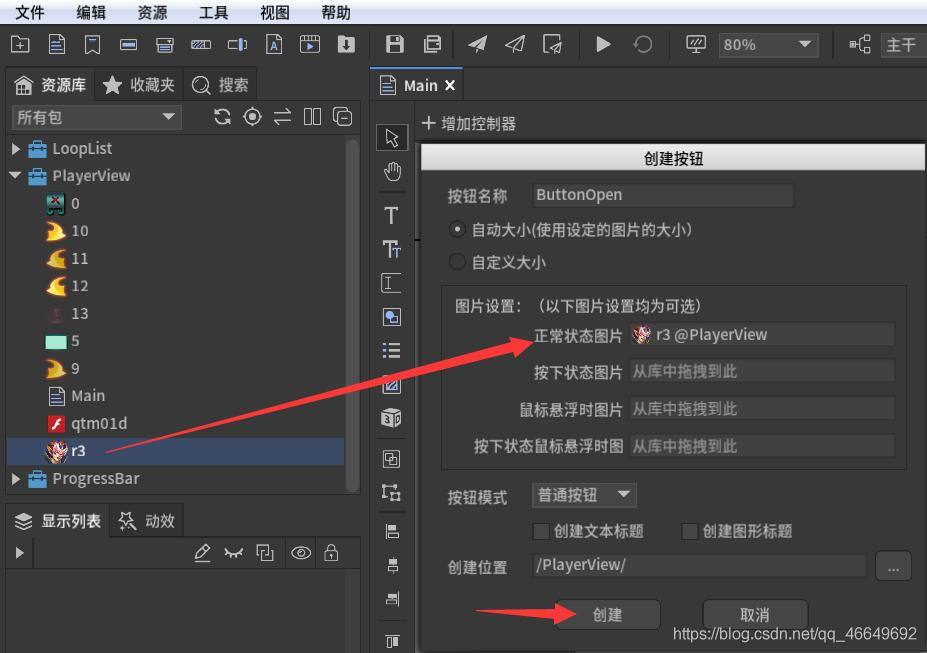
1、 The new button
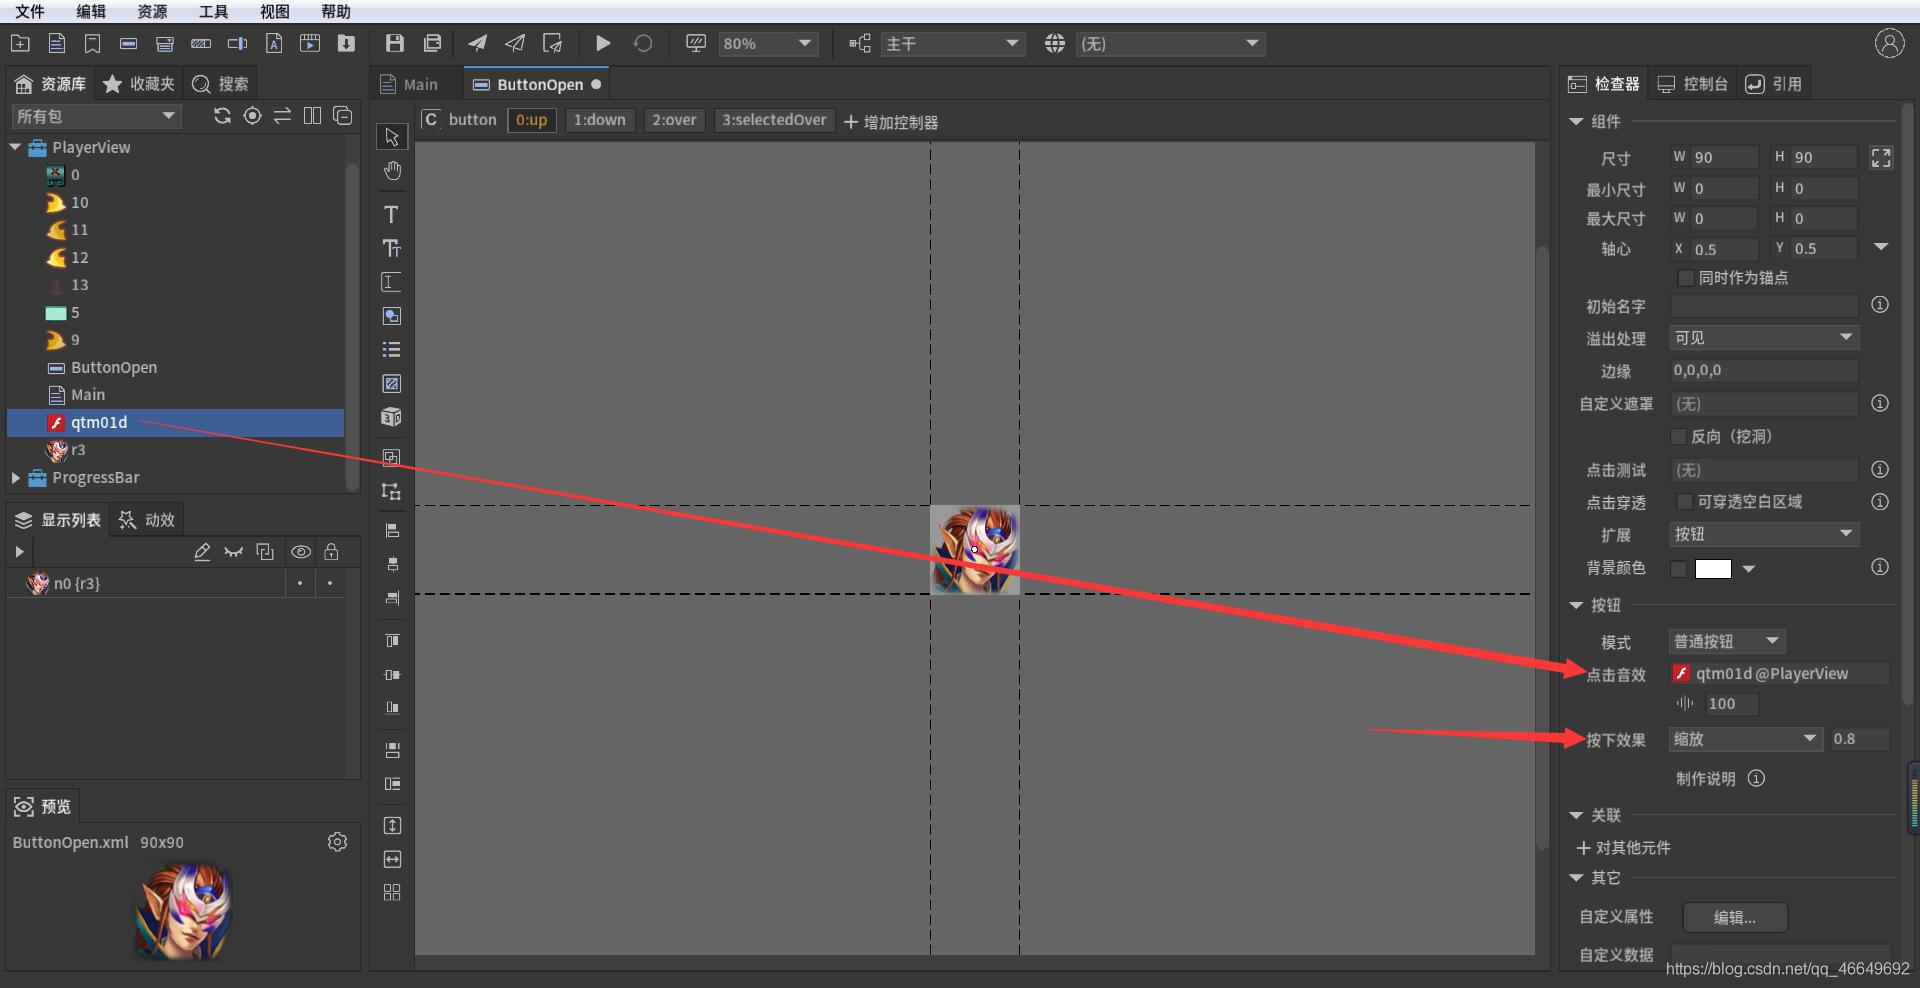
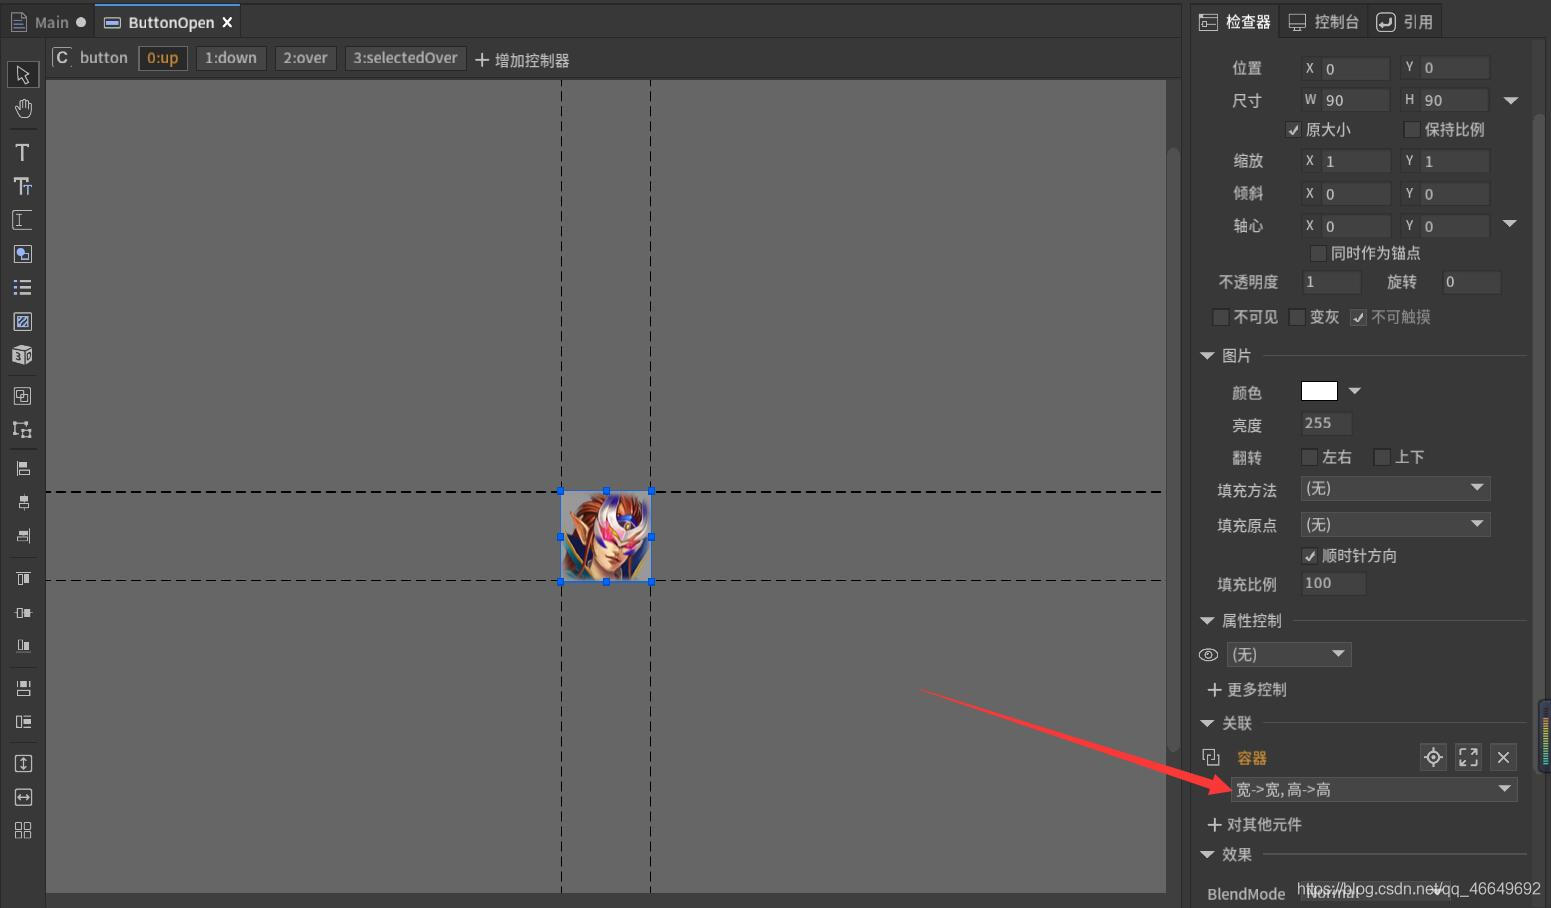
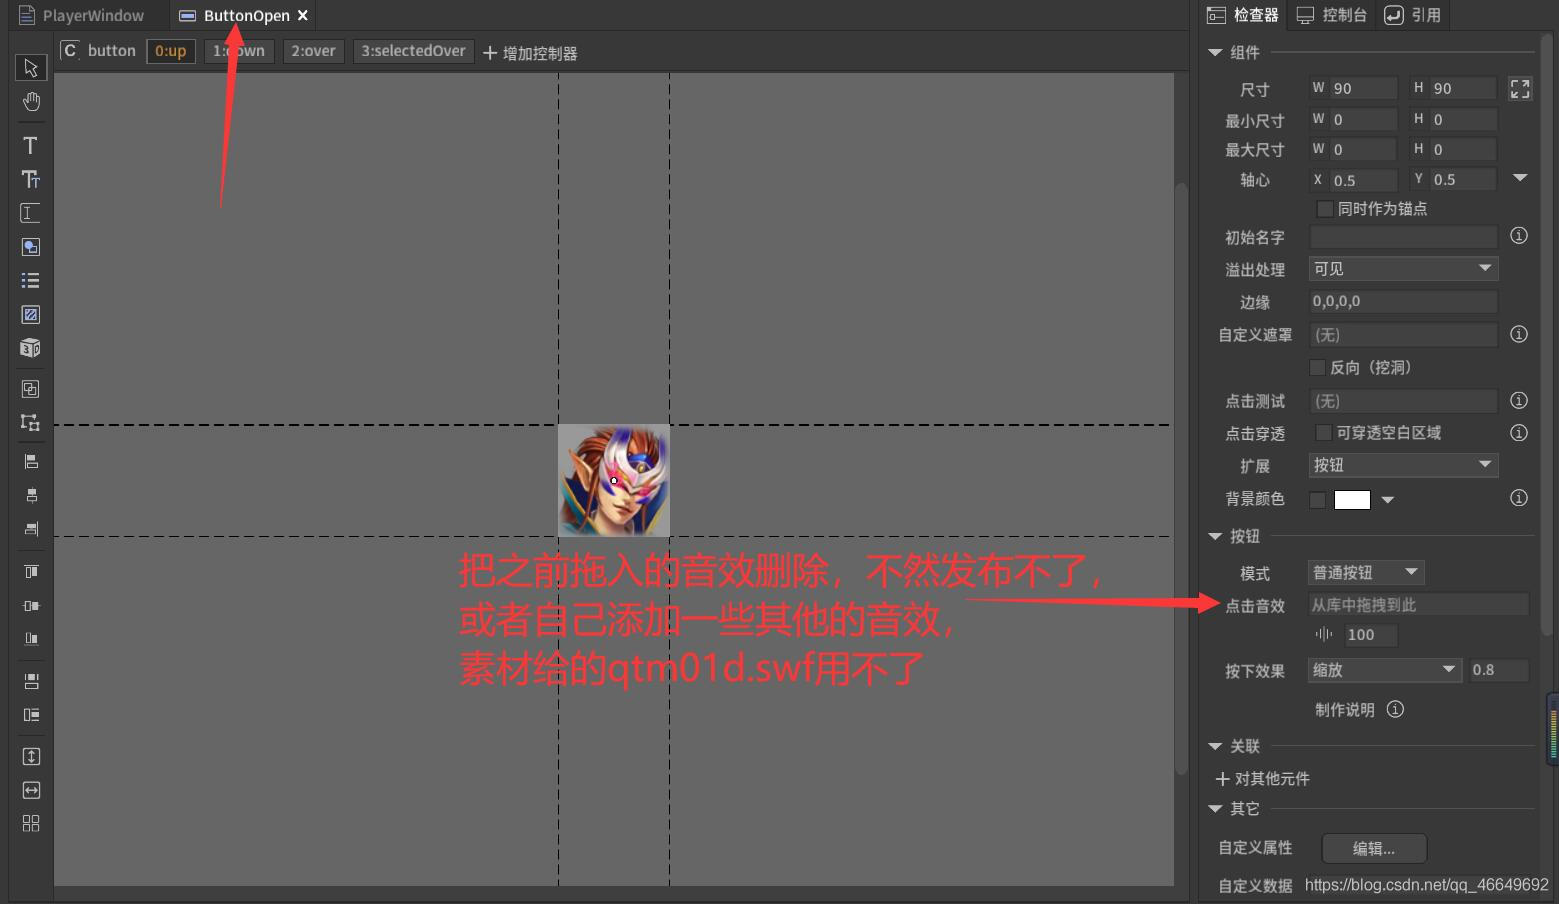
2、 Double click in Button Components , Set a zoom for it , Let it zoom when it is pressed , Then drag the sound material in , It works better .
3、 Drag the button into Main Components

4、 Making pop-up windows
(1) First of all, there should be a container assembly with pop-up windows 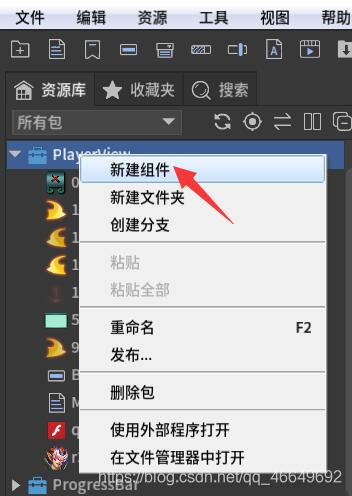
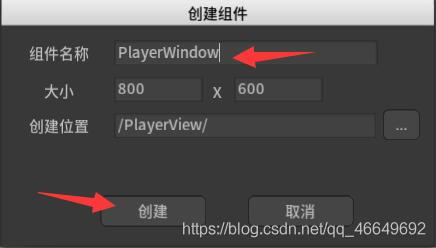
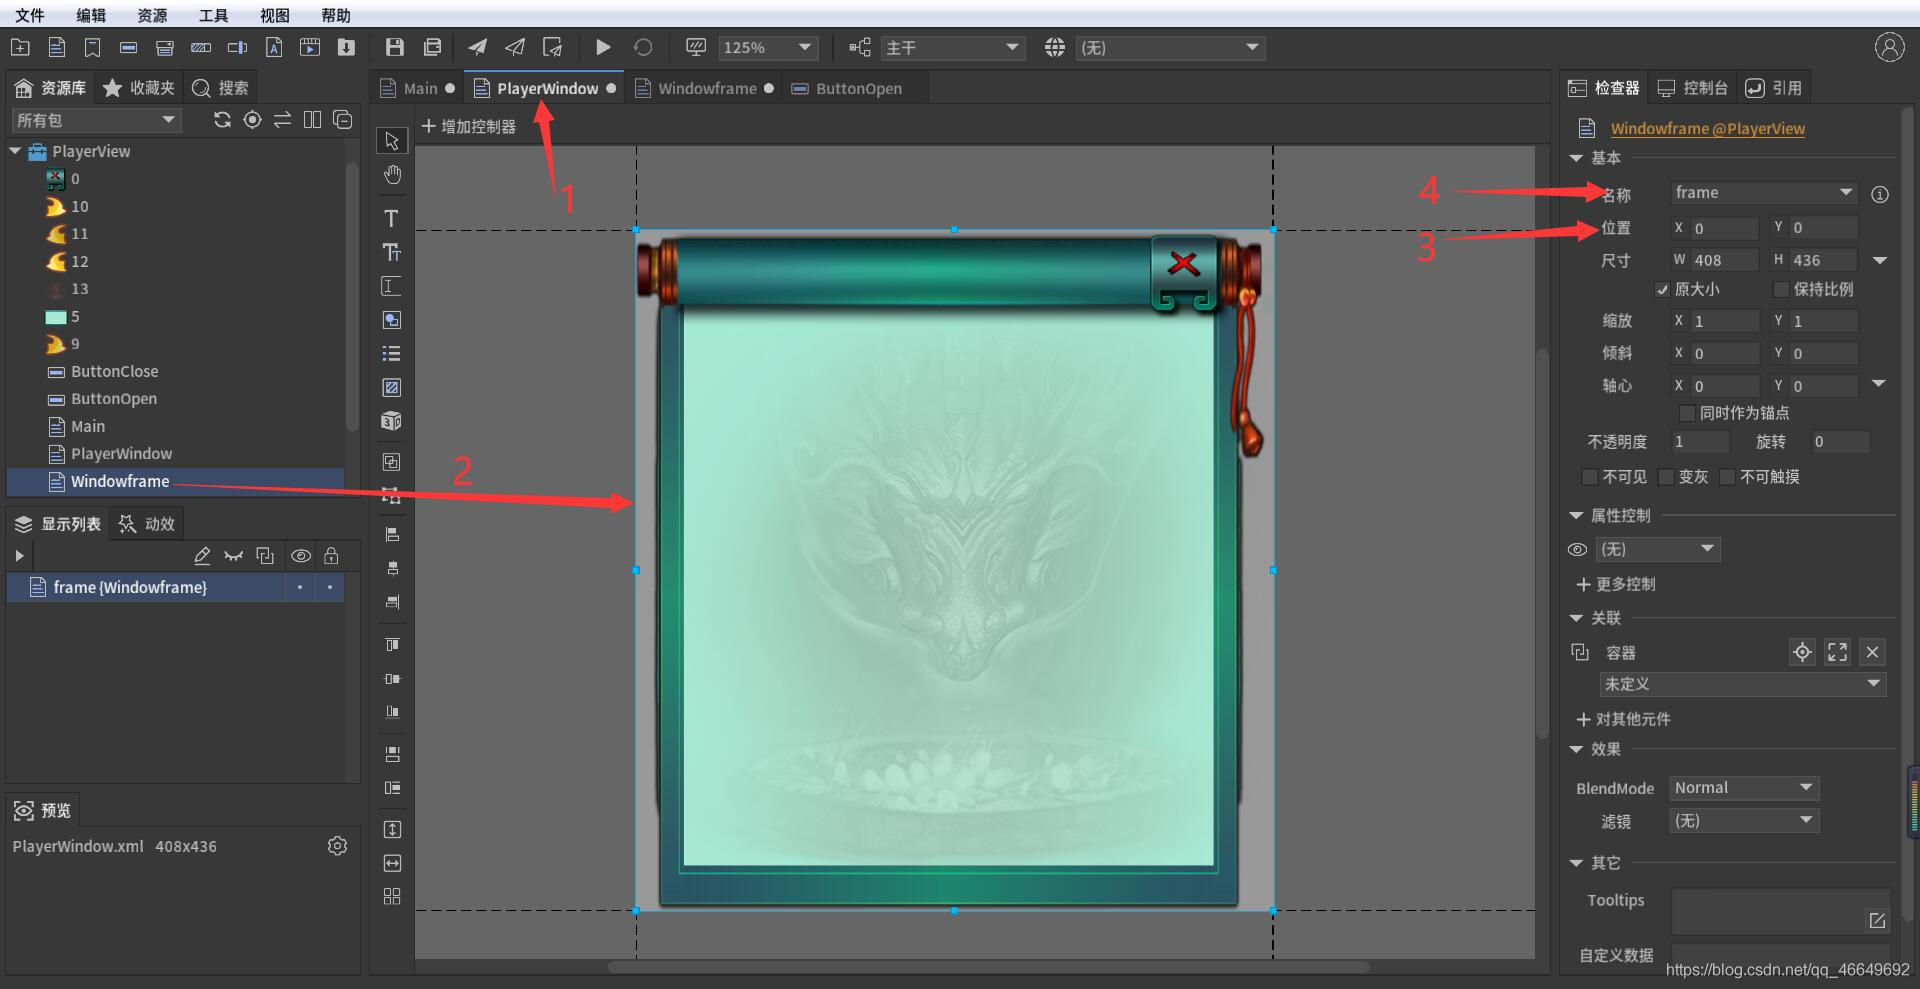
(2) Set window background (408×436), take PlayerWindow The size is also set to 408×436.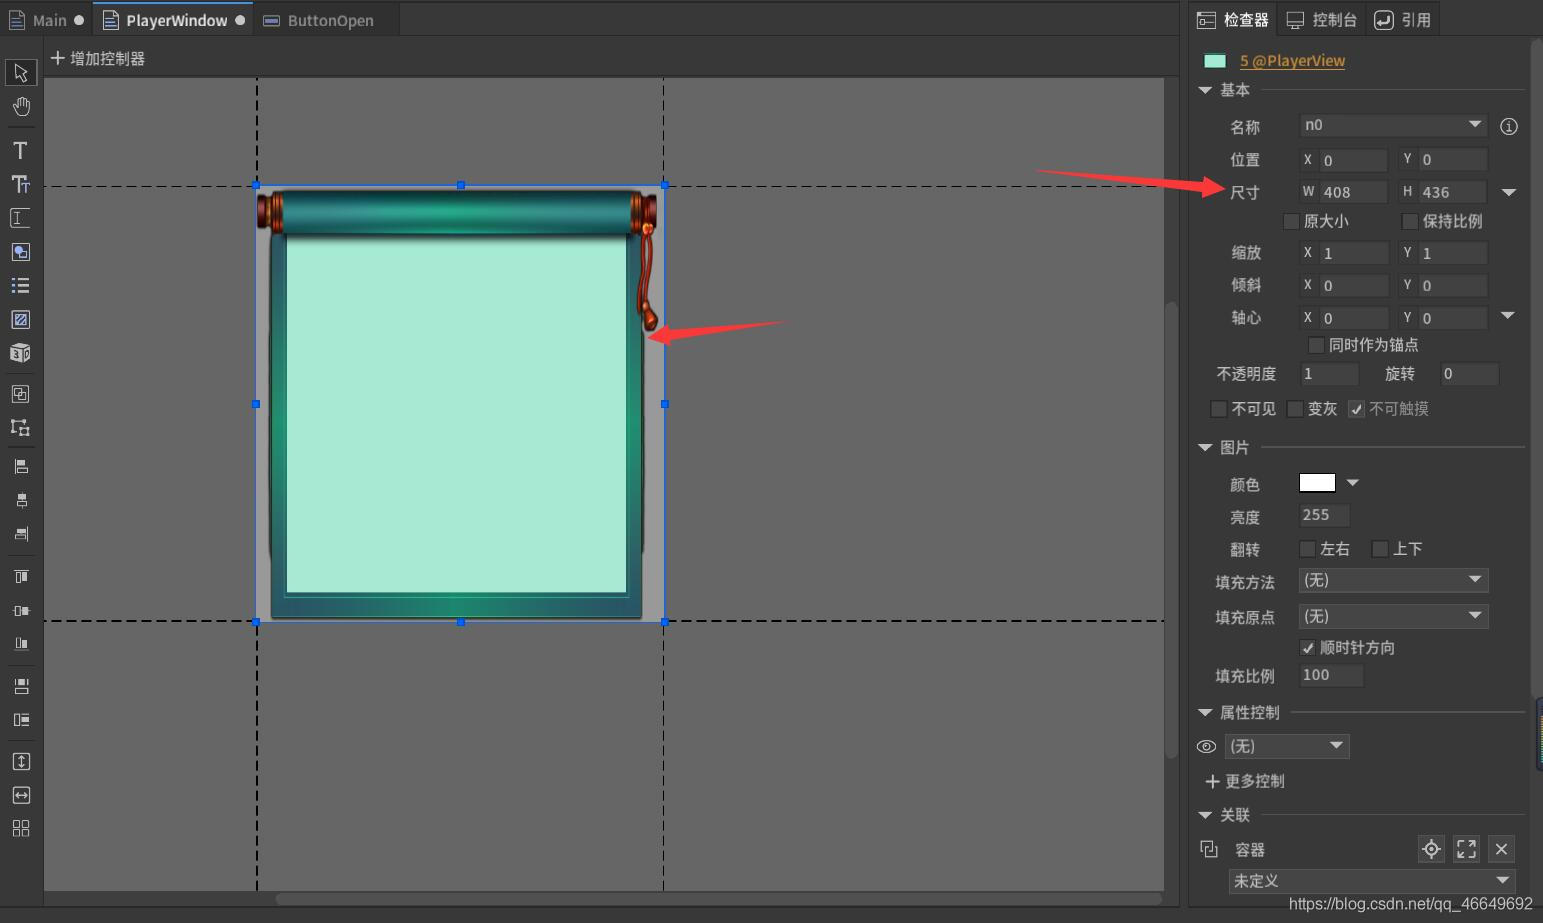
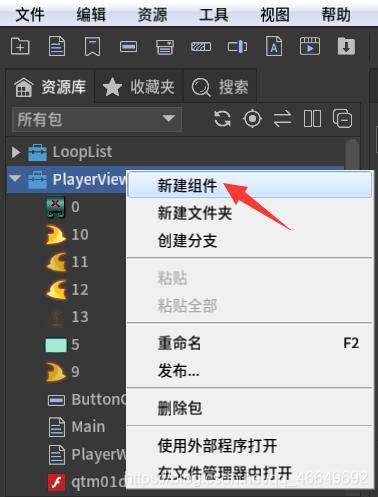
5、 Make a window frame
(1) New component Windowframe
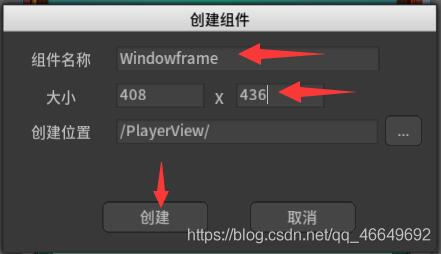
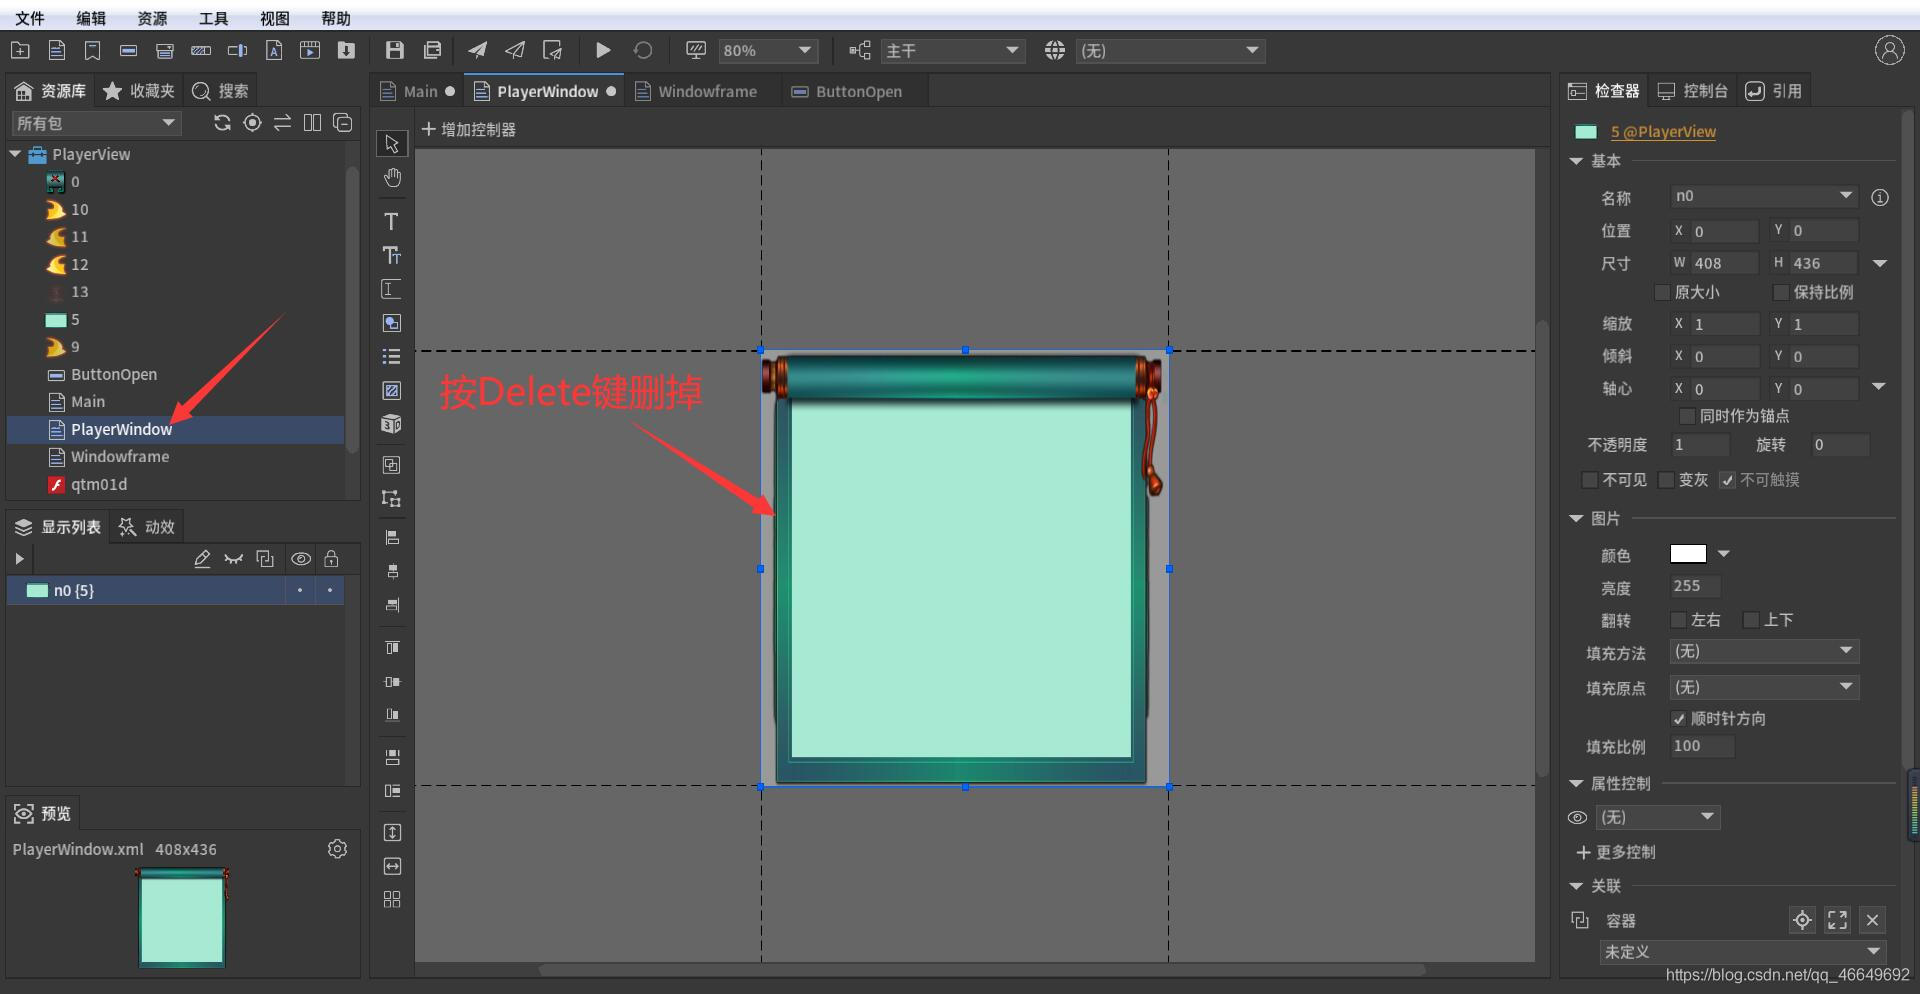
(2) to Windowframe Add background
You can make the background directly in the framework , So you can delete the following background picture .

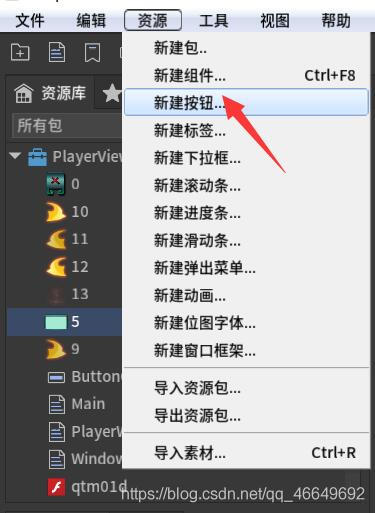
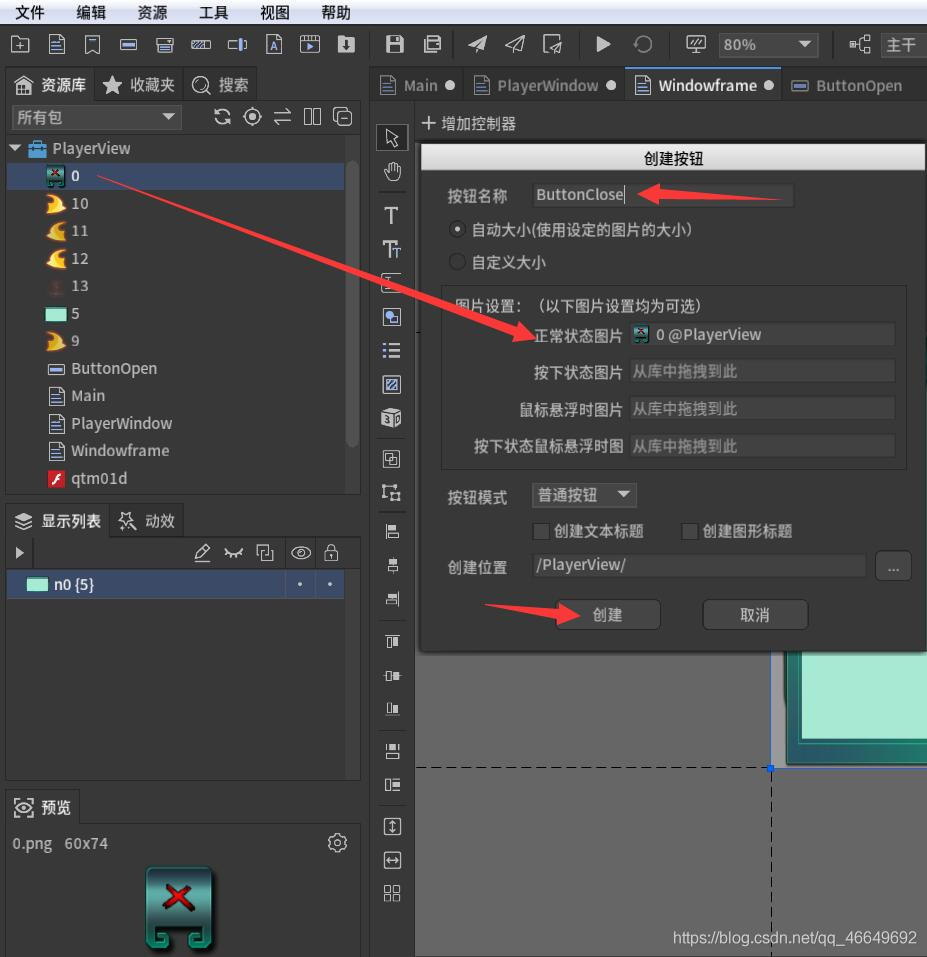
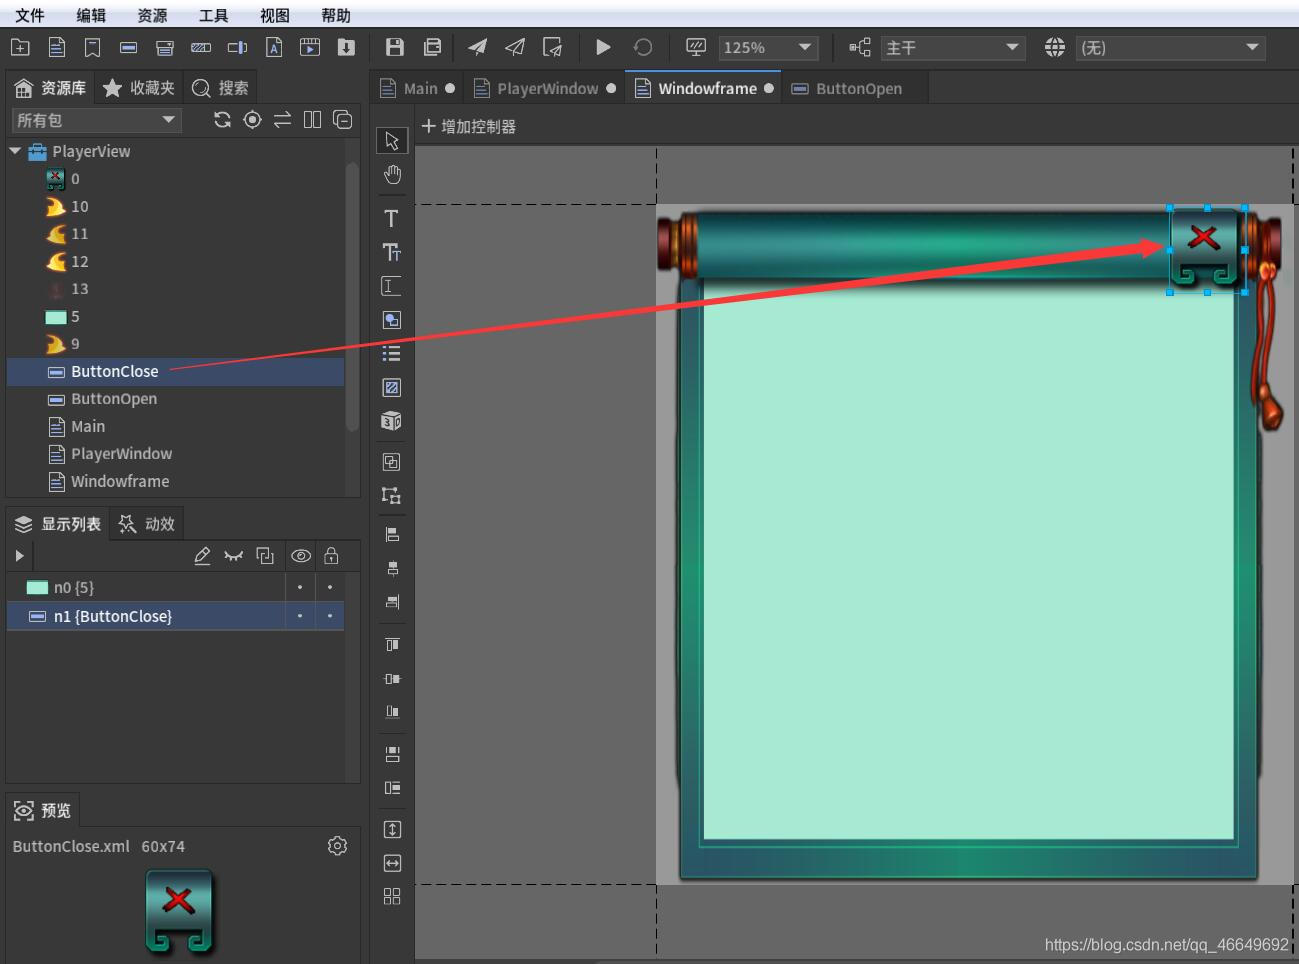
(3) New close button
(4) Make frame drag area
The window frame also needs a drag and drop area , That is, when players click on this area , The whole window will move according to the player's mouse .
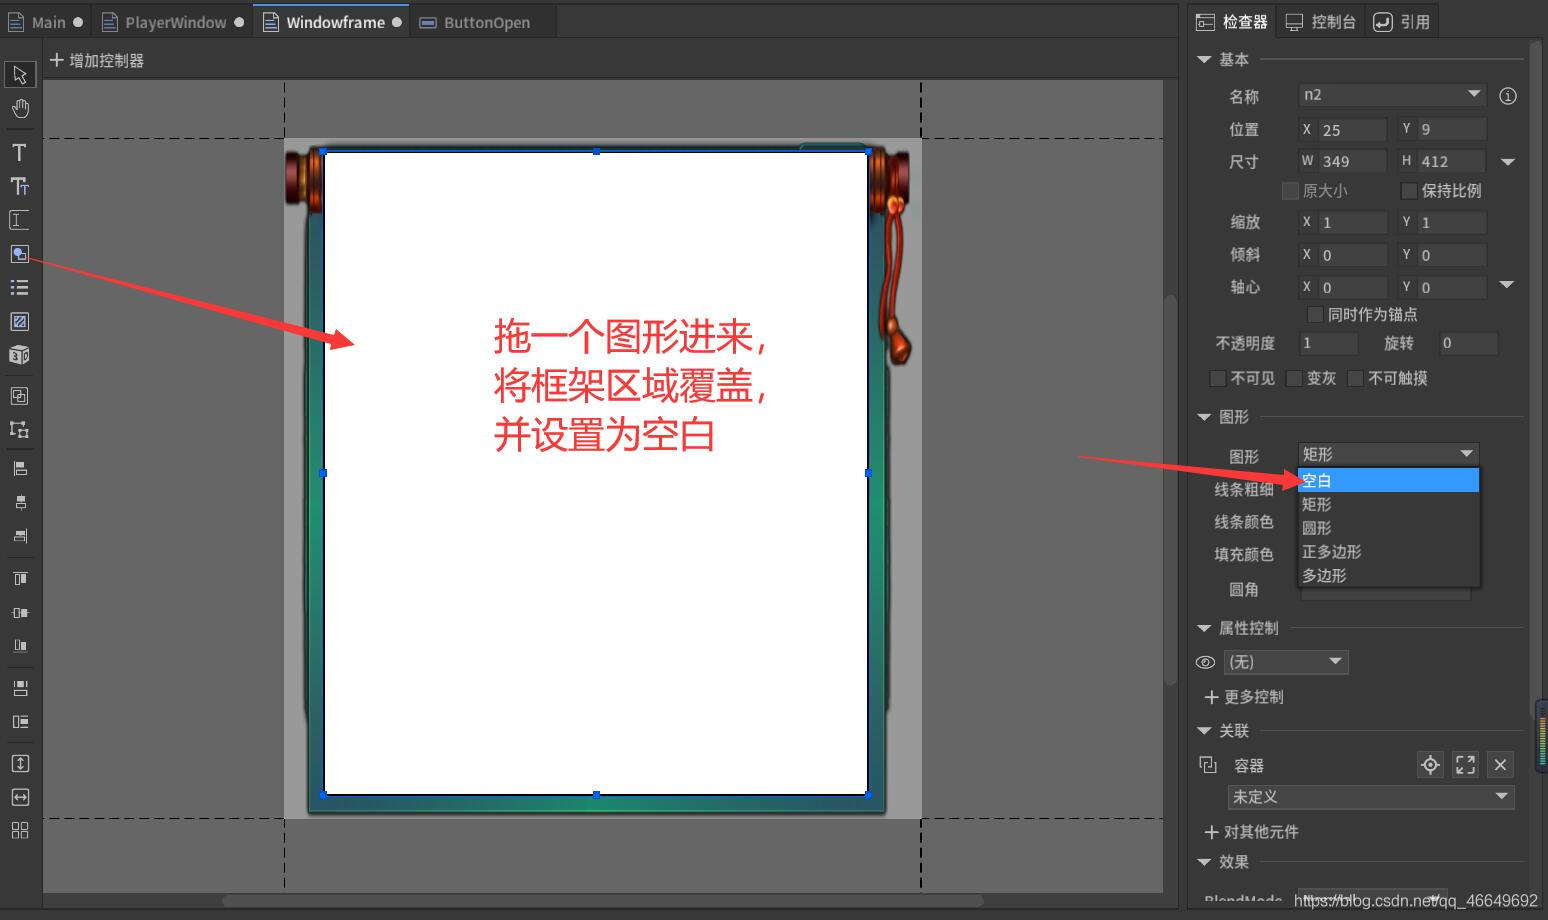
Rename the drawing to dragArea, This is the official name !!!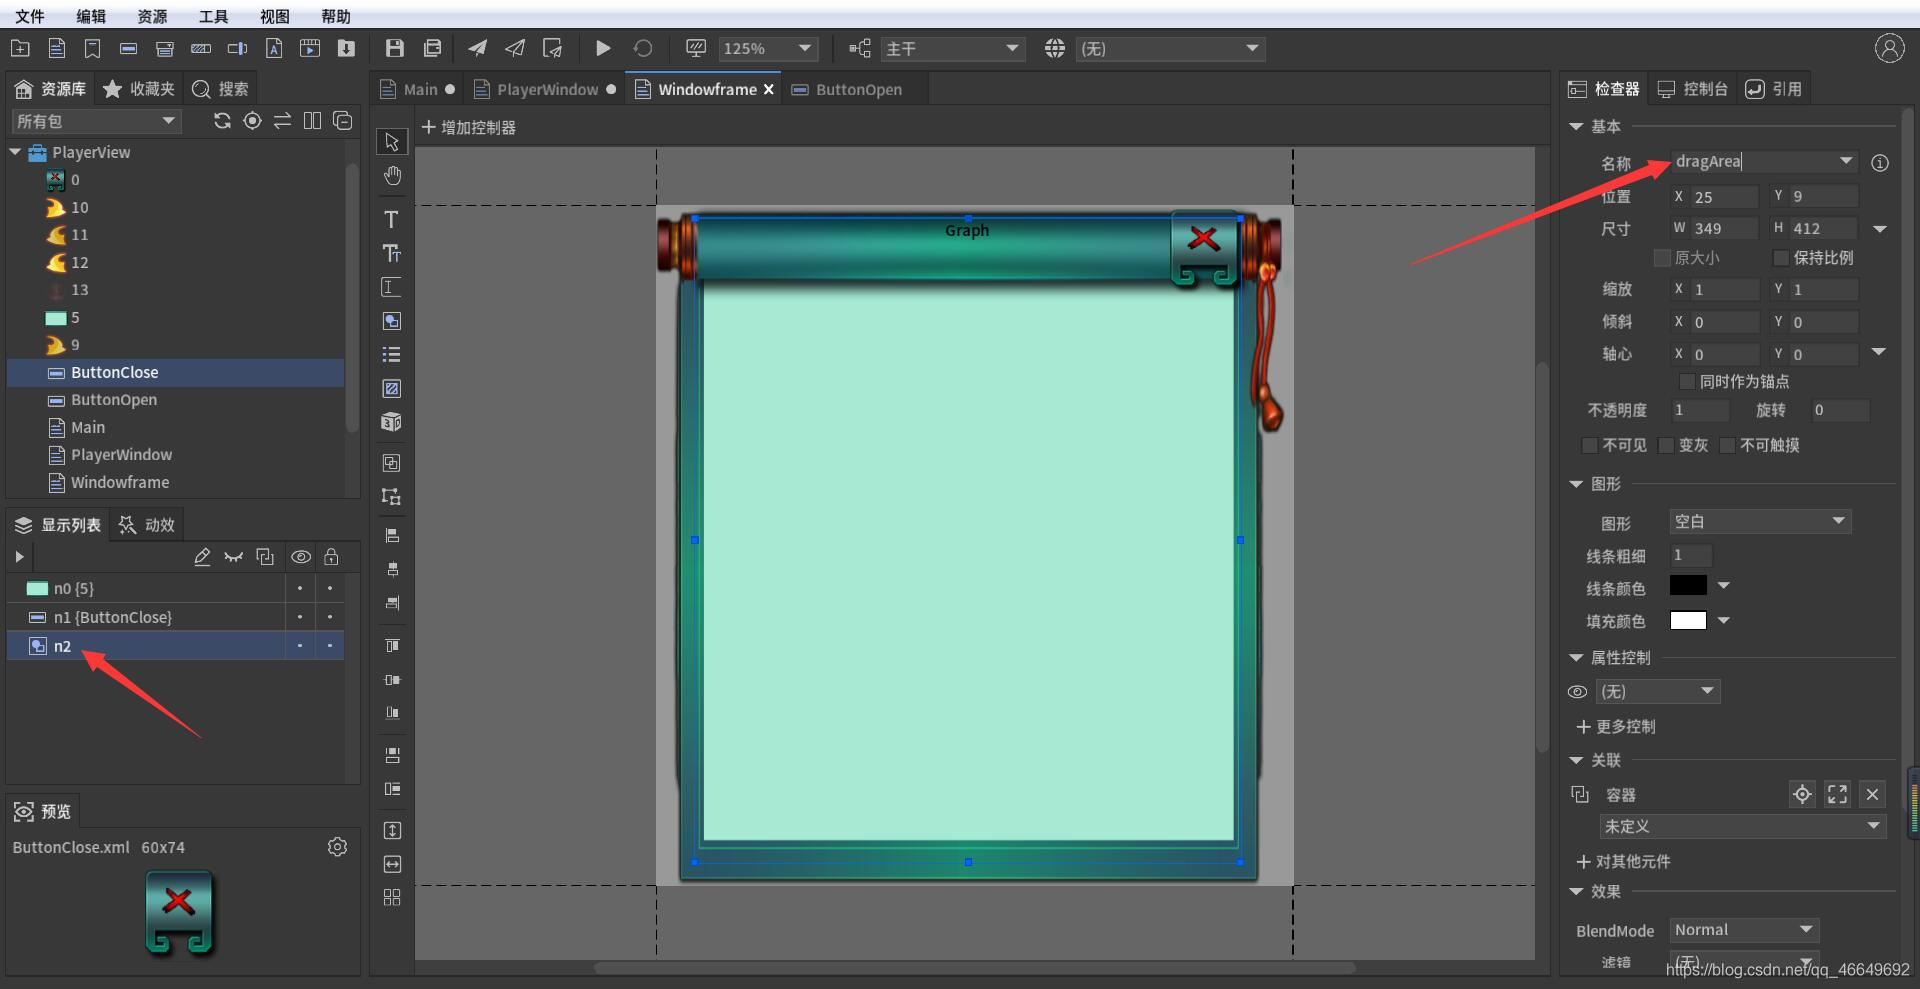
Rename the close button , Convenient for later operation .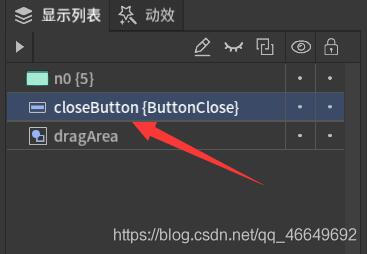
(5) Add background image , Make it look less monotonous
The window frame is finished !
6、 go back to PlayerWindow, Drag into the window frame
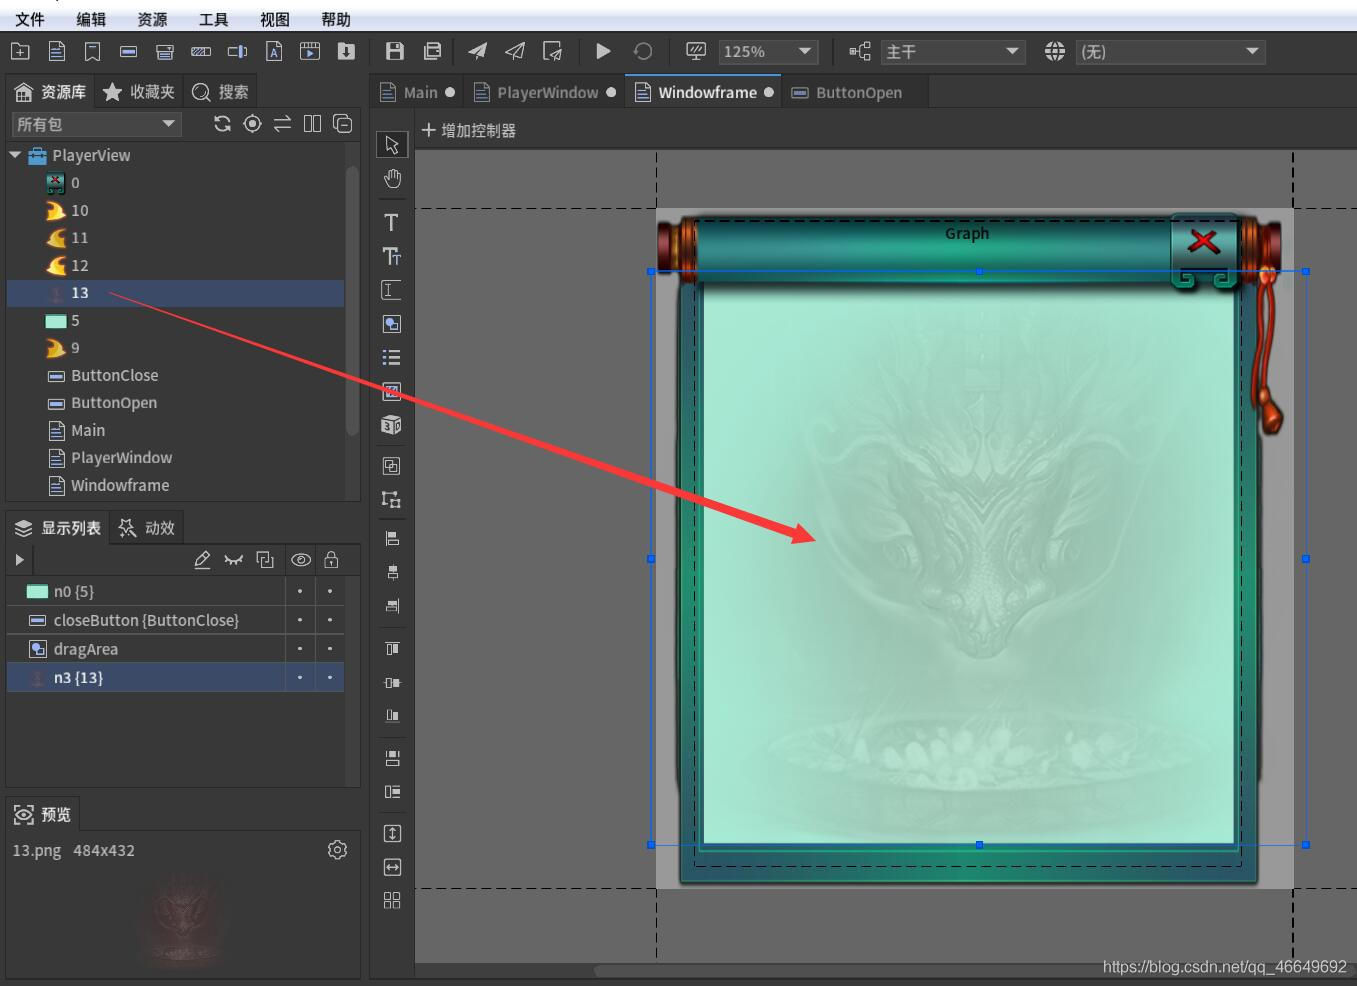
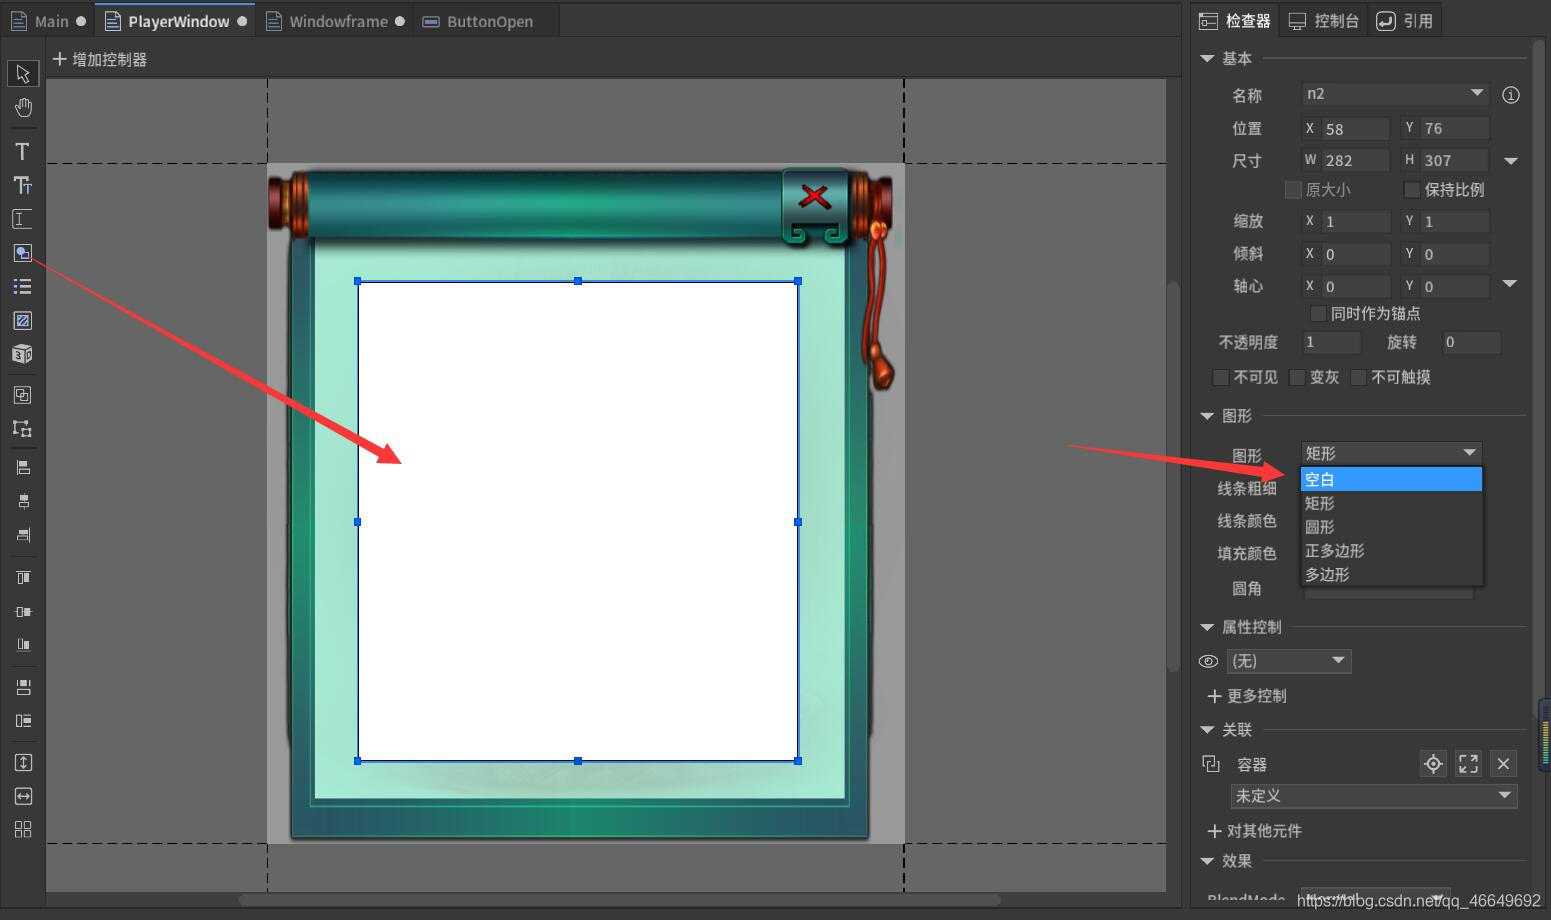
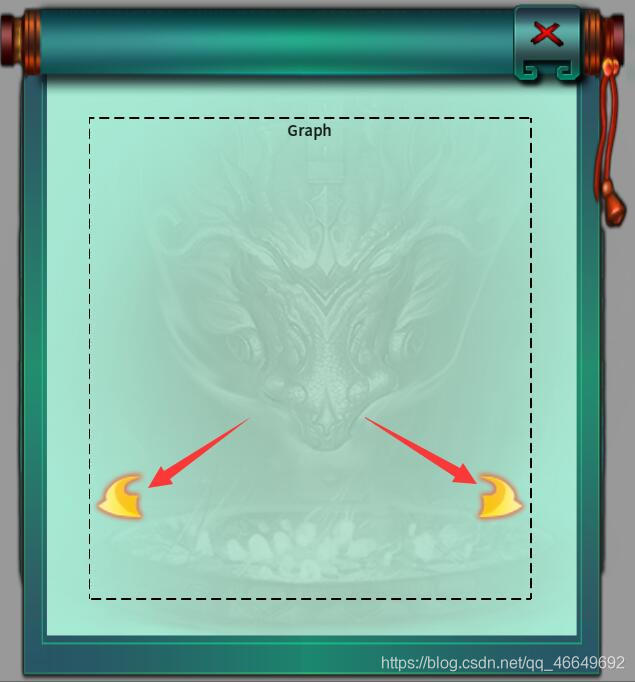
7、 Set graphic placeholder
The player is a 3D object , So we should put 3D The object shines on a UI On , Then take this UI Displayed on our window . Then we need to use Texture, Load the content illuminated by the camera . So there needs to be a placeholder , So we drag a graph here .
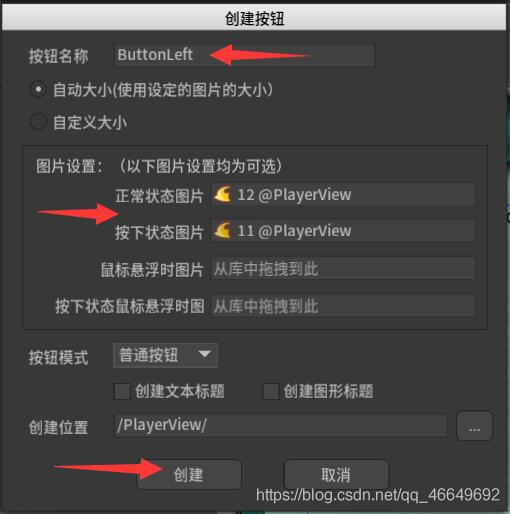
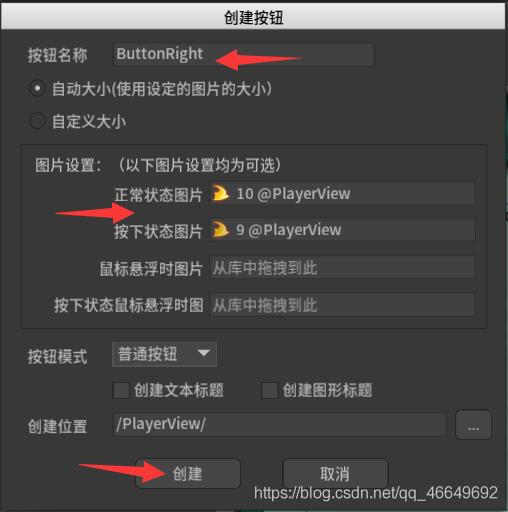
8、 The new button
After the characters are loaded , It also needs to have a rotation and other dynamics , So you need to add buttons to make the characters twist .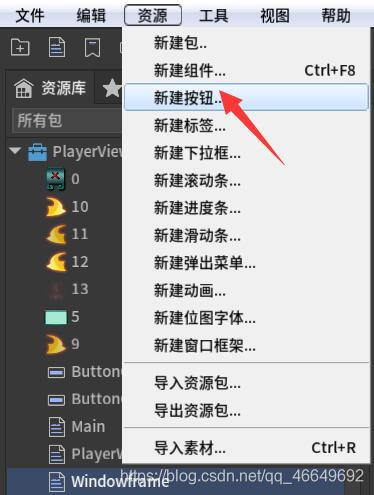
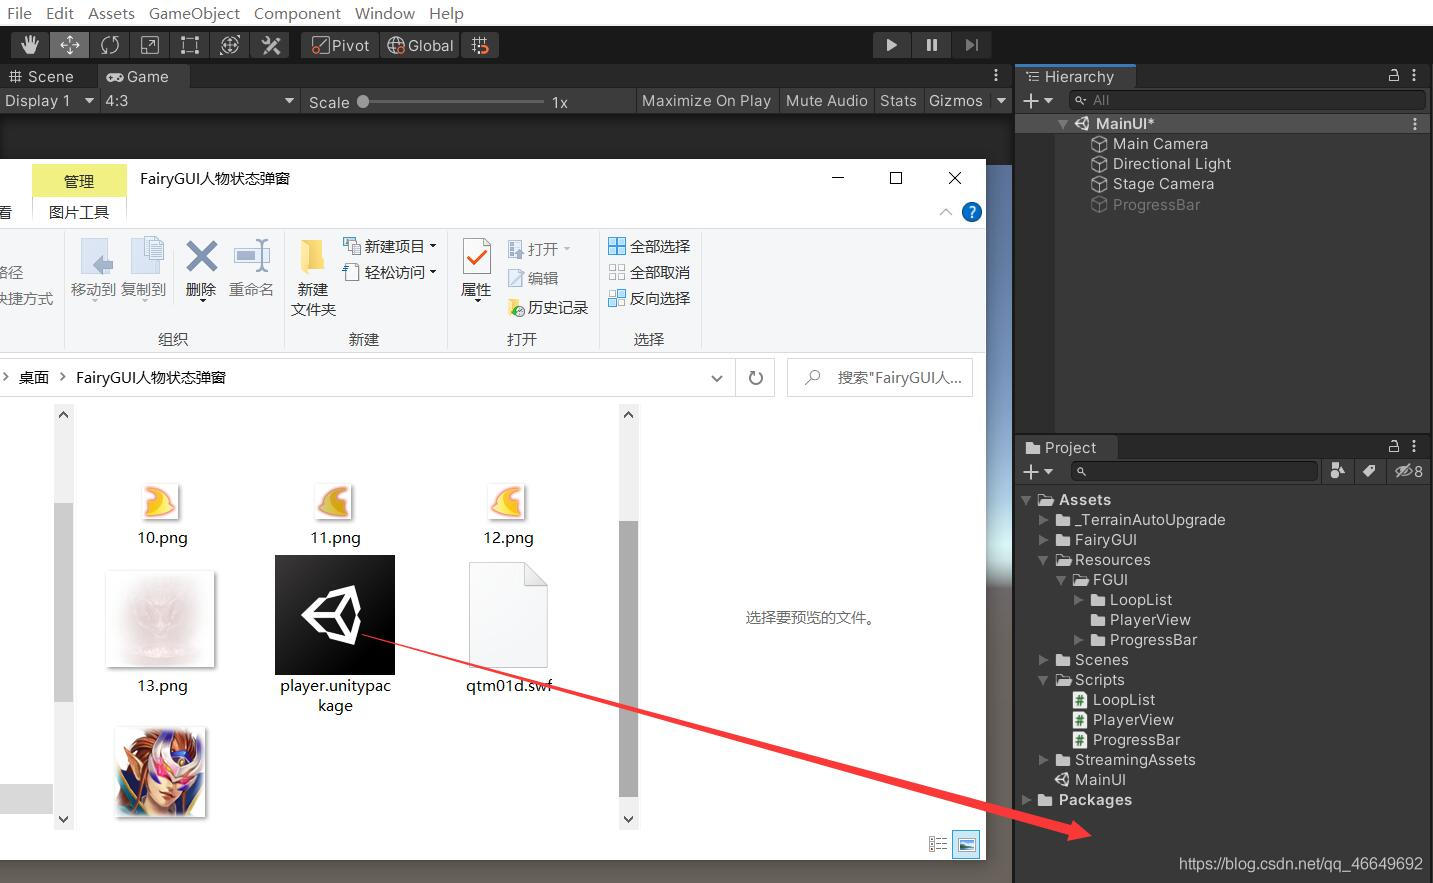
Four 、Unity Preparatory work
1、 First, import. player.unitypackage Resource Pack
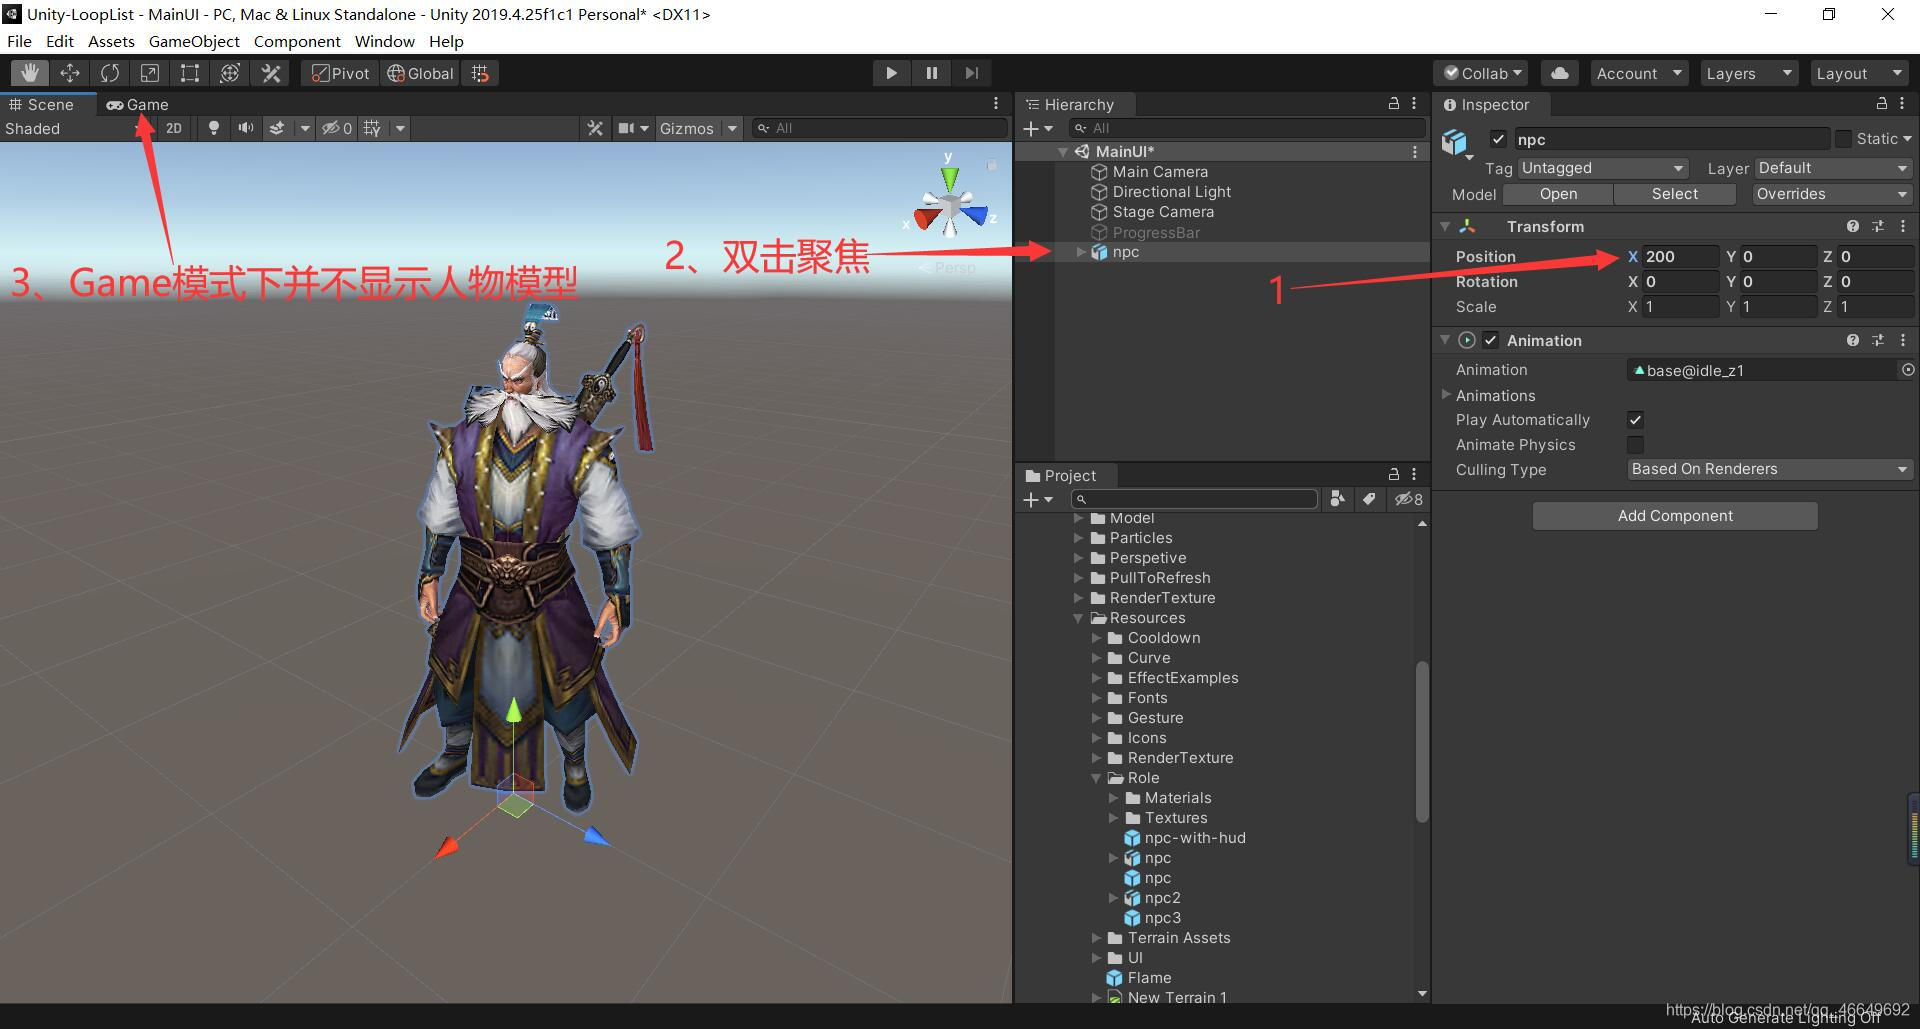
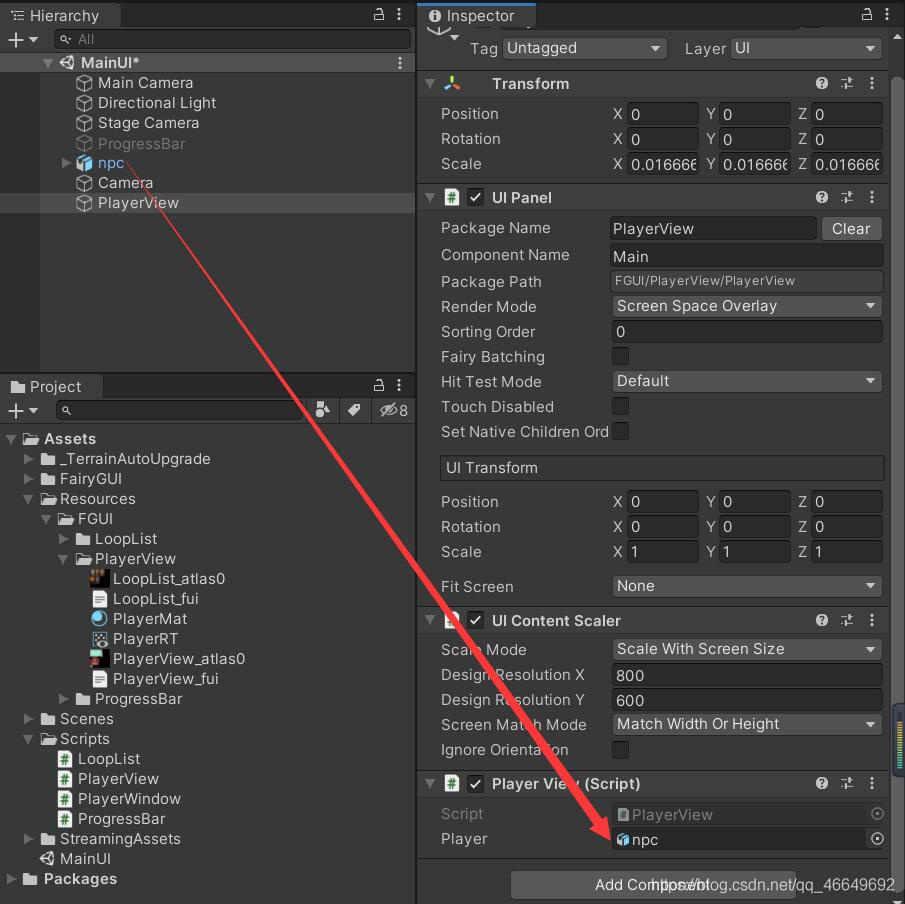
2、 take npc Drag into the scene
We don't want the characters to show , That is, we don't want the characters to have any connection with the game scene interface . So set his position far away , We just want him to make a rendered picture dynamically , This model is not needed .

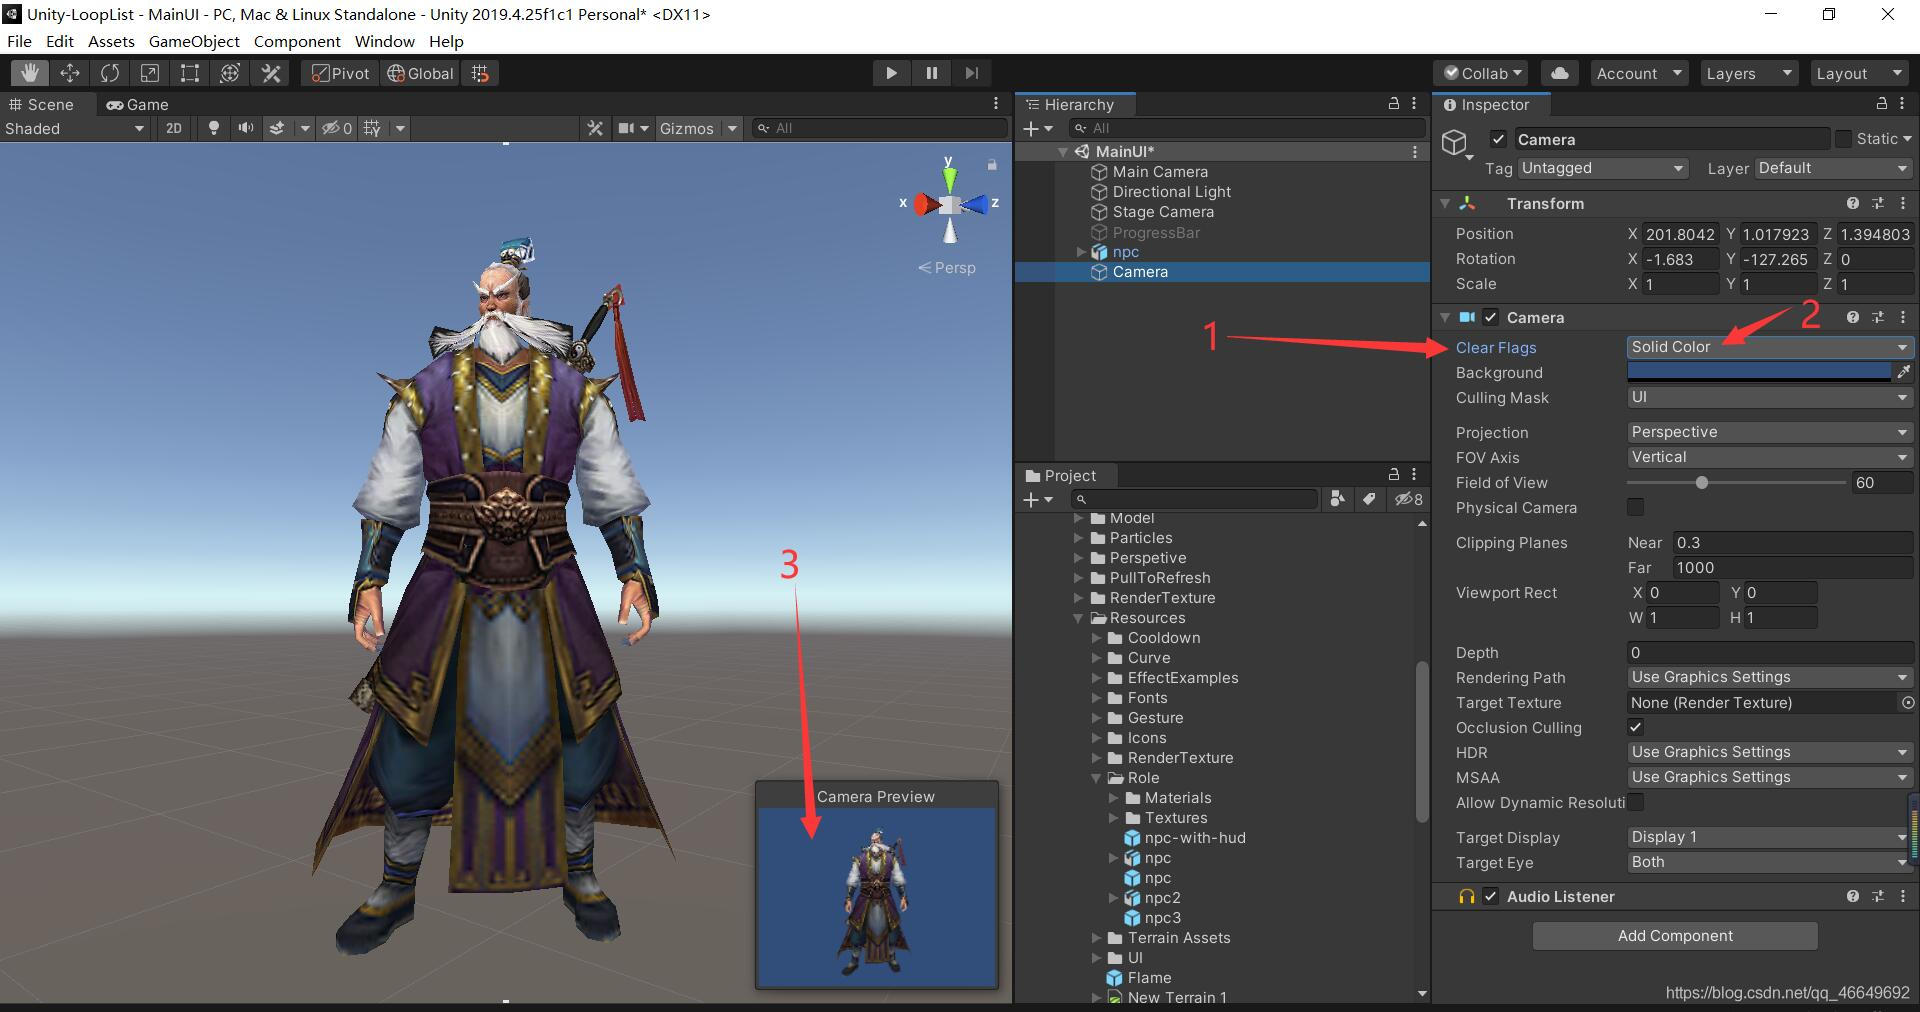
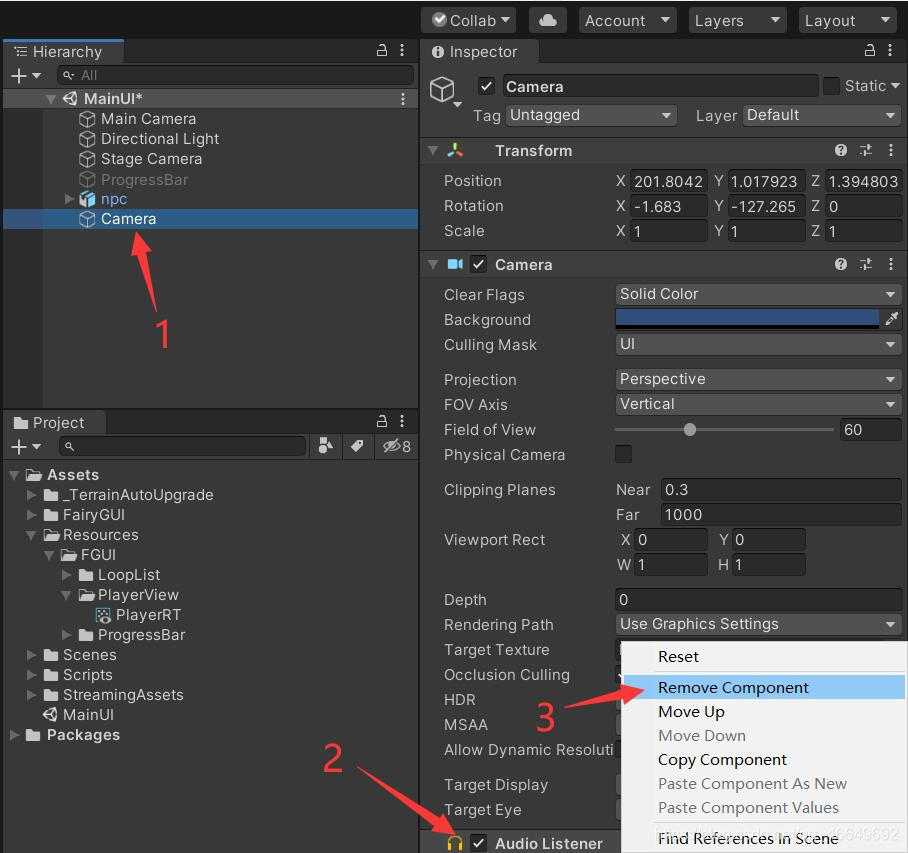
3、 Create a new camera to render people
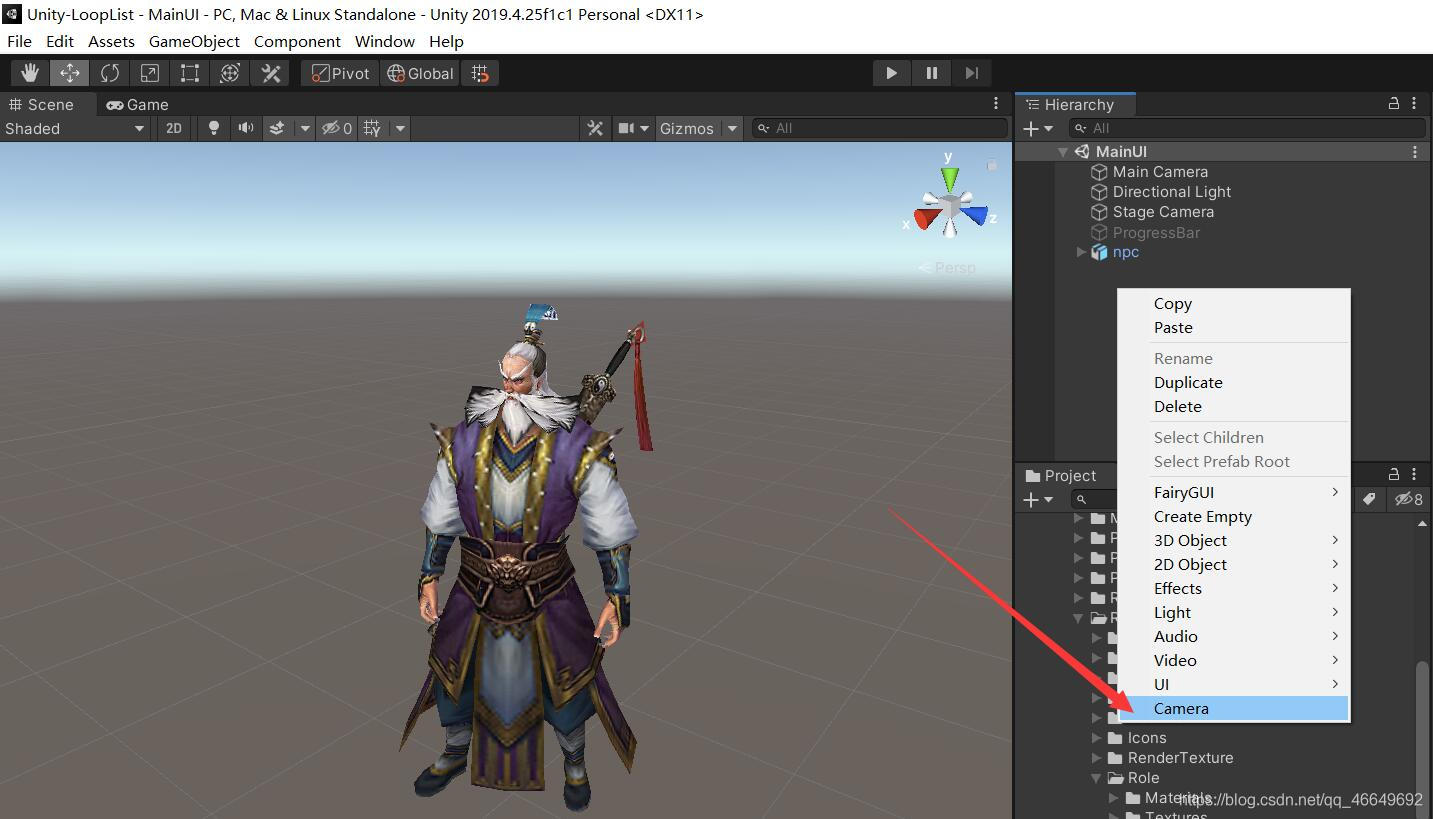
Choose Camera Focus 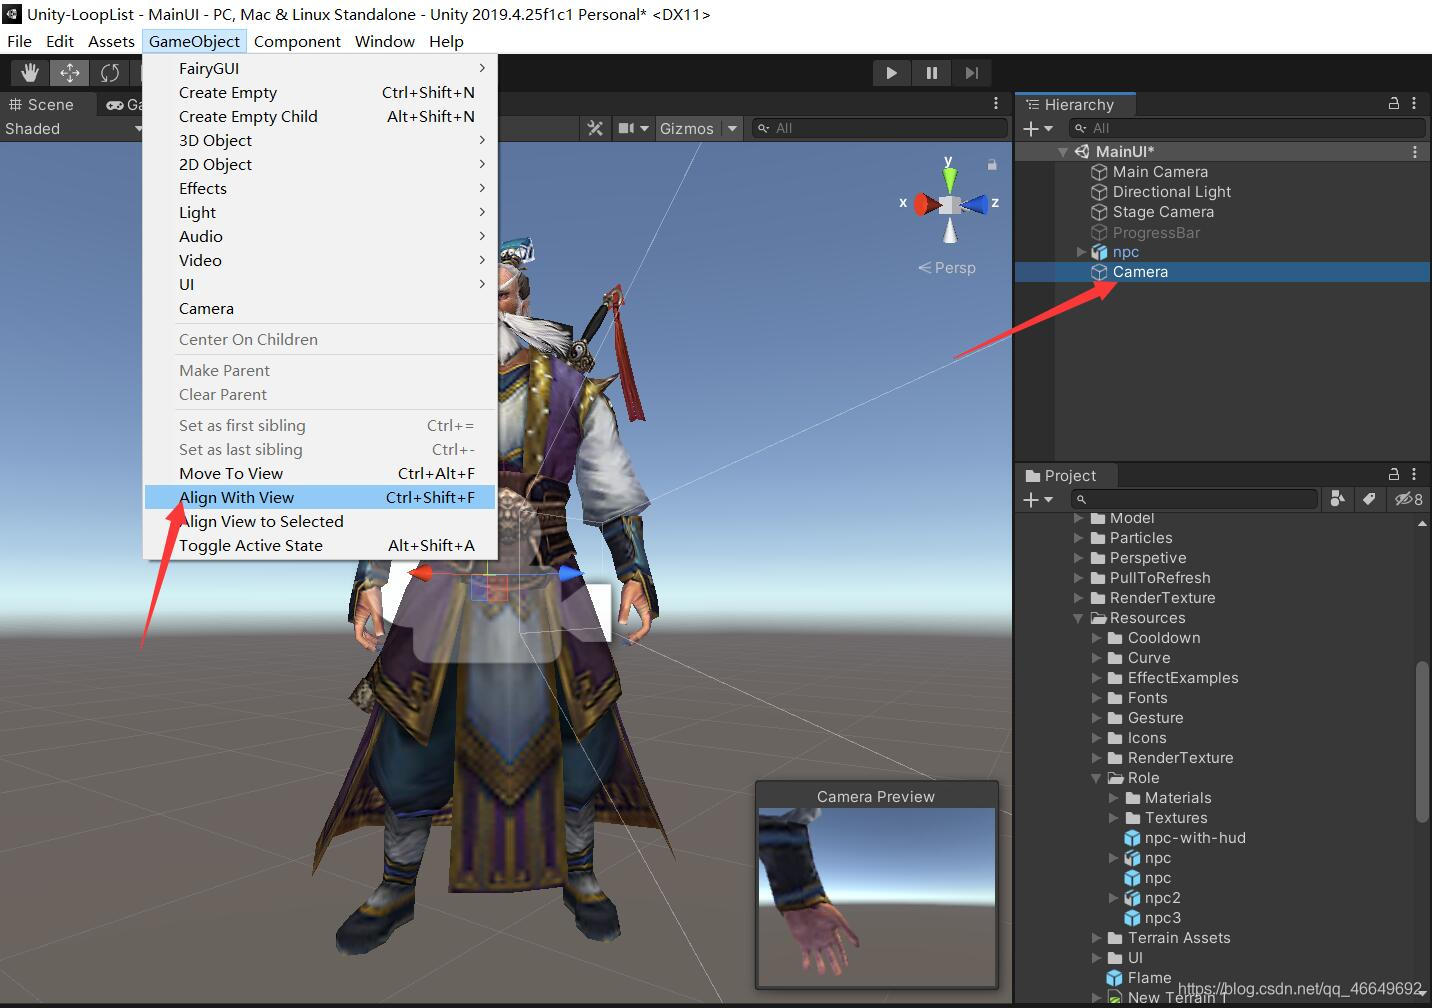
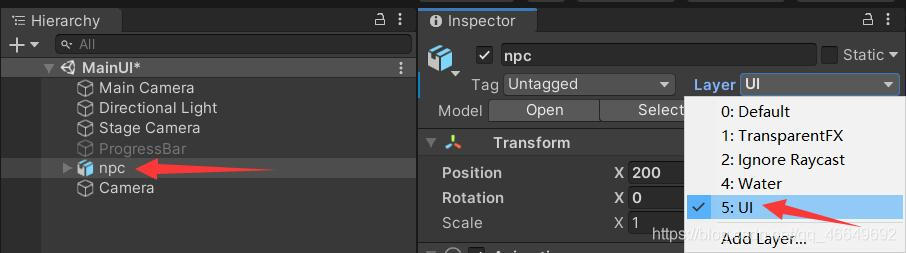
Because only one layer of the game object is rendered , So treat him as UI Layer to render , So you need to add a label .
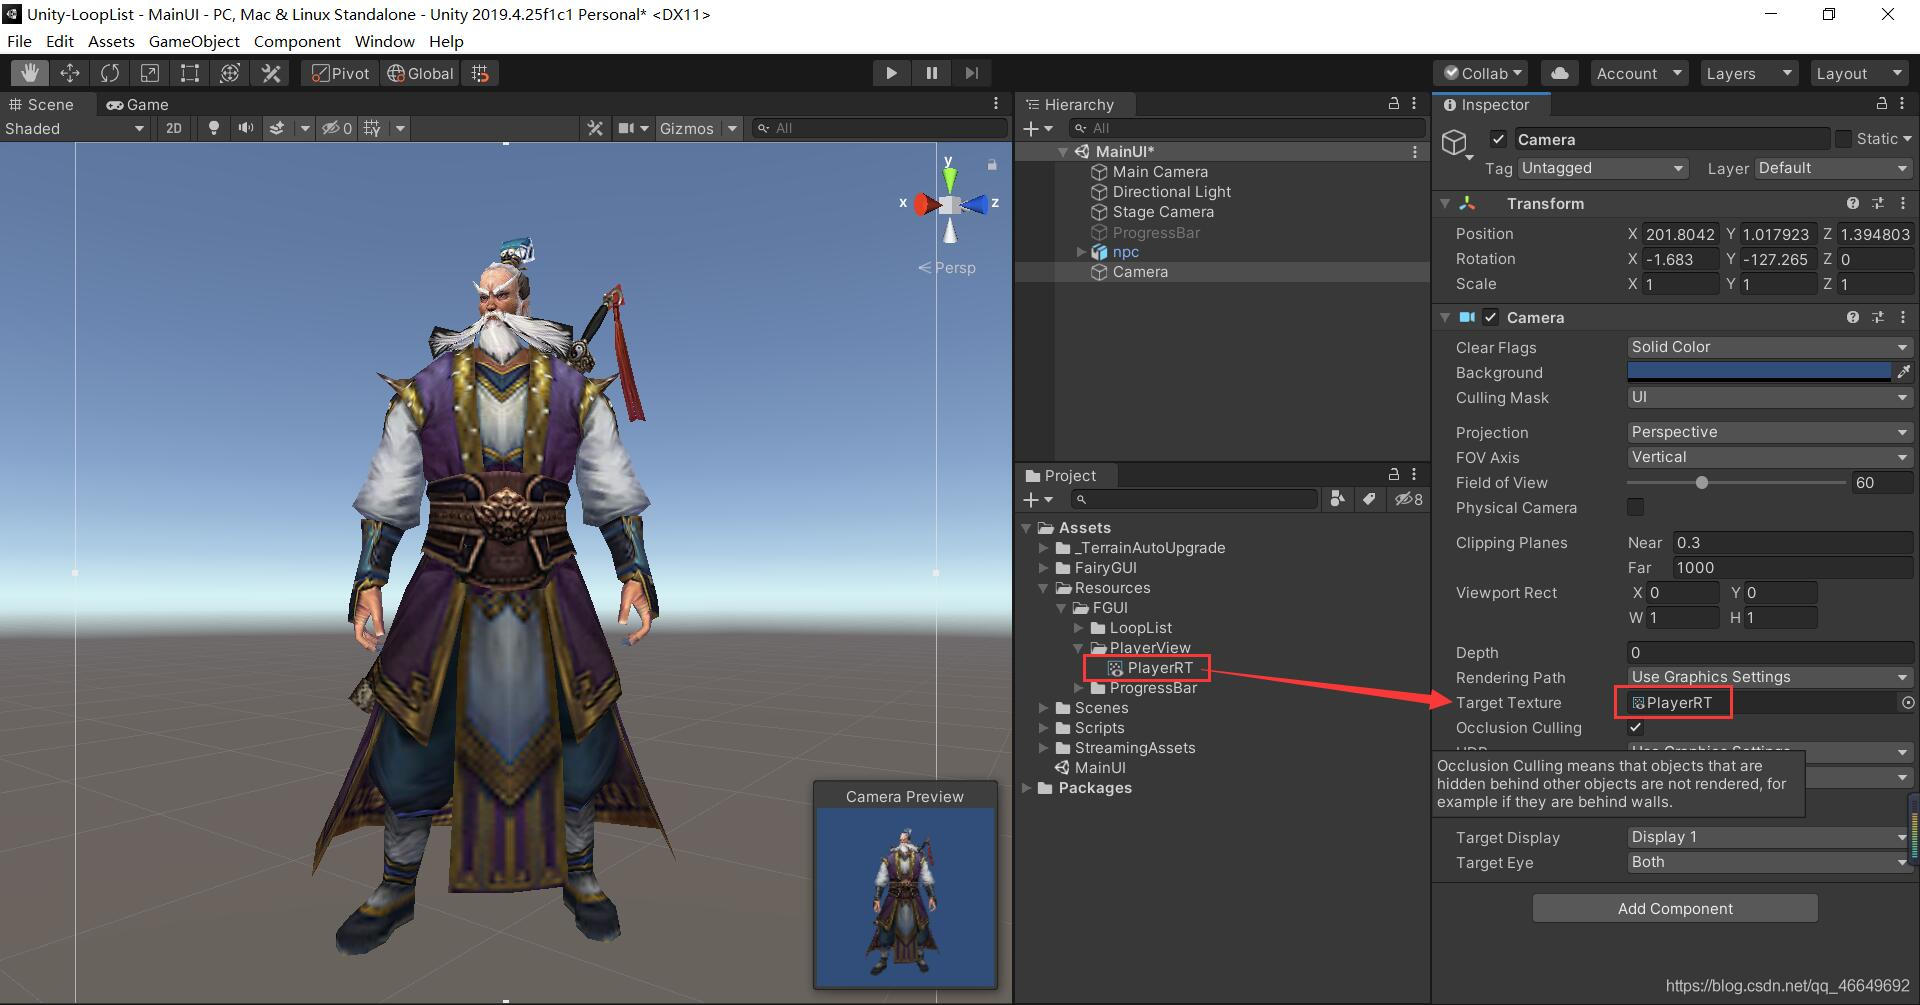
4、 establish Render Texture
Rename it to PlayerRT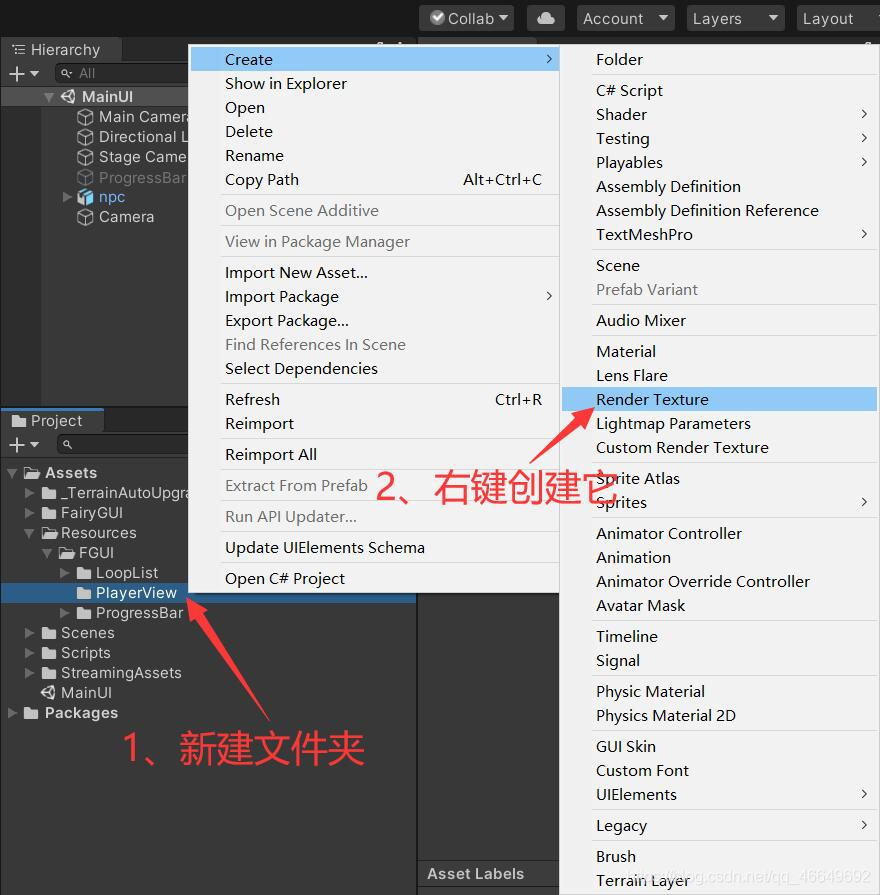
5、 Create a shader
(1) Rename it to PlayerMat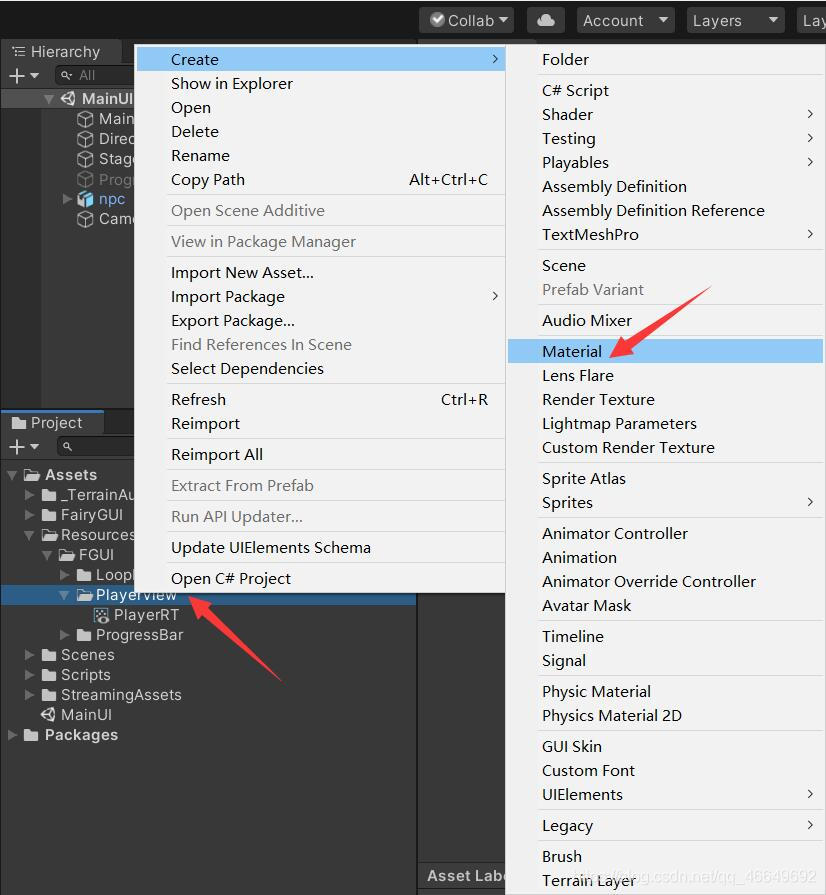
(2) Assign the material to Material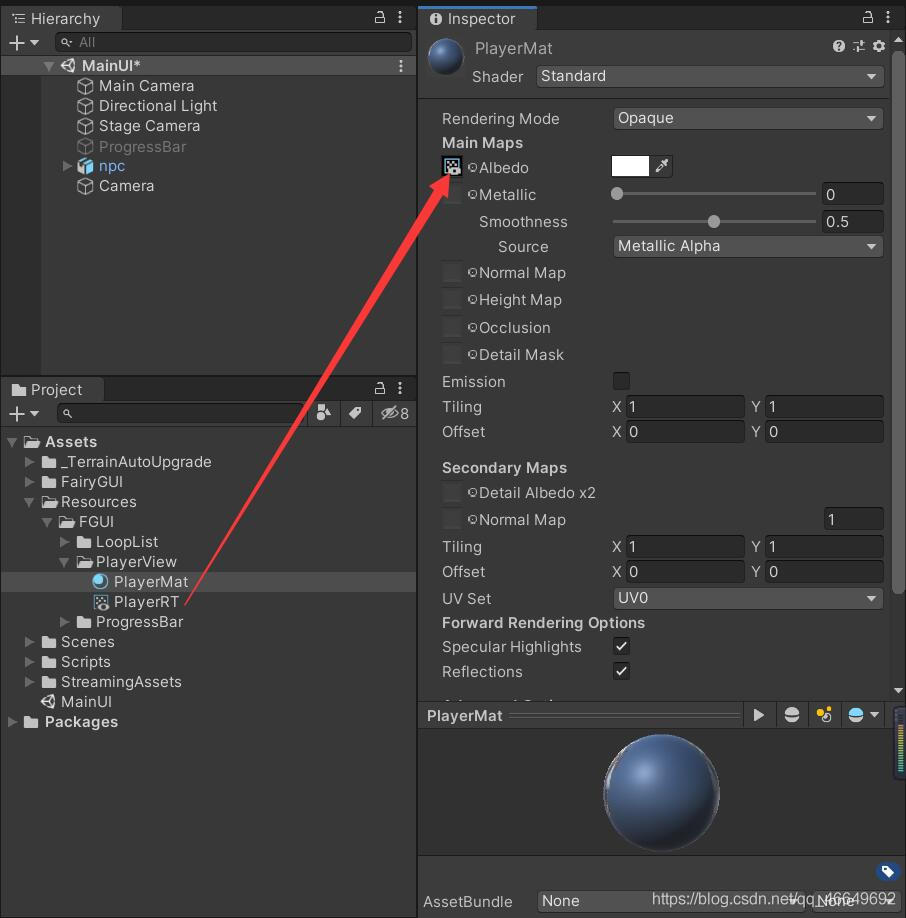
(3) Set its Shader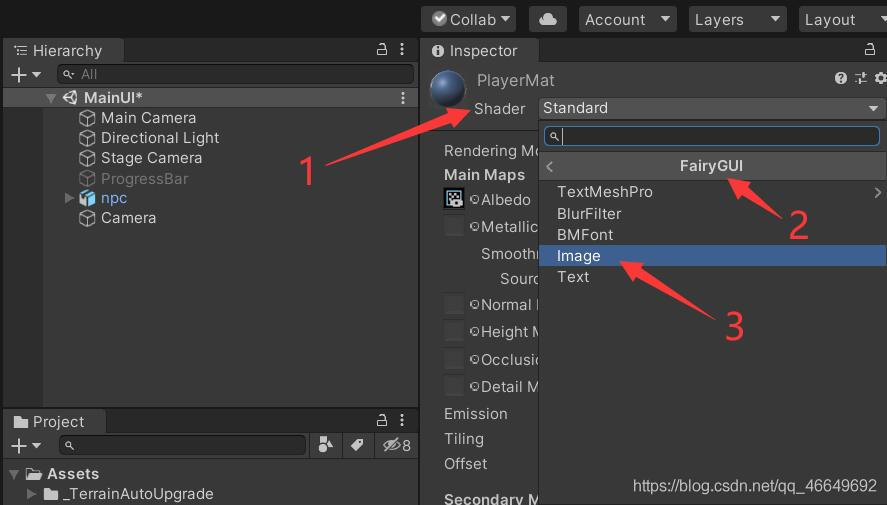
Later, you only need to load PlayerMat and PlayerRT You can render ! Come here , All the preparations are almost done , Then just put in FairyGUI Make a package of resources in .
5、 ... and 、 Packaging releases
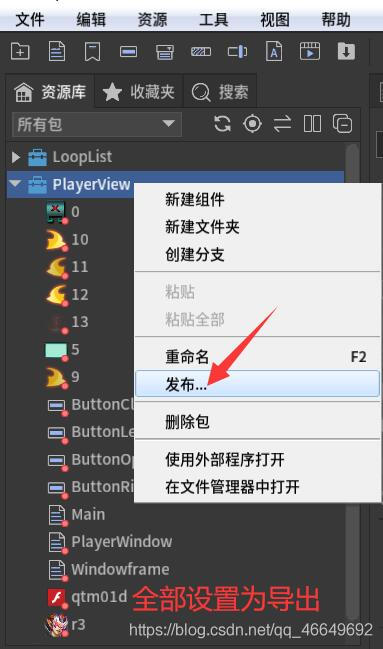
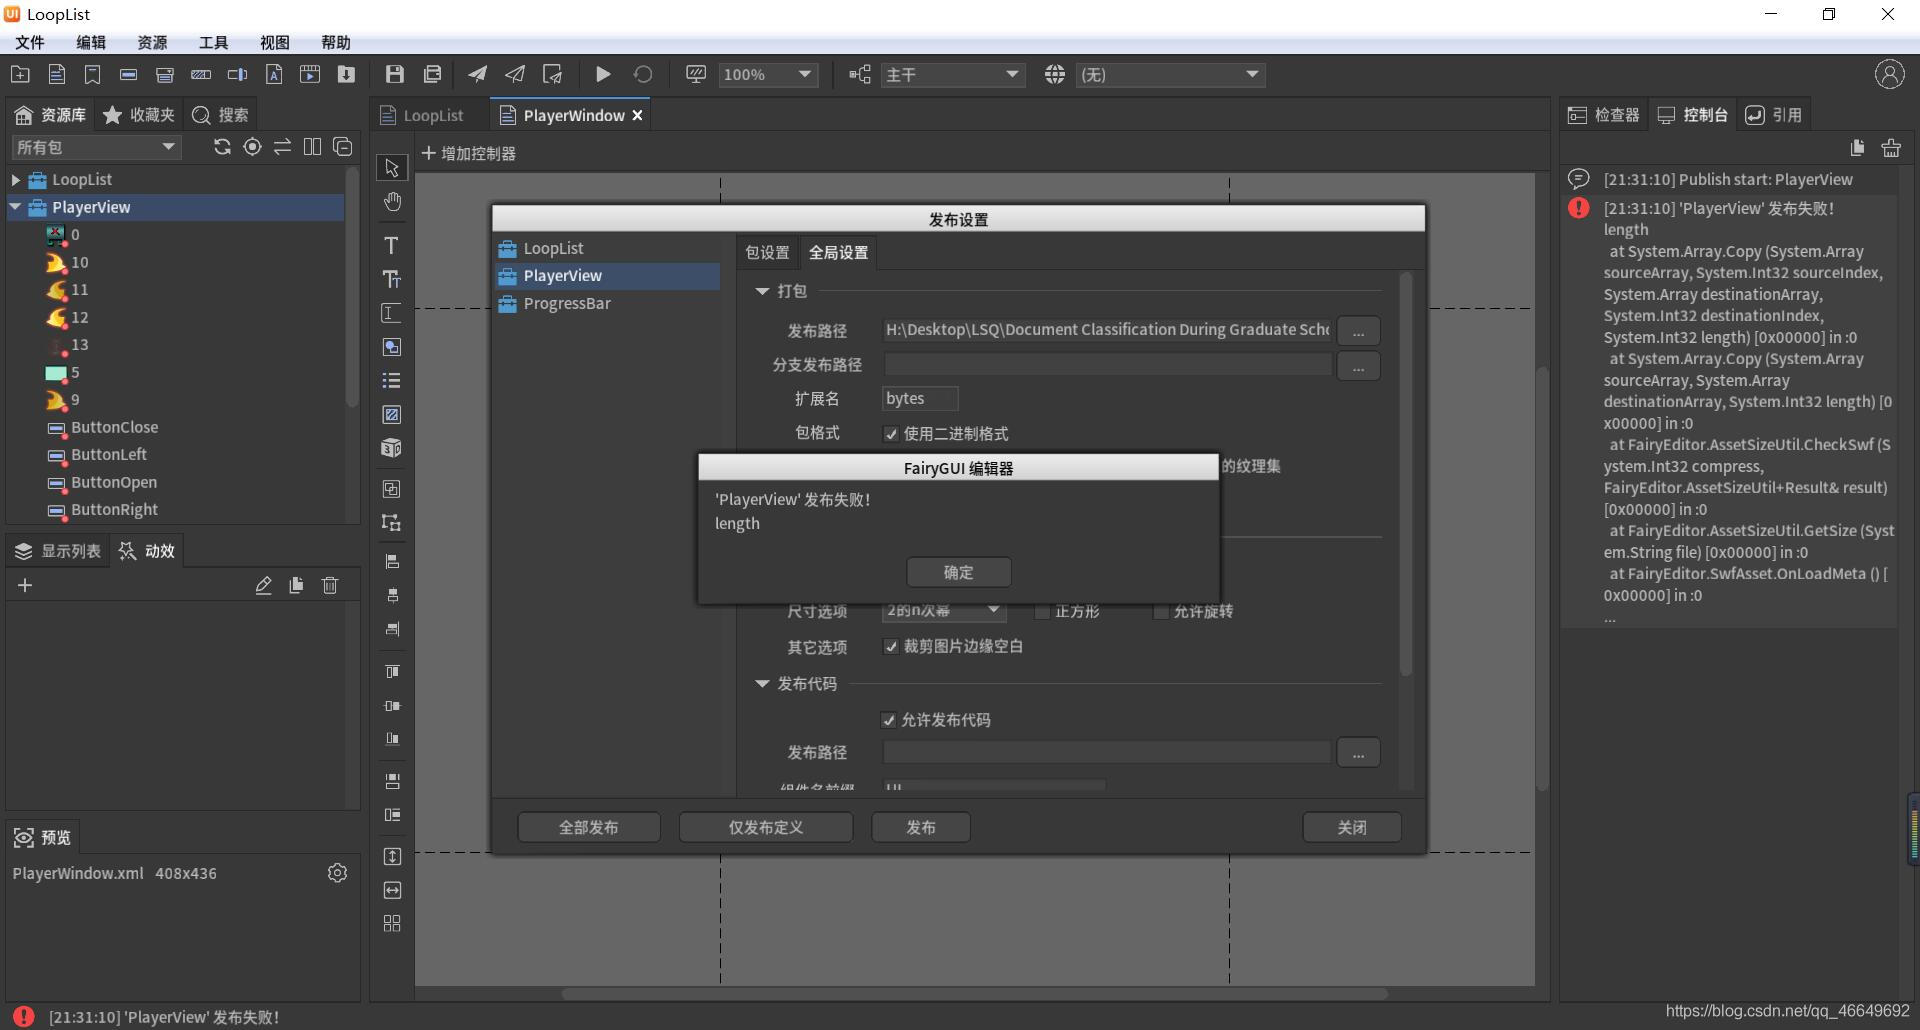
*****FairyGUI Strange phenomenon of release failure *****
At this time, you will be prompted that publishing failed , As shown in the figure above . What's the reason ? This problem has been perplexed for a long time , How did I solve it ? I created a new project again , When importing qtm01d.swf When it comes to resources , Found the problem . Turned out to be qtm01d.swf In the way . So we can take two approaches : One 、 Directly remove the click sound effect ; Two 、 Find another click sound resource by yourself , No material given , Toxic , ha-ha . I am lazy , Delete it directly .
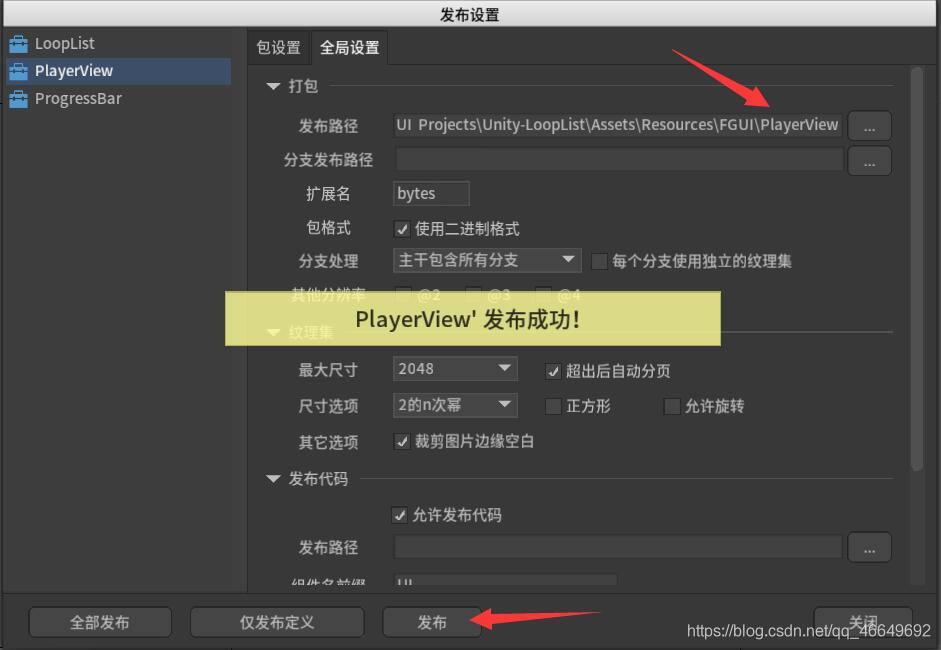
Republish again , Problem solved .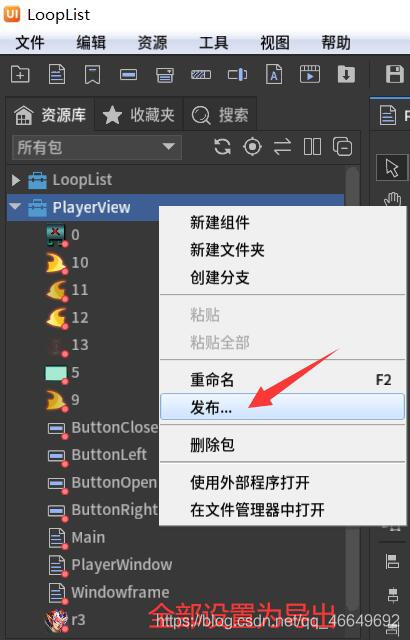
6、 ... and 、Unity It shows that
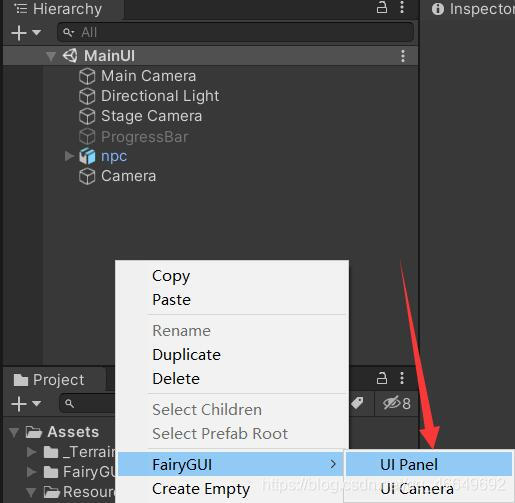
UI Panel Rename it to PlayerView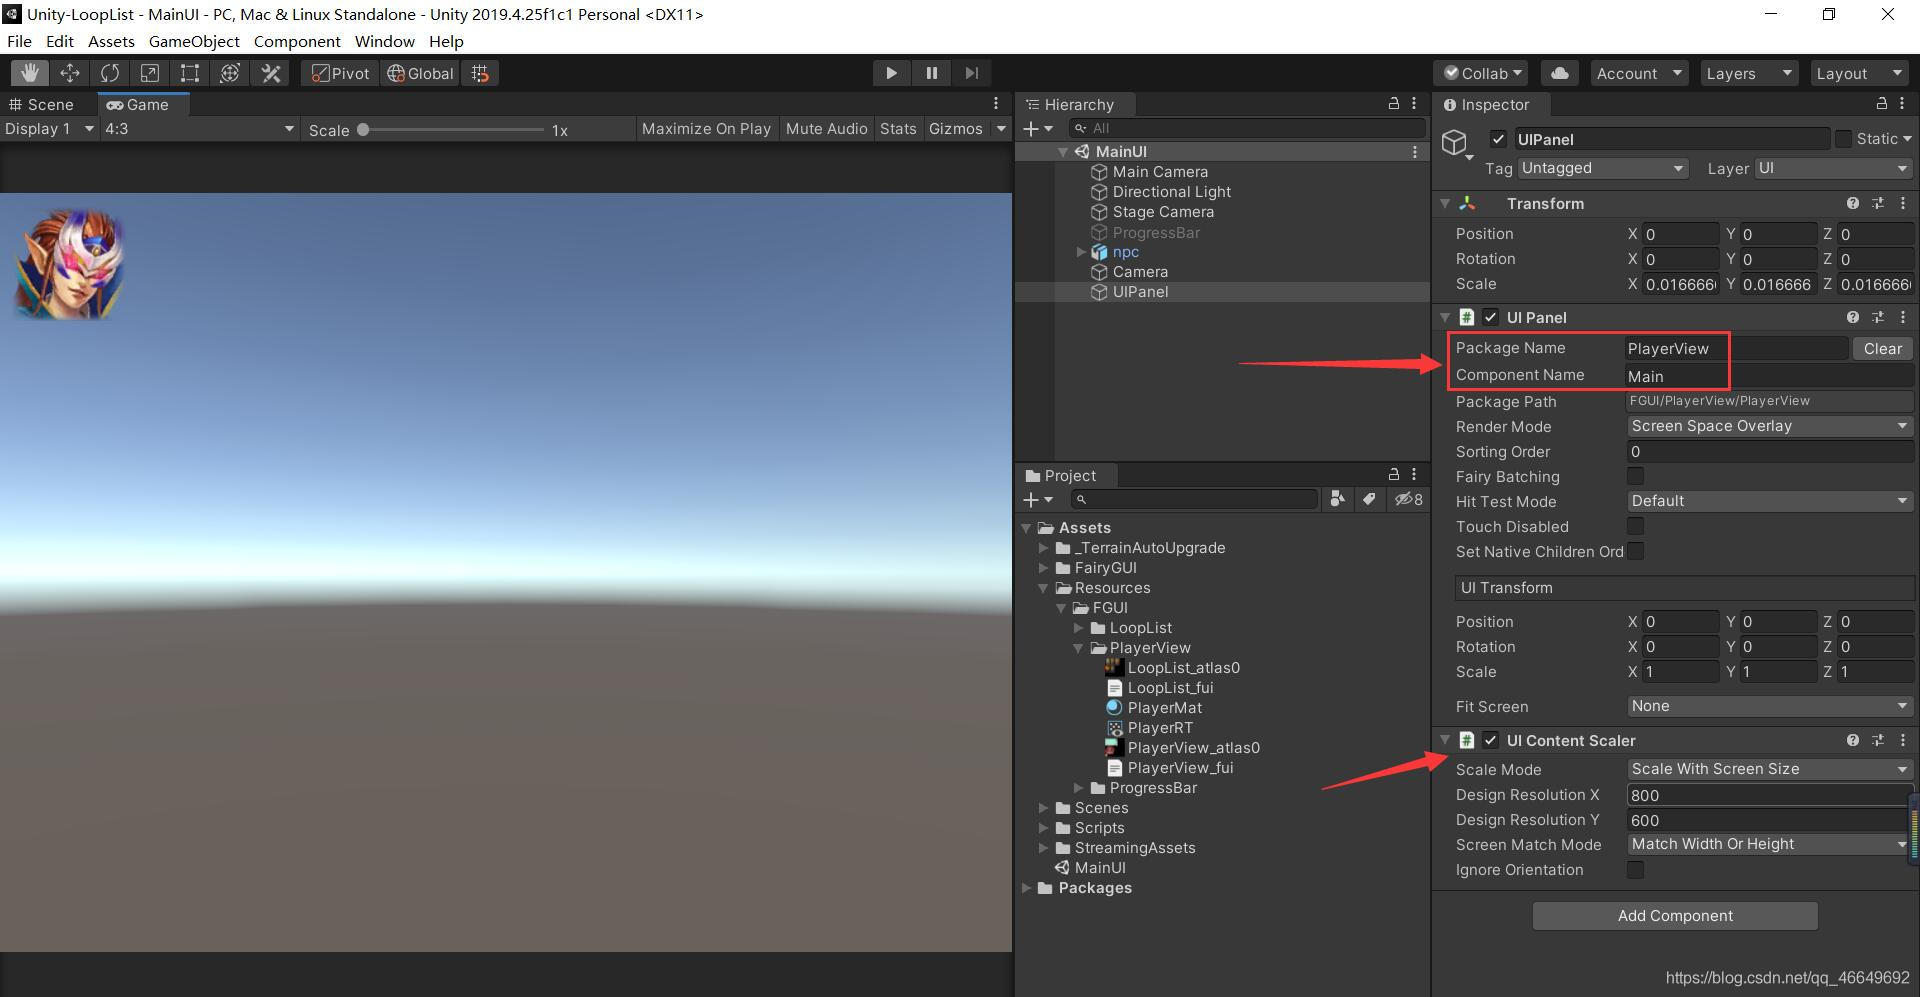
7、 ... and 、 Coding control
1、 Create two new scripts
The first is the main script that controls the display PlayerView;
The second is the pop-up script PlayerWindow.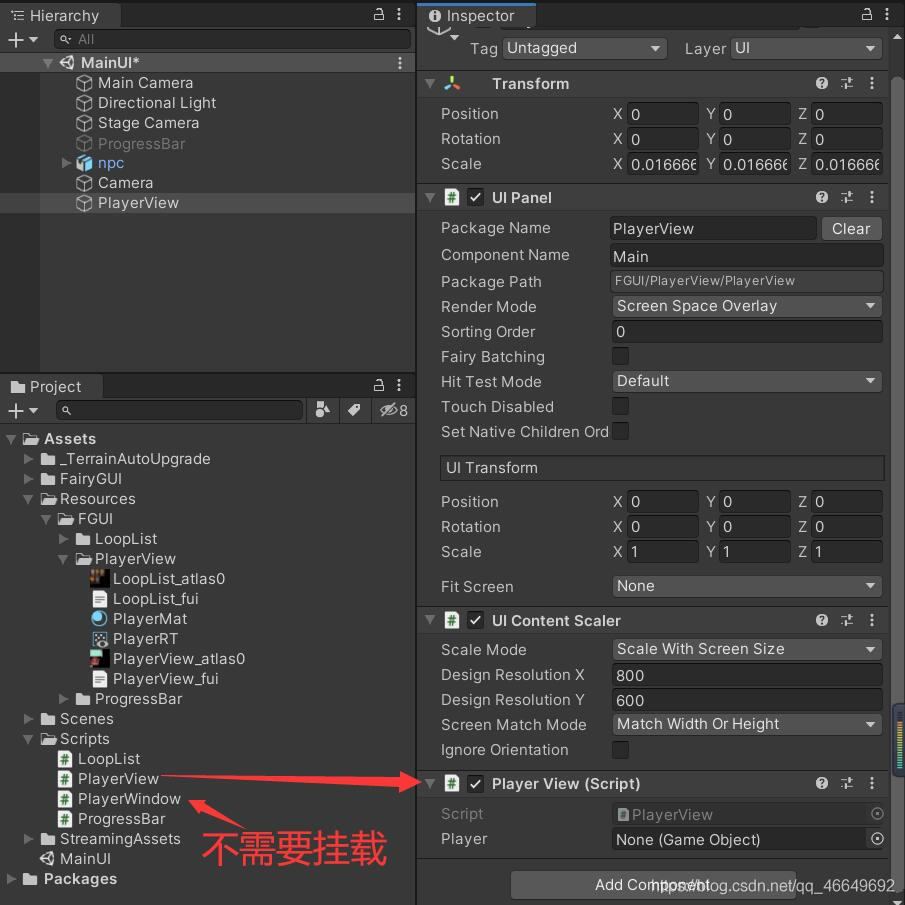
2、 Edit script
using System.Collections;
using System.Collections.Generic;
using UnityEngine;
using FairyGUI;

public class PlayerView : MonoBehaviour
{

    private GComponent mainUI;
    private PlayerWindow playerWindow;
    public GameObject player;
    void Start()
    {

        mainUI = GetComponent<UIPanel>().ui;
        playerWindow = new PlayerWindow(player);
        mainUI.GetChild("n0").onClick.Add(() => {
     playerWindow.Show(); });
    }

    // Update is called once per frame
    void Update()
    {


    }
}
using System.Collections;
using System.Collections.Generic;
using UnityEngine;
using FairyGUI;

public class PlayerWindow : Window
{

    private GameObject player;
    public PlayerWindow(GameObject player)
    {

        this.player = player;
    }

    protected override void OnInit()
    {

        this.contentPane = UIPackage.CreateObject("PlayerView", "PlayerWindow").asCom;
        GGraph holder = contentPane.GetChild("n2").asGraph;
        RenderTexture renderTexture = Resources.Load<RenderTexture>("FGUI/PlayerView/PlayerRT");
        Material mat = Resources.Load<Material>("FGUI/PlayerView/PlayerMat");
        Image img = new Image();
        img.texture = new NTexture(renderTexture);
        img.material = mat;
        holder.SetNativeObject(img);
    }
}
3、 Running effect
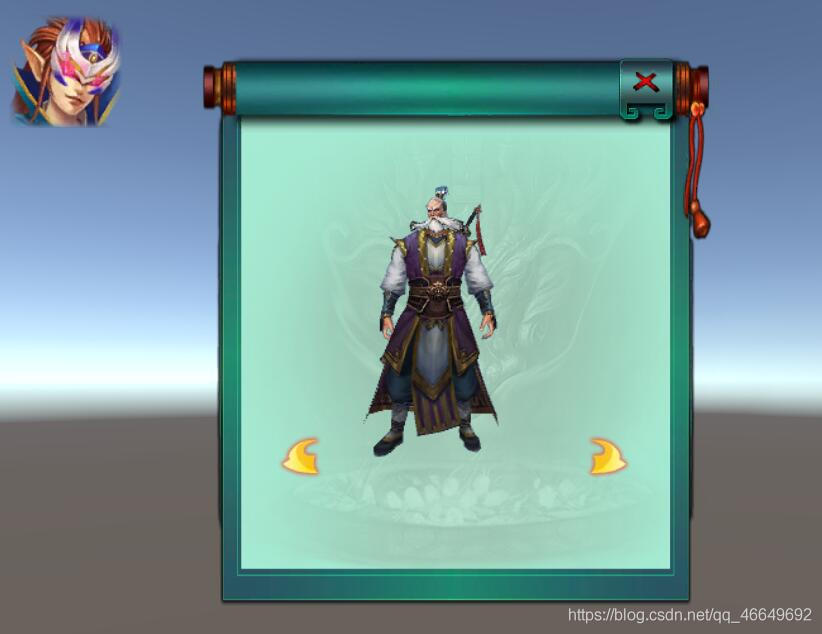
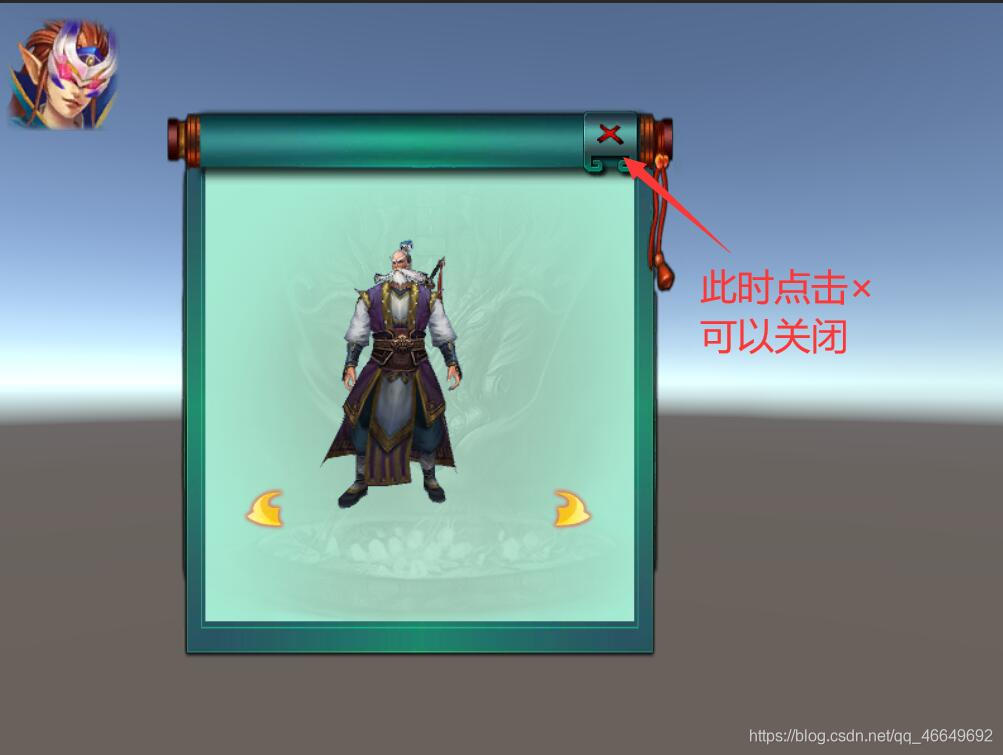
But found , Click on the × There is no response , Explain that there are still some problems .
go back to FairyGUI, Return to the window frame PlayerWindow in , Find out ButtonClose Displayed at the top , Because of our UI The display of has strict requirements on this depth . So we put this × The button of is rendered at the bottom .
4、 Re release , There is no problem after running
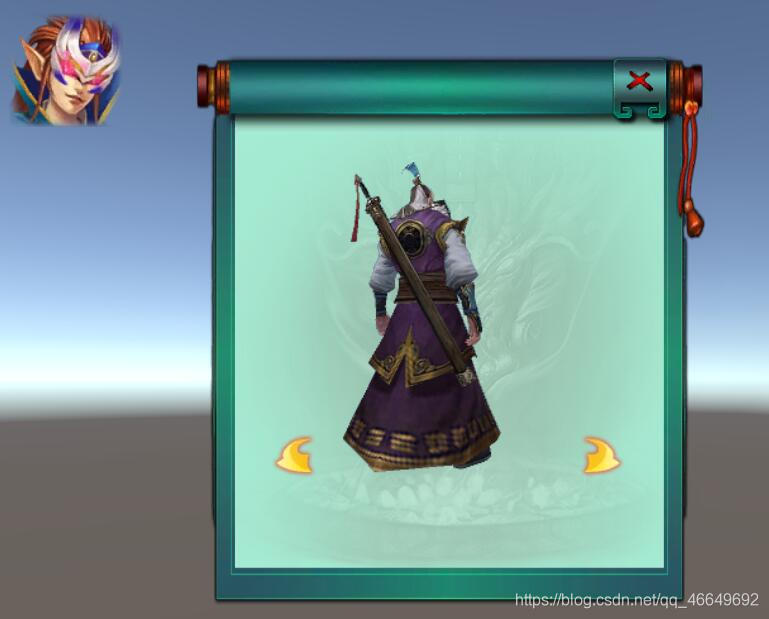
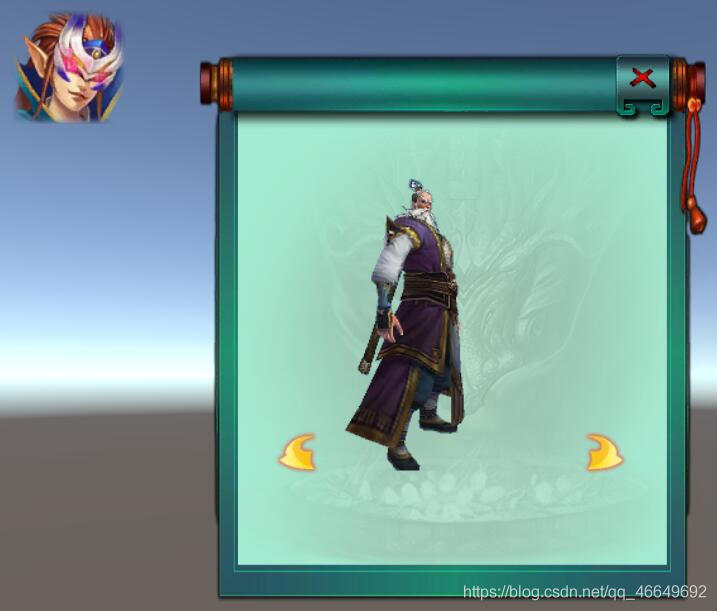
5、 Rotate the character left and right
using System.Collections;
using System.Collections.Generic;
using UnityEngine;
using FairyGUI;

public class PlayerWindow : Window
{

    private GameObject player;
    public PlayerWindow(GameObject player)
    {

        this.player = player;
    }

    protected override void OnInit()
    {

        this.contentPane = UIPackage.CreateObject("PlayerView", "PlayerWindow").asCom;
        GGraph holder = contentPane.GetChild("n2").asGraph;
        RenderTexture renderTexture = Resources.Load<RenderTexture>("FGUI/PlayerView/PlayerRT");
        Material mat = Resources.Load<Material>("FGUI/PlayerView/PlayerMat");
        Image img = new Image();
        img.texture = new NTexture(renderTexture);
        img.material = mat;
        holder.SetNativeObject(img);
        this.contentPane.GetChild("n3").onClick.Add(() => {
     RotateLeft(); });
        this.contentPane.GetChild("n4").onClick.Add(() => {
     RotateRight(); });
    }

    private void RotateLeft()
    {

        player.transform.Rotate(Vector3.up * 30, Space.World);
    }

    private void RotateRight()
    {

        player.transform.Rotate(Vector3.up * (-30), Space.World);
    }
}
8、 ... and 、 Final effect
边栏推荐
- The master of double non planning left the real estate company and became a programmer with an annual salary of 25W. There are too many life choices at the age of 25
- What is the maximum length of MySQL varchar field
- [leetcode622] design circular queue
- Introduction to the daily practice column of the Blue Bridge Cup
- 编译原理:源程序的预处理及词法分析程序的设计与实现(含代码)
- Compilation principle: preprocessing of source program and design and implementation of lexical analysis program (including code)
- Guided package method in idea
- Mysqldump error1066 error solution
- Custom view puzzle getcolor r.color The color obtained by colorprimary is incorrect
- About using @controller in gateway
猜你喜欢
單片機藍牙無線燒錄
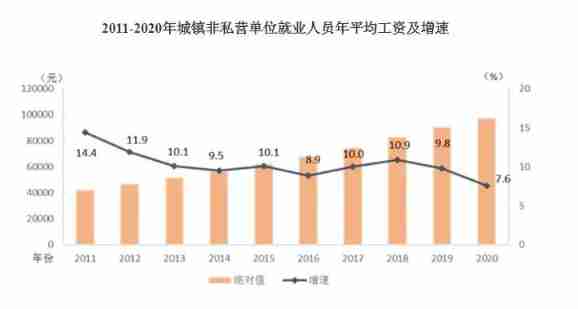
In 2020, the average salary of IT industry exceeded 170000, ranking first
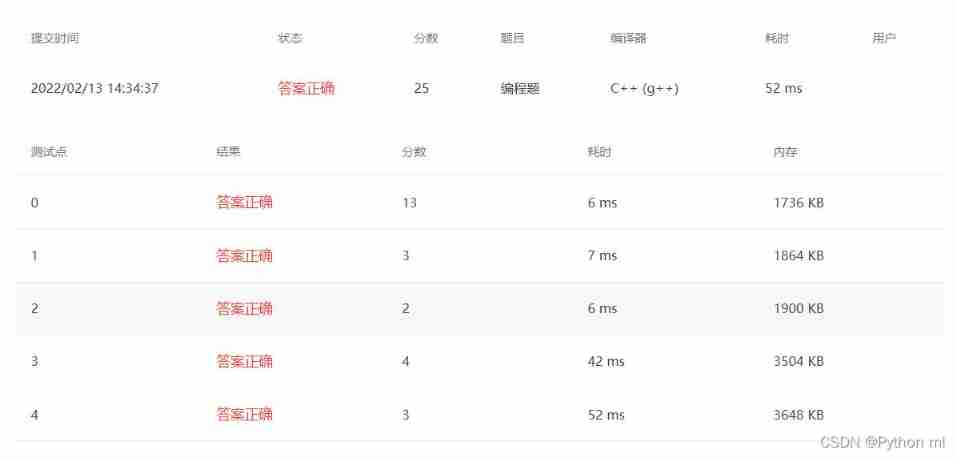
Pat 1097 duplication on a linked list (25 points)
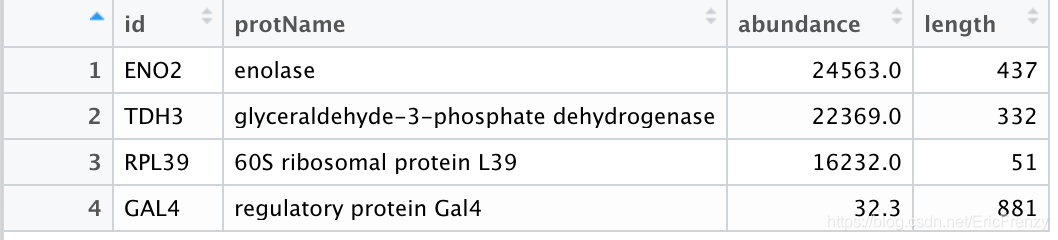
(3) Introduction to bioinformatics of R language - function, data Frame, simple DNA reading and analysis
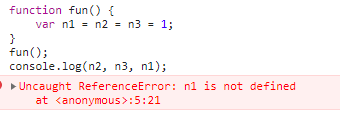
JS function promotion and declaration promotion of VaR variable

Database course design: college educational administration management system (including code)
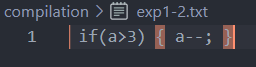
Compilation principle: preprocessing of source program and design and implementation of lexical analysis program (including code)

js 变量作用域和函数的学习笔记
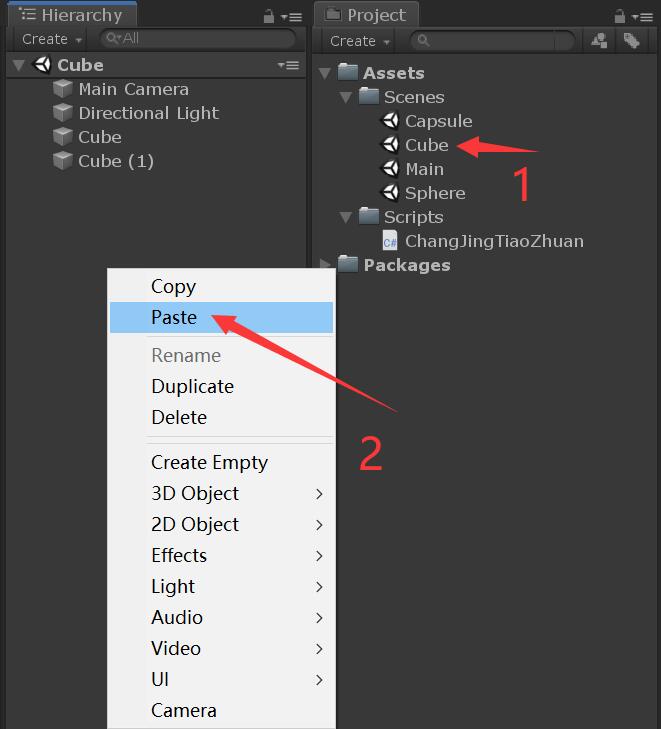
Unity scene jump and exit

Générateur d'identification distribué basé sur redis
随机推荐
Esp8266 connect onenet (old mqtt mode)
(5) Introduction to R language bioinformatics -- ORF and sequence analysis
Unity3D摄像机,键盘控制前后左右上下移动,鼠标控制旋转、放缩
Database course design: college educational administration management system (including code)
Flink late data processing (3)
JUC forkjoin and completable future
Naive Bayesian theory derivation
Common DOS commands
Single chip Bluetooth wireless burning
[Offer18]删除链表的节点
It has been solved by personal practice: MySQL row size too large (> 8126) Changing some columns to TEXT or BLOB or using ROW_ FORMAT
[offer78]合并多个有序链表
[899]有序队列
Unity3d, Alibaba cloud server, platform configuration
Introduction to the daily practice column of the Blue Bridge Cup
MySQL时间、时区、自动填充0的问题
Gravure sans fil Bluetooth sur micro - ordinateur à puce unique
MySQL time, time zone, auto fill 0
基于Redis的分布式ID生成器
Remember an experience of ECS being blown up by passwords - closing a small black house, changing passwords, and changing ports