当前位置:网站首页>C4D learning notes 2- animation - timeline and time function
C4D learning notes 2- animation - timeline and time function
2022-07-07 15:49:00 【Jiang Duoduo_ Mostly Harmless 】
Study the course :
https://huke88.com/course/8786.html
Call up the timeline in two ways
1. Interface -animate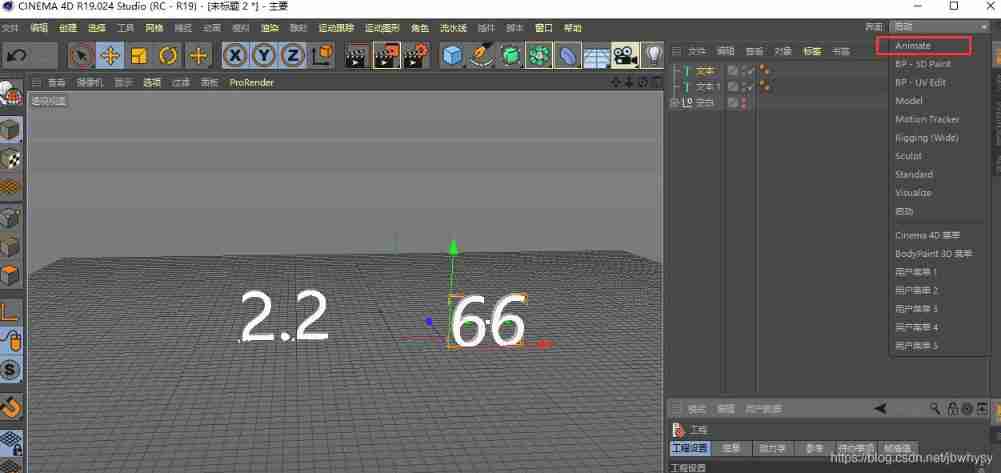
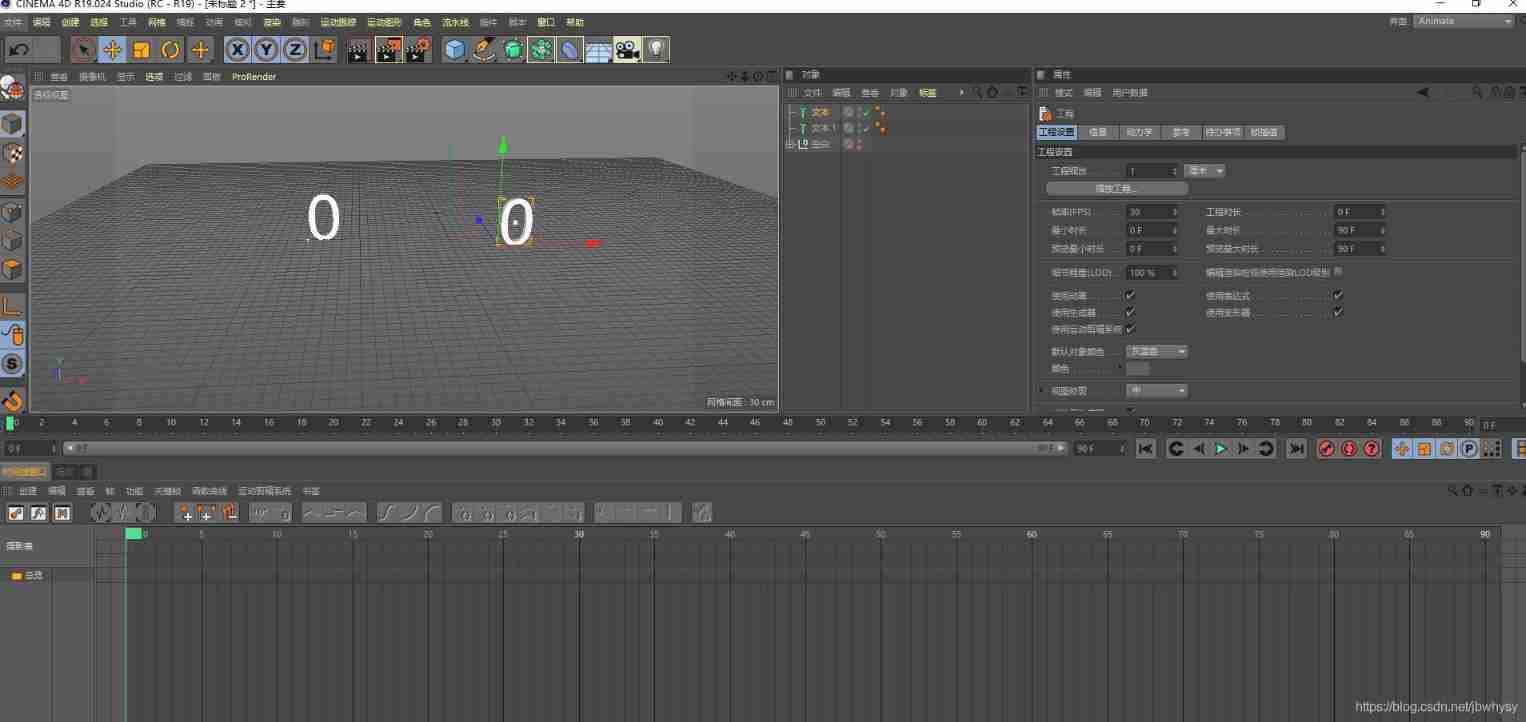
2. window - Timeline 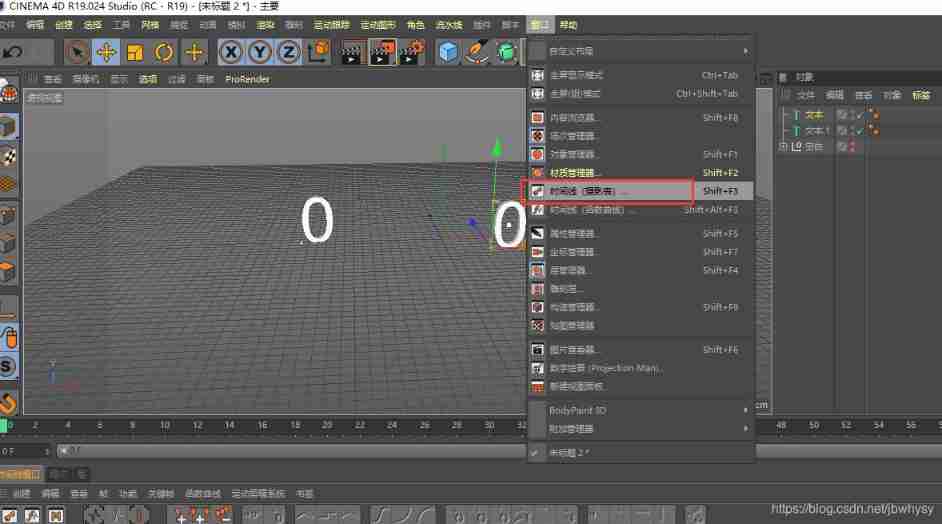
3.animate Interface - Time function
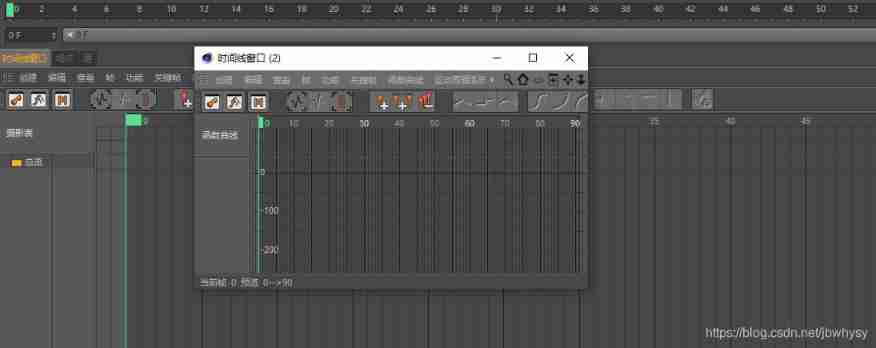
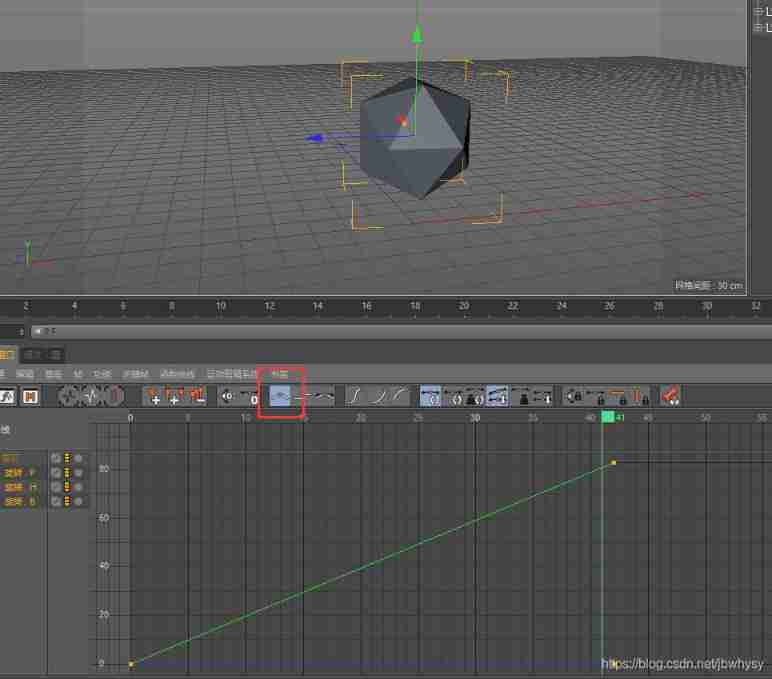
Click on the red box to see the animation curve of the cube
Window operation :
1. The window is lengthened when the wheel is up , The scroll wheel compresses down the window
2. Left mouse button + keyboard 1 Key can move the window
3. Left mouse button + keyboard 2 Key can zoom the horizontal range 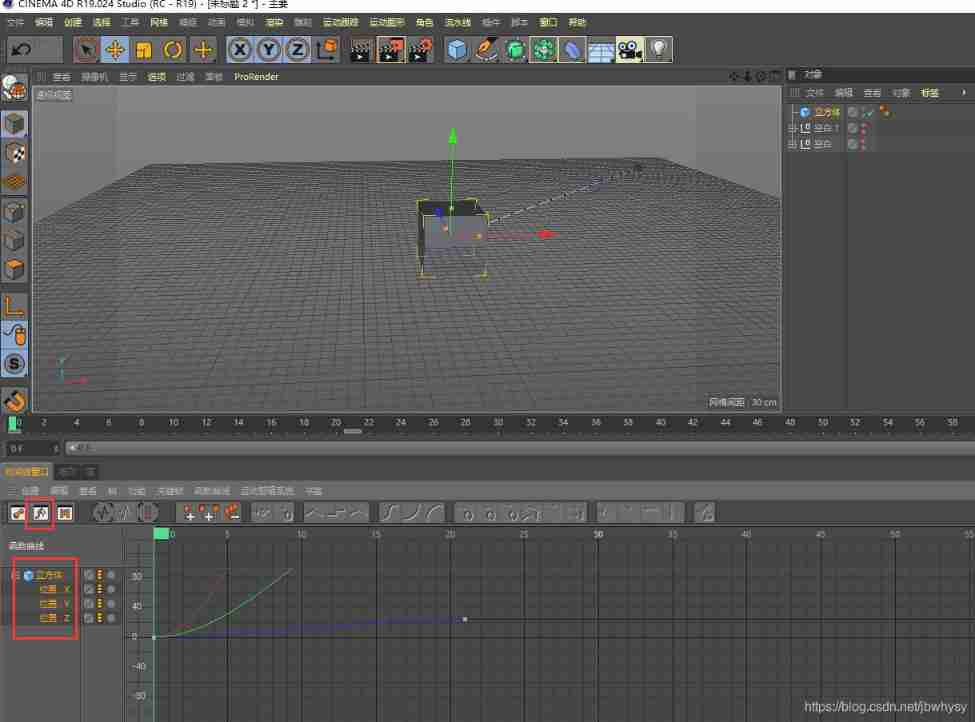
4. Timeline difference
The transition between two keyframes if motion
The initial speed of fade in and fade out is 0, The end speed is also 0
- Linear difference
- Gradual in and gradual out difference
- Gradual difference
- Fade out interpolation
1. New gem , rotate Y Add keys to the axis
The animation effect is as follows , It is gradually coming in and out
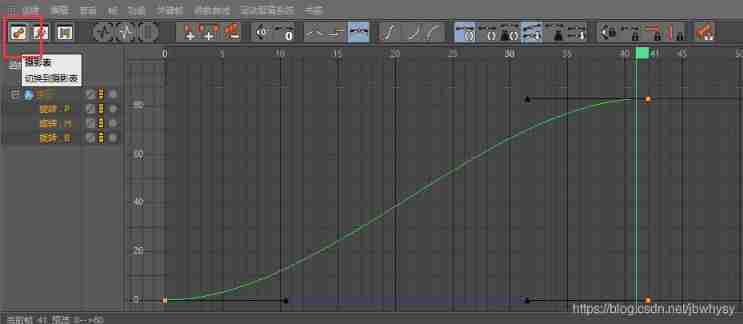
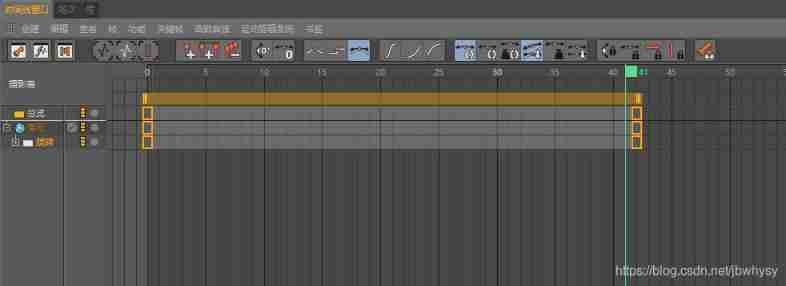
2. To change gradual in and gradual out into linear , You need to select Dope Sheet mode , Select all keys , Click the linear interpolation icon 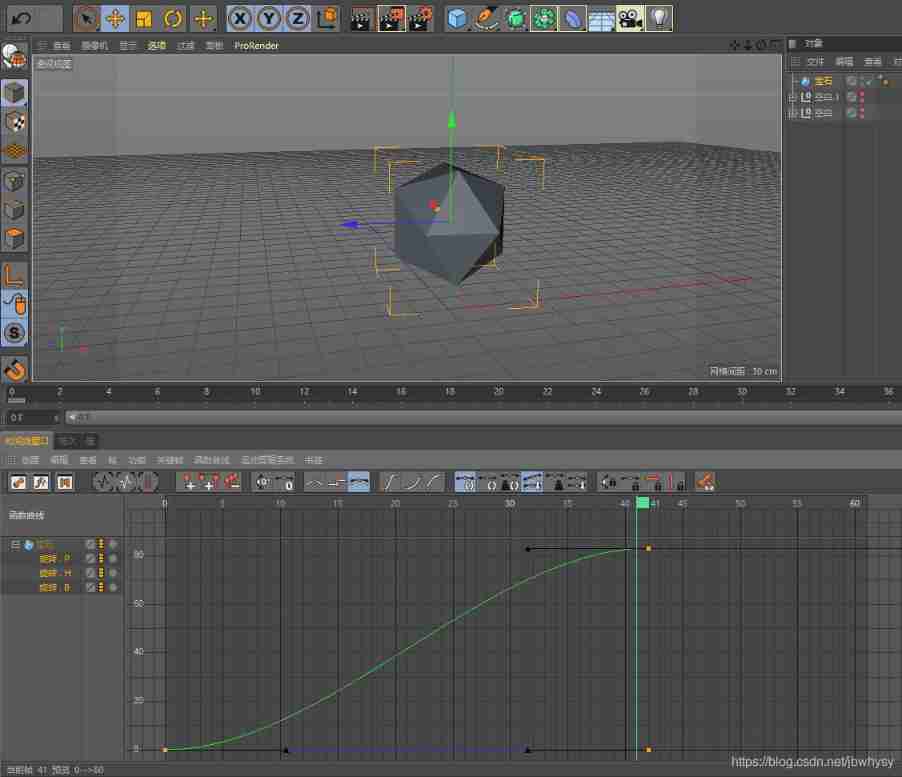
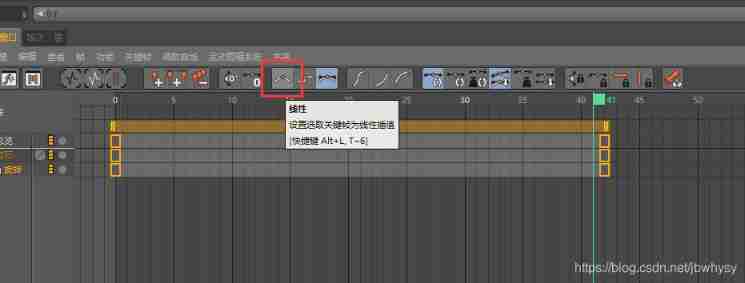
Animation effect
In and out 
linear 
Other modes
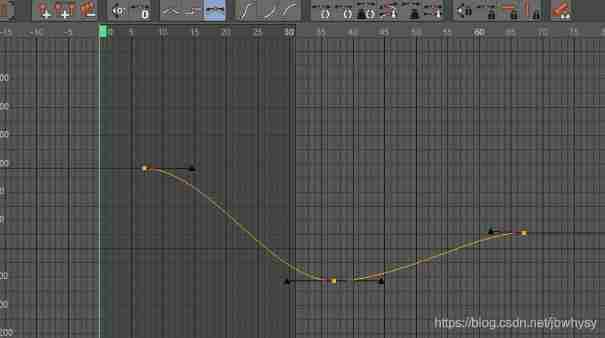
Each anchor has two properties , Tangent angle and tangent length
1. The red box is Stride mode , Is not a coherent animation , Every key frame , Perform an animation . Like every other 10 Frame movement 200 distance .
2. Spline It's getting in and out , Look at the anchor arrow , Level is gradually in or gradually out 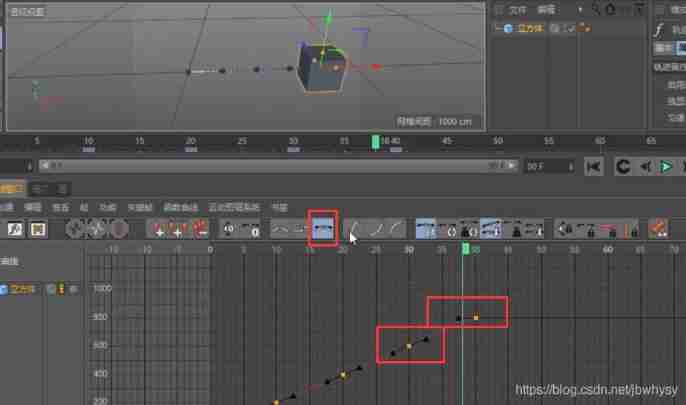
3. Create a new ring , Create a new spiral , The radius of the torus object is changed to 5, Both scans 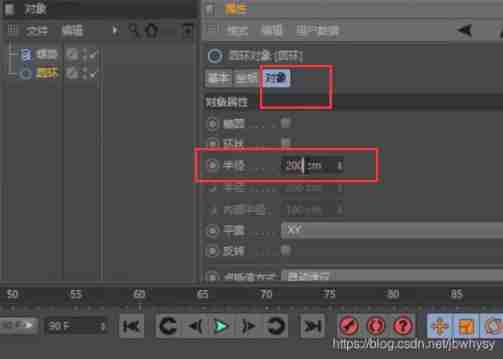
4. scanning - End growth , The first frame is changed to 0%, Make a key frame , The first 90 At the end of the frame, the growth is 100%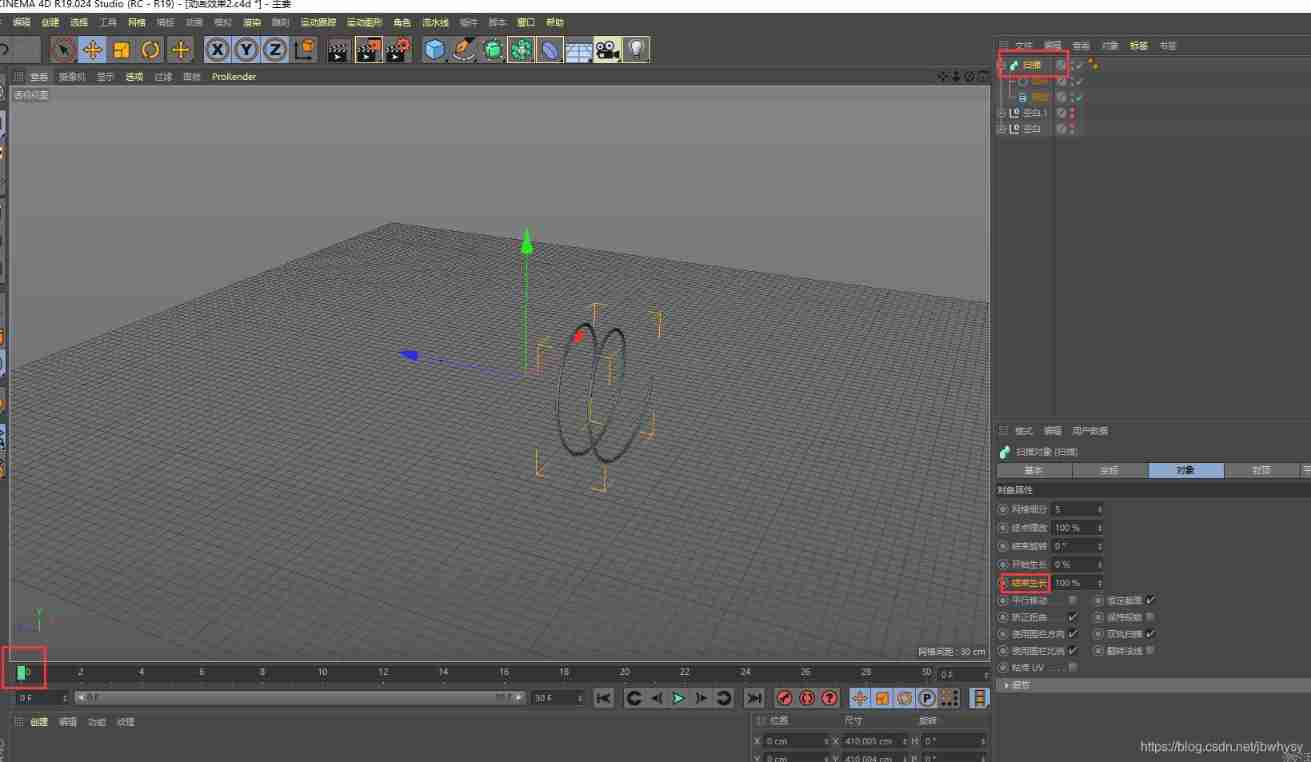
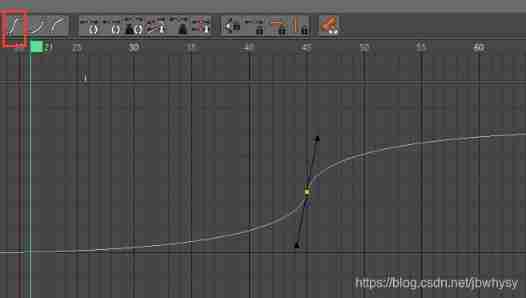
Enter the function curve , Check the box to see the key frame , The handle is in or out slowly in the horizontal direction , stay 45 Frame and then hit a key frame .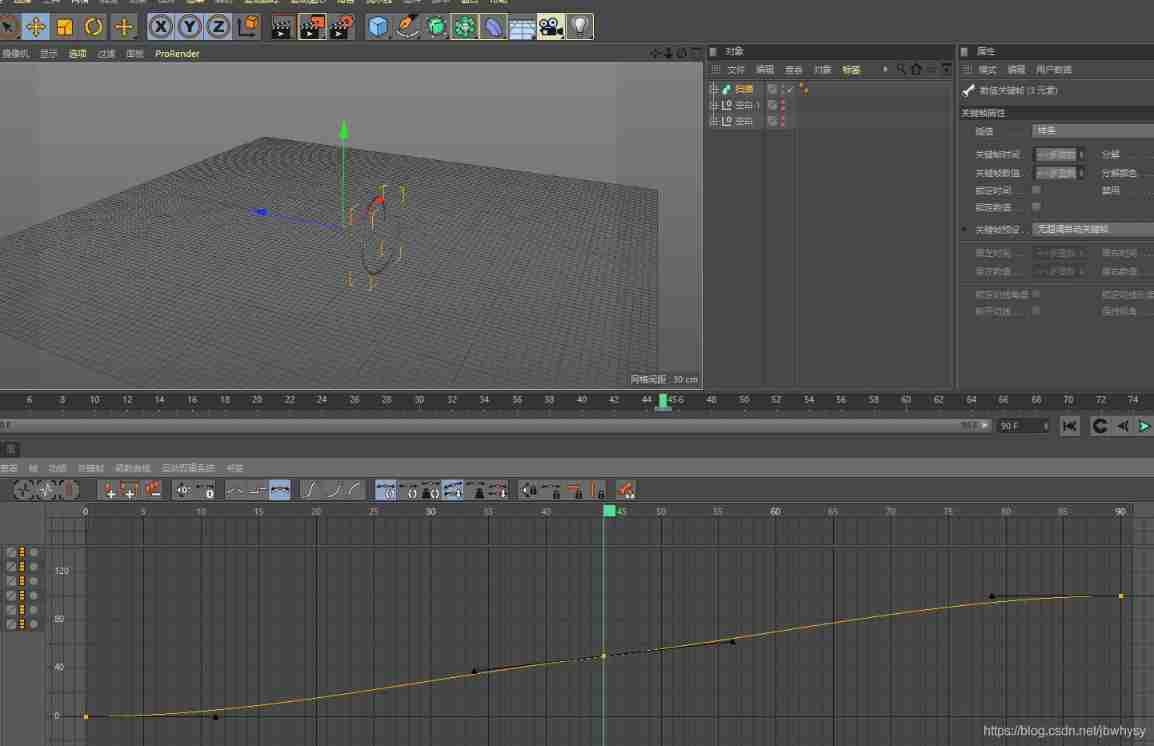
45 After the frame is clicked and buffered , The left side becomes horizontal , It means to slow down .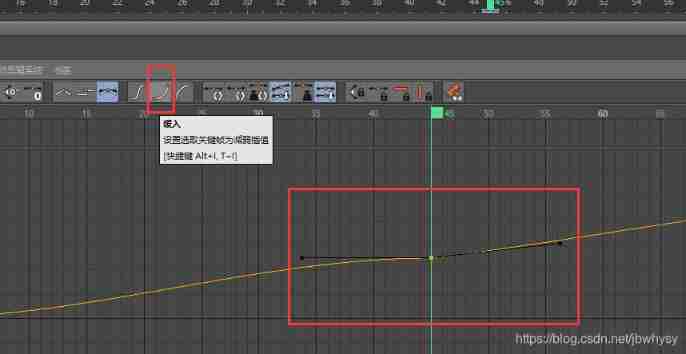
When the handle is a small dot , It can be adjusted on both sides , Want to adjust together , You need to click mitigation , When a small dot turns into a small triangle, it can adjust everything around .
Under mild treatment , Want to deal with it separately , Hold down shift Press and hold the small triangle while pressing the key , At this time, the relationship between the left and right sides is cut off , To reconnect, press the disconnect tangent button , It returns to the re association state .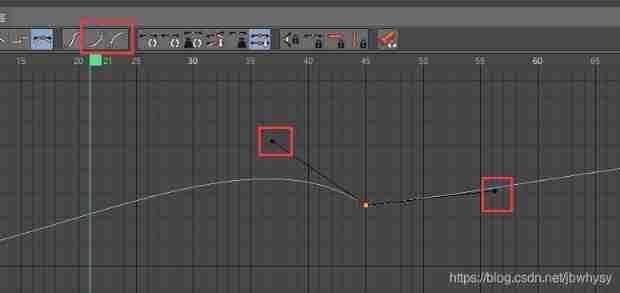
Zero angle tangent , It's horizontal tangency
Zero length tangent , Just remove the left and right handles , Become a transitional relationship 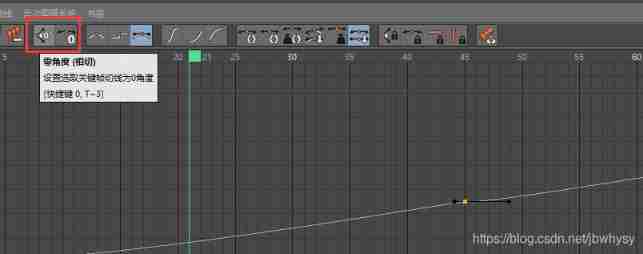

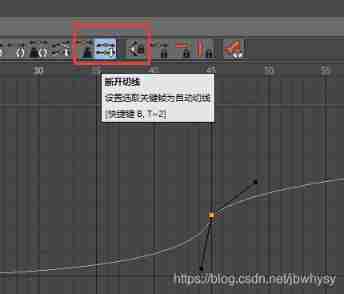
Automatically adjust the tangent angle 
5. Remove overshoot
Check remove overshoot , Avoid the difference exceeding a certain range , Cause the camera to move below the ground and other problems 
Create a new camera , Create another doll .
Click on the camera , Click the small black square behind the camera , And then adjust .
After clicking, it is in the perspective of the camera , If you don't click, you need to adjust the camera
The first 0 At the frame , Click the red box button , Make a key frame for all , The first 15 frame , Close up and make a key frame , The first 30 Rotate the frame by an angle to make a key frame 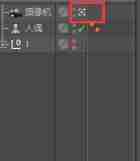


Cancel remove overshoot 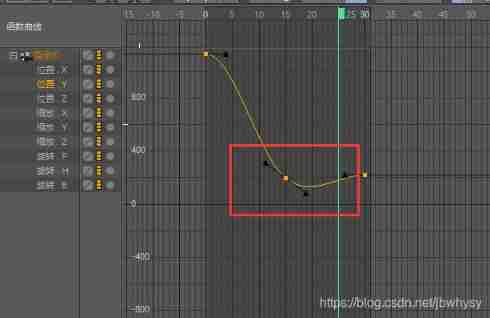
Select remove overshoot
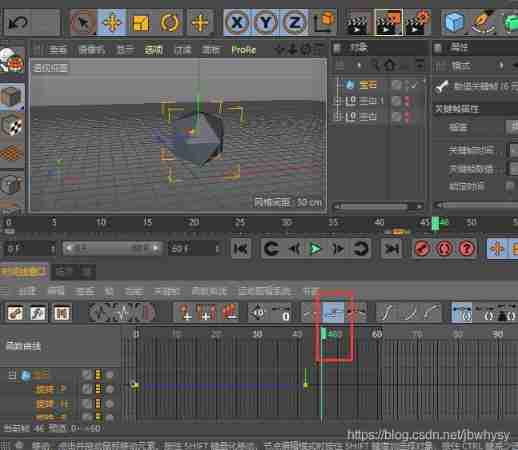
Under function curve ,ctrl+a All keys can be selected 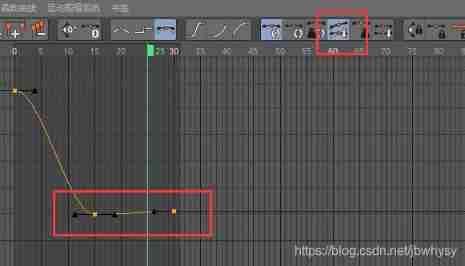

Lock angle , Lock tangents , Lock key position , You can only change the time lock attribute
Mark the red box , Blue box unmarked 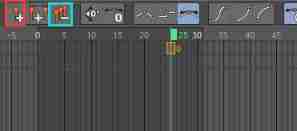
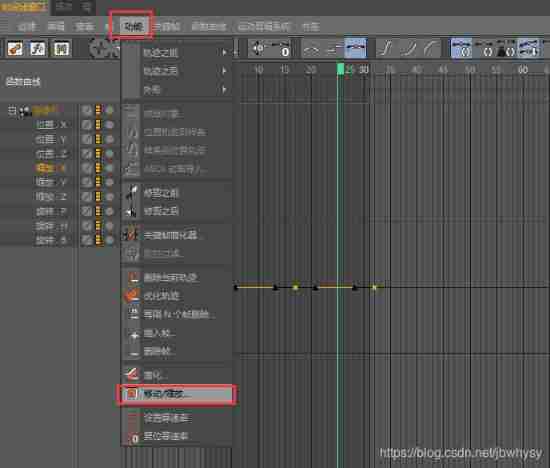
6. Other common techniques
1. function - Move zoom
Select all keys ctrl+a, function - The zoom - Change it to 10, whole 30 The frame will become 300 frame , Easy to operate in the animation panel
Before change 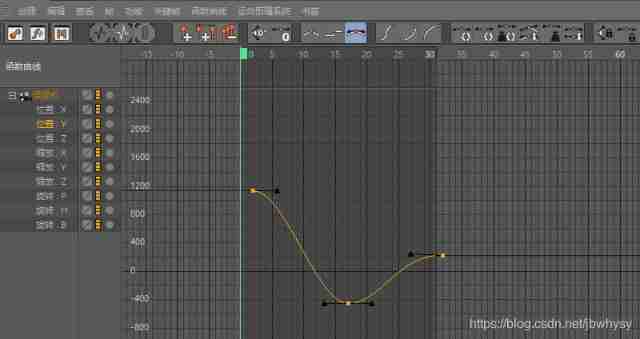
After change 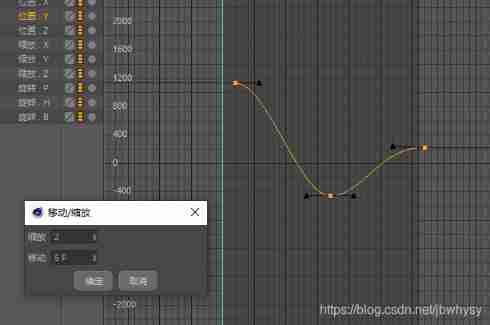
Double click on the numerical value to show the place to modify the number 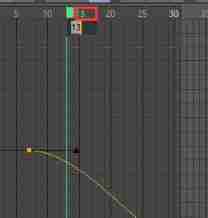
边栏推荐
- Typescript release 4.8 beta
- Excerpted words
- Nacos conformance protocol cp/ap/jraft/distro protocol
- 避坑:Sql中 in 和not in中有null值的情况说明
- Cut ffmpeg as needed, and use emscripten to compile and run
- VS2005 strange breakpoint is invalid or member variable value cannot be viewed
- Syntax of generator function (state machine)
- 尤雨溪,来了!
- MongoD管理数据库的方法介绍
- How to create Apple Developer personal account P8 certificate
猜你喜欢
Tkinter after how to refresh data and cancel refreshing
15. Using the text editing tool VIM
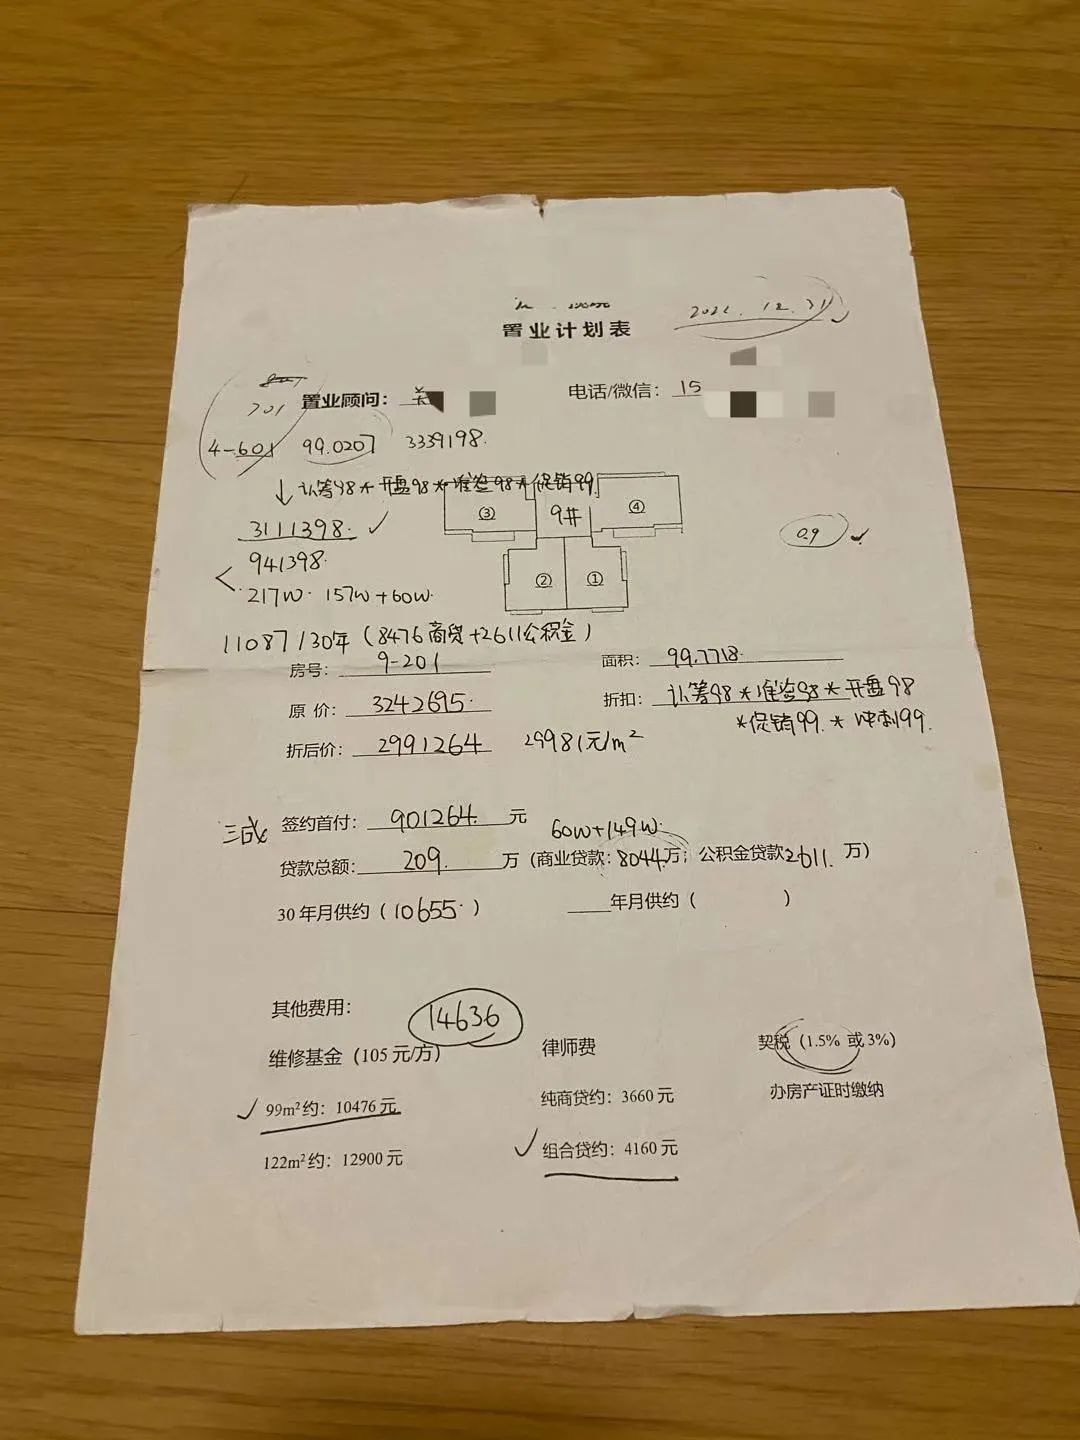
有钱人买房就是不一样
![[quick start of Digital IC Verification] 24. AHB sramc of SystemVerilog project practice (4) (AHB continues to deepen)](/img/cf/45775b712f60869186a25d3657ee1b.png)
[quick start of Digital IC Verification] 24. AHB sramc of SystemVerilog project practice (4) (AHB continues to deepen)
2022全开源企业发卡网修复短网址等BUG_2022企业级多商户发卡平台源码
![[wechat applet] Chapter (5): basic API interface of wechat applet](/img/63/e819113c7c93e273525bc850892972.png)
[wechat applet] Chapter (5): basic API interface of wechat applet
Ida Pro reverse tool finds the IP and port of the socket server
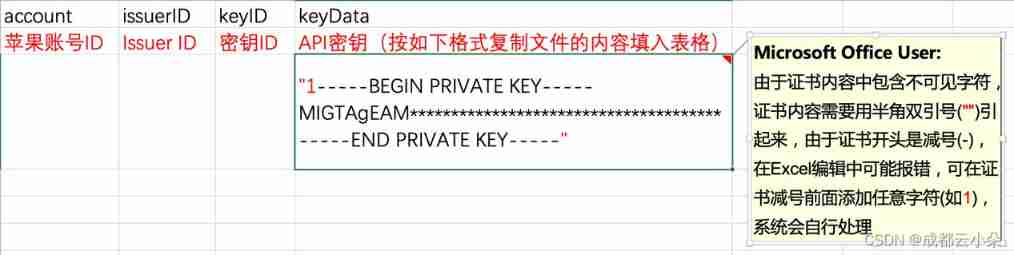
Steps to create P8 certificate and warehousing account
Window环境下配置Mongodb数据库
Virtual memory, physical memory /ram what
随机推荐
Detailed explanation of Cocos creator 2.4.0 rendering process
OpenGL's distinction and understanding of VAO, VBO and EBO
Yunxiaoduo software internal test distribution test platform description document
There is a cow, which gives birth to a heifer at the beginning of each year. Each heifer has a heifer at the beginning of each year since the fourth year. Please program how many cows are there in the
Three. JS introductory learning notes 0: illustration of how webgl and threejs work
避坑:Sql中 in 和not in中有null值的情况说明
无线传感器网络--ZigBee和6LoWPAN
Cocos creator collision and collision callback do not take effect
What is Base64?
[markdown grammar advanced] make your blog more exciting (IV: set font style and color comparison table)
[quickstart to Digital IC Validation] 20. Basic syntax for system verilog Learning 7 (Coverage Driven... Including practical exercises)
2. Heap sort "hard to understand sort"
UE4 exports the picture + text combination diagram through ucanvasrendertarget2d
银行需要搭建智能客服模块的中台能力,驱动全场景智能客服务升级
#HPDC智能基座人才发展峰会随笔
HPDC smart base Talent Development Summit essay
Write sequence frame animation with shader
Super signature principle (fully automated super signature) [Yun Xiaoduo]
Create lib Library in keil and use lib Library
Actually changed from 408 to self proposition! 211 North China Electric Power University (Beijing)