当前位置:网站首页>Realize payment function in applet
Realize payment function in applet
2022-07-07 18:56:00 【Low code preacher】
Catalog
Many of the daily small programs need to be paid , How to realize payment in a small program ? This article takes you to experience .
1 Payment scenario
Let's sort out what the payment scenario looks like , First, you can browse products , Then make settlement in the detail page of the commodity . The main purpose of settlement is to generate orders , Payment can be made after the order is generated .
Payment is actually to submit an online order to wechat payment , After the order is submitted successfully, you can call the payment interface to pull up the payment interface .
After pulling up the payment interface, we need to pay according to the prompted amount , After the payment is successful, we will update the status of the order , Become paid .
2 create data source
According to the analysis scenario, we need to create a data source , There are two data sources , They are commodity data source and order data source .
2.1 Commodity data source
If there is a commodity, there is the name of the commodity 、 Price 、 details , Create the commodity data source and corresponding fields according to the design 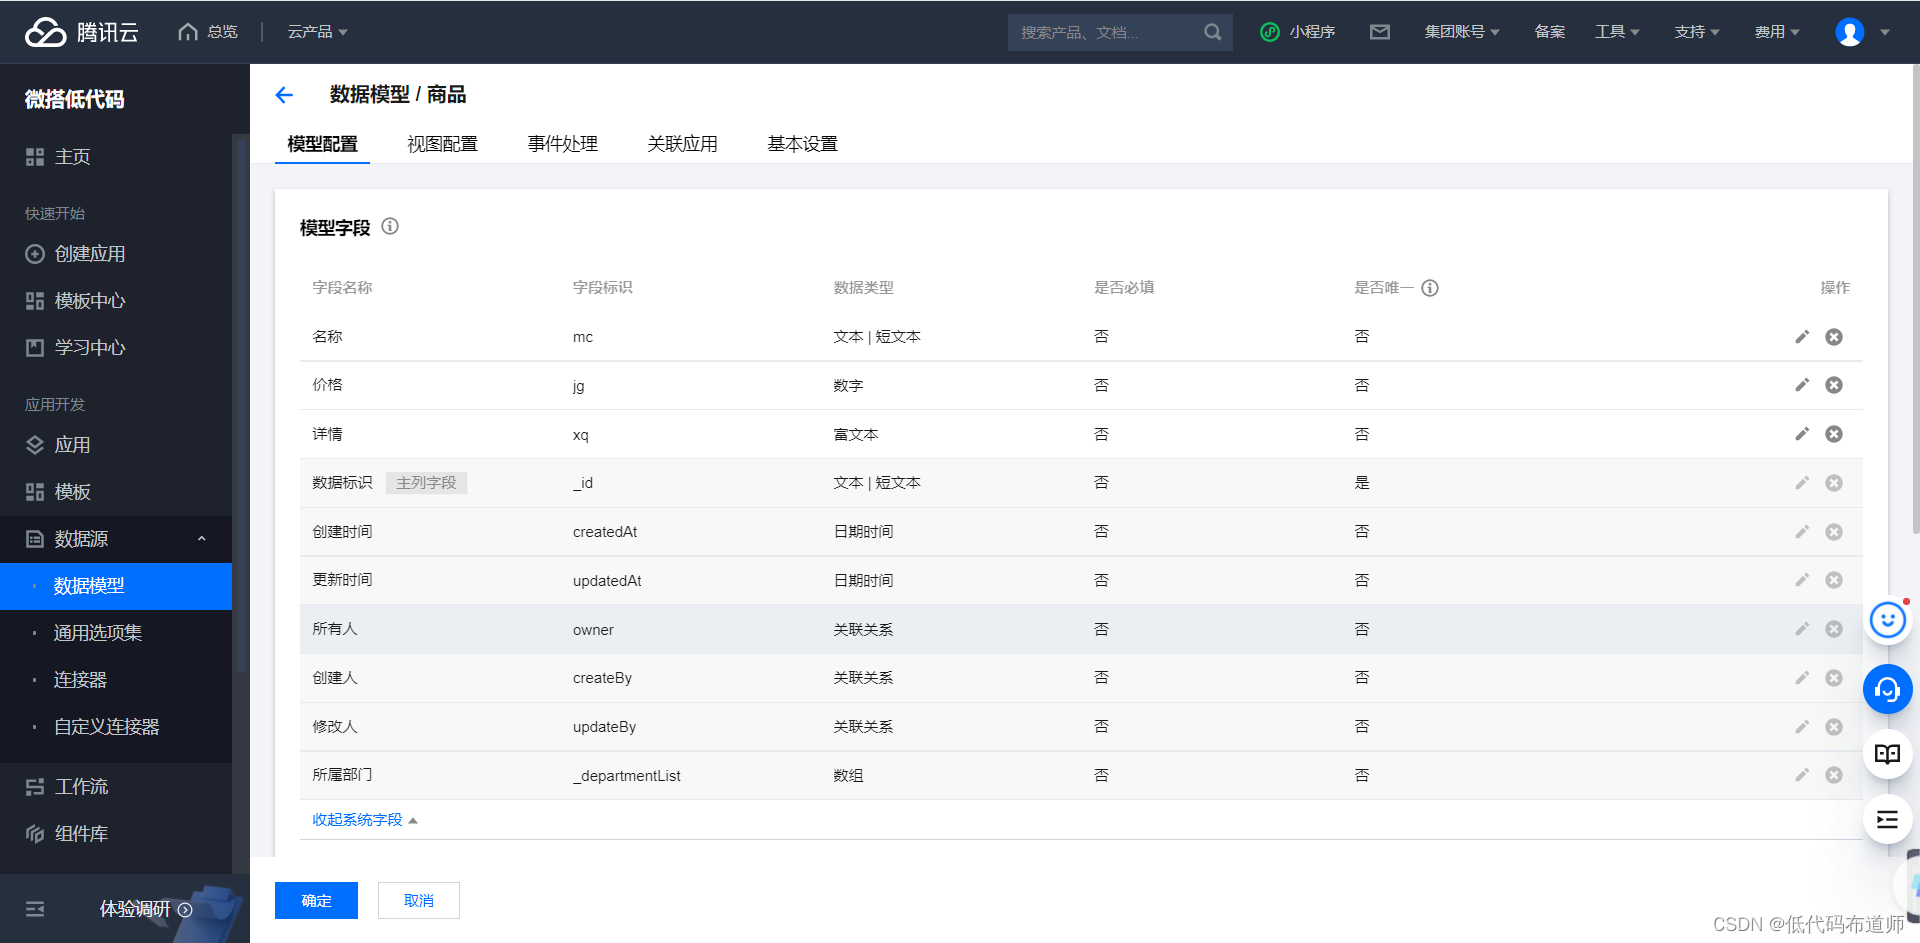
2.2 Order data source
If the order is placed, there is an order number , Pay the amount , Whether to pay ,openid
3 Create a connector
If we want to use wechat to pay , You need to create a connector first . Click the connector on the console , Click new connector 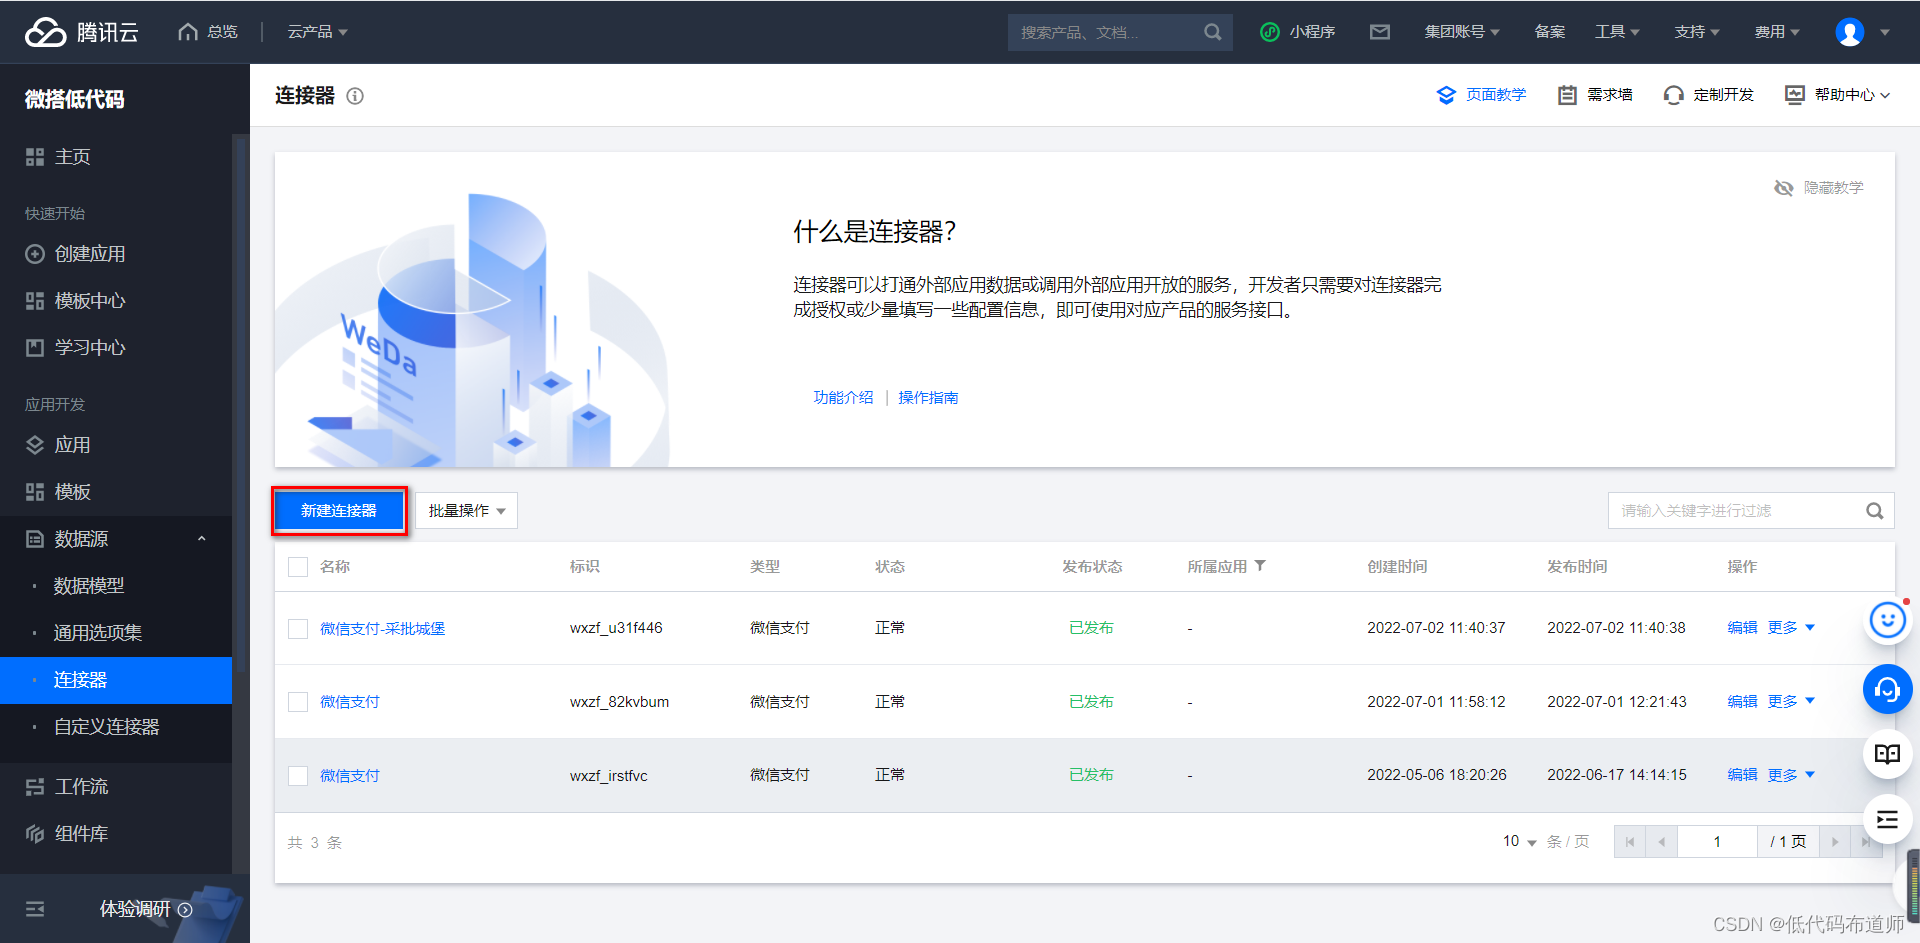
Choose wechat payment 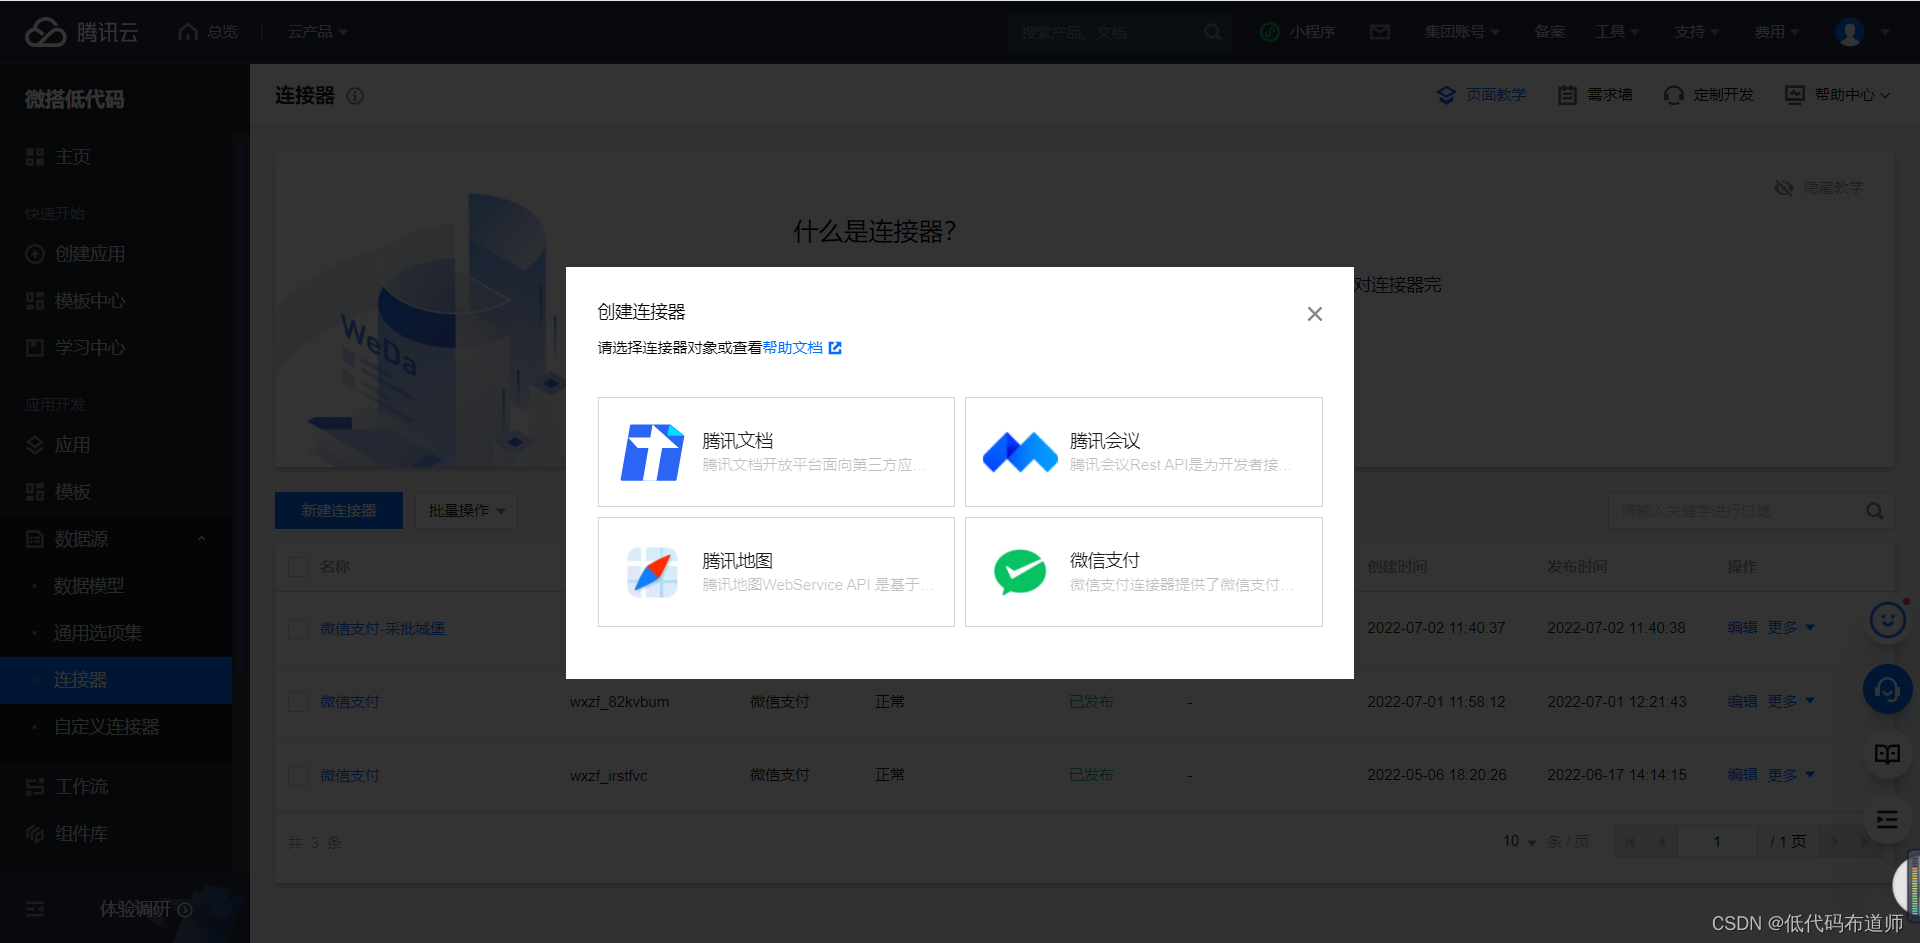
Select the applet and merchant number of the business entity , This completes the creation of the connector 
Wechat payment provides a total of four methods , They are unified orders 、 Query order 、 Close order 、 Download the statement 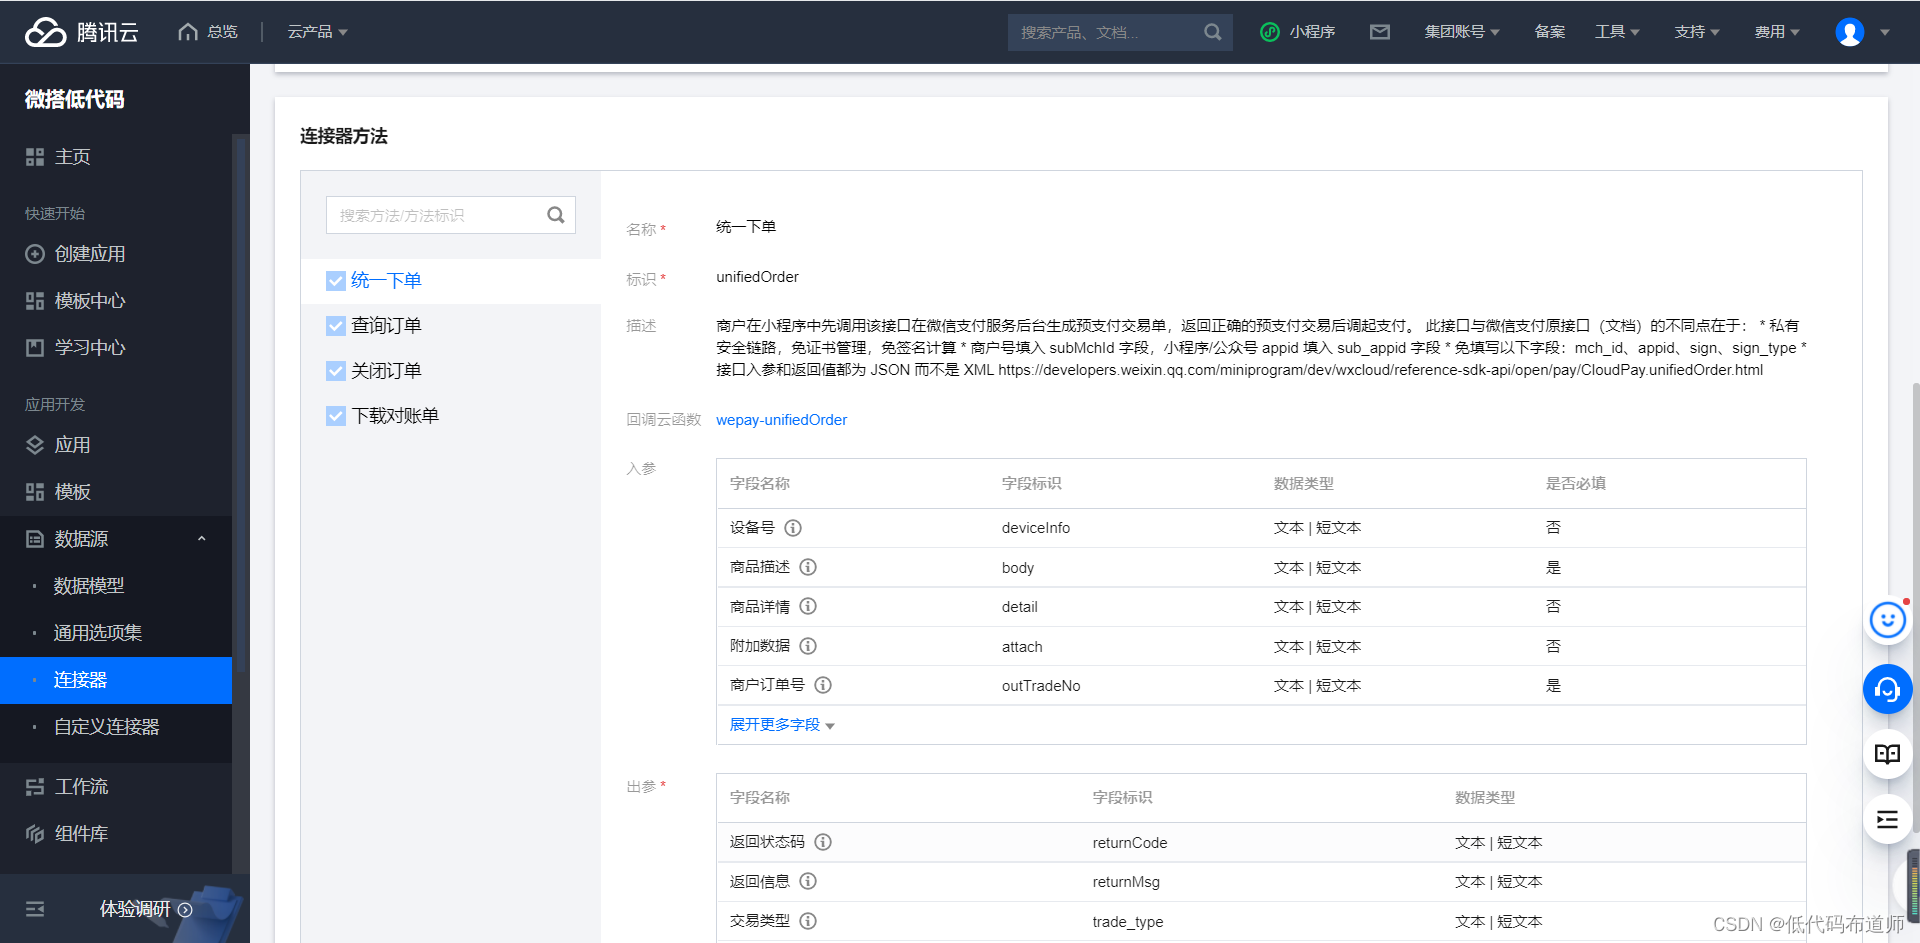
4 Create an
Click the application menu of the console , Click new app , Create a new custom application 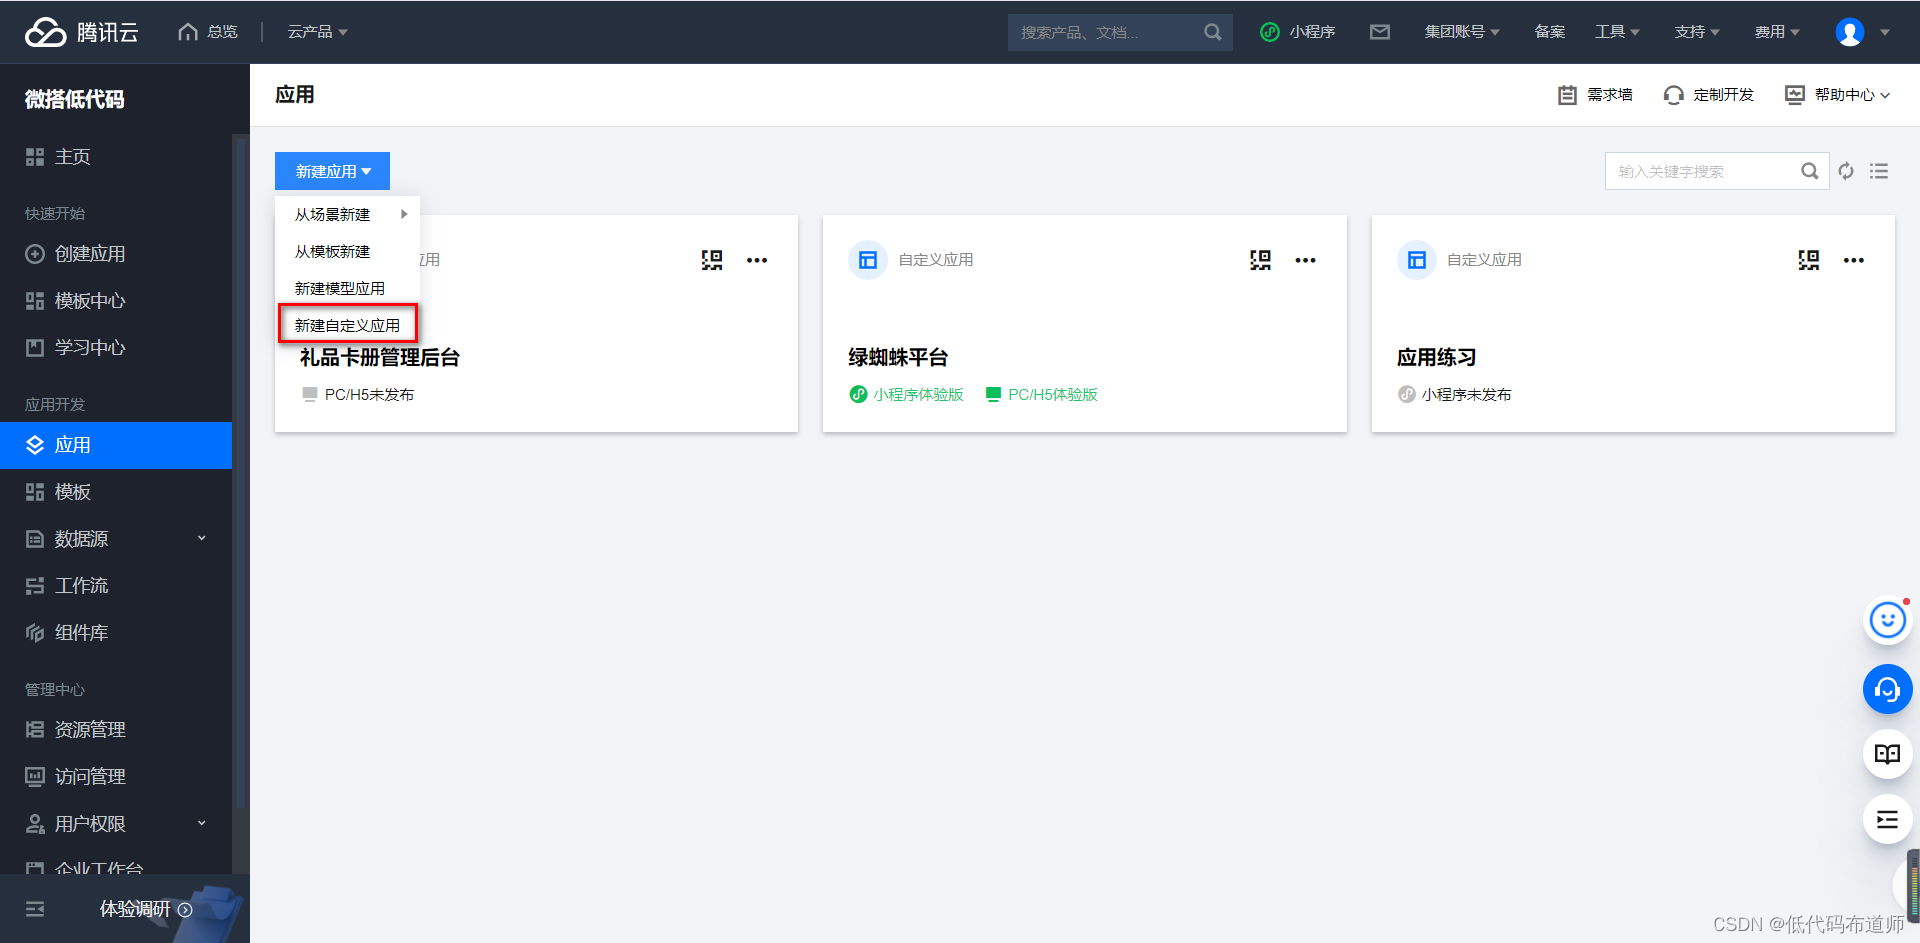
Enter the name of the app , Choose applet 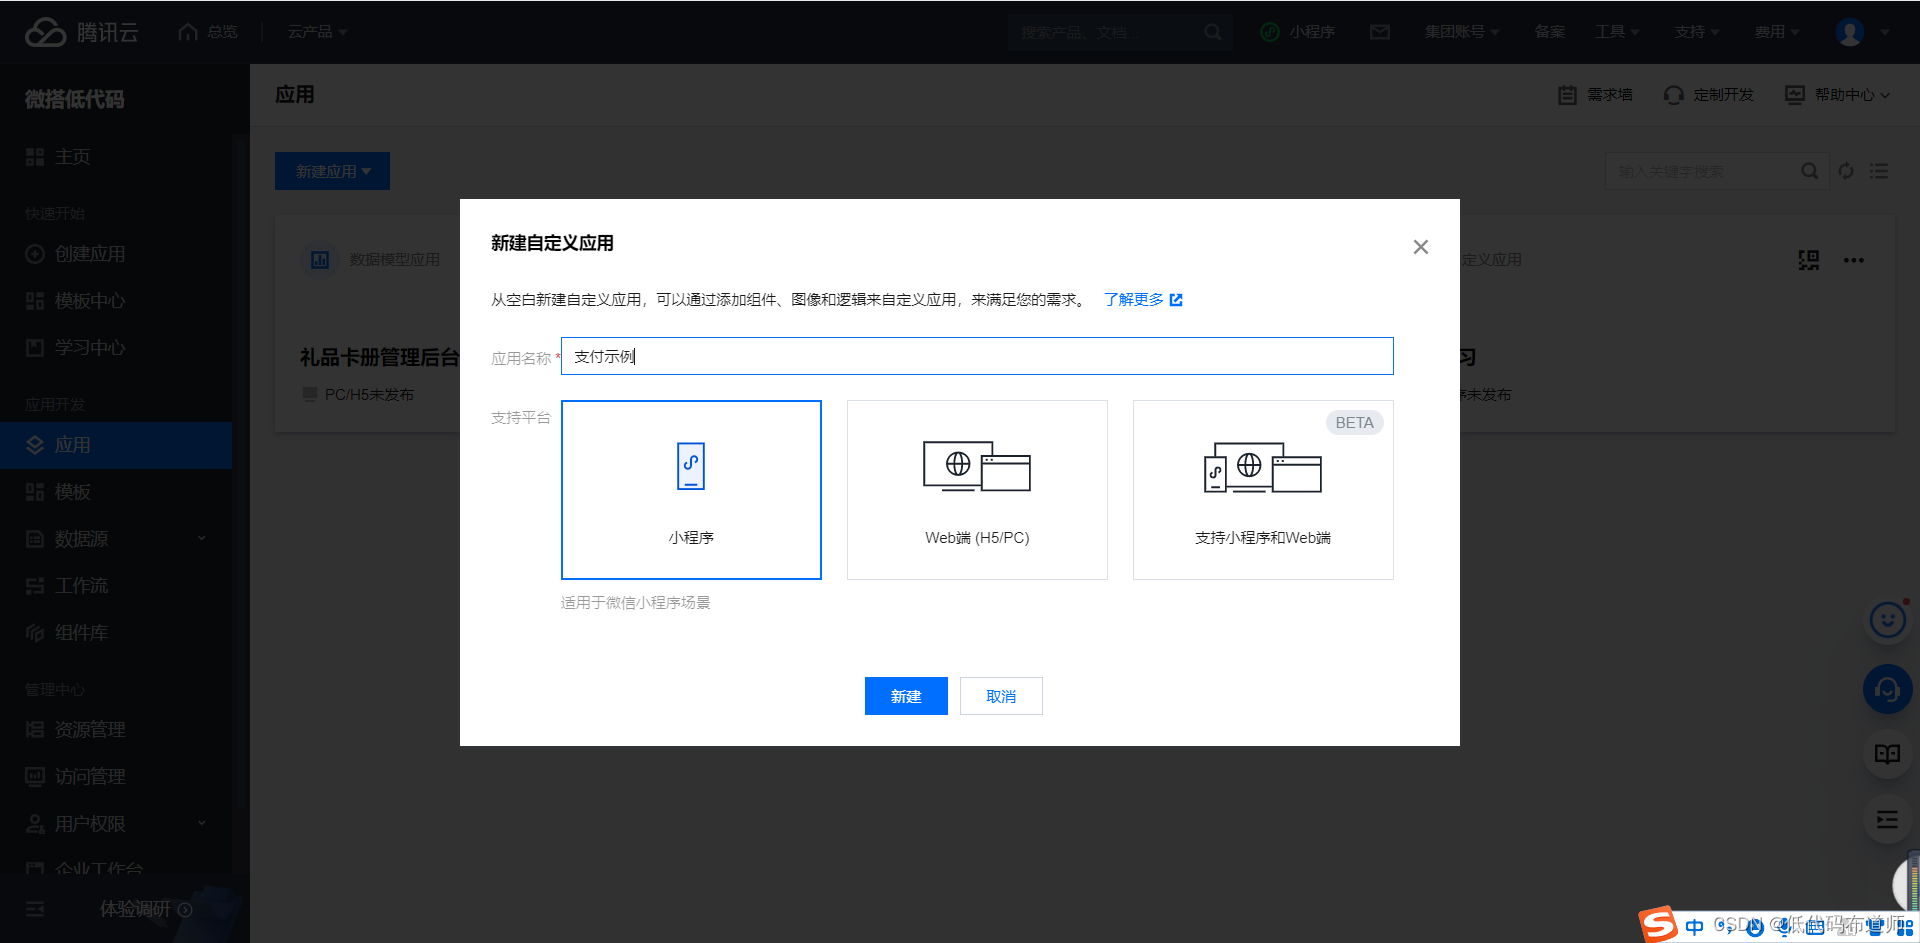
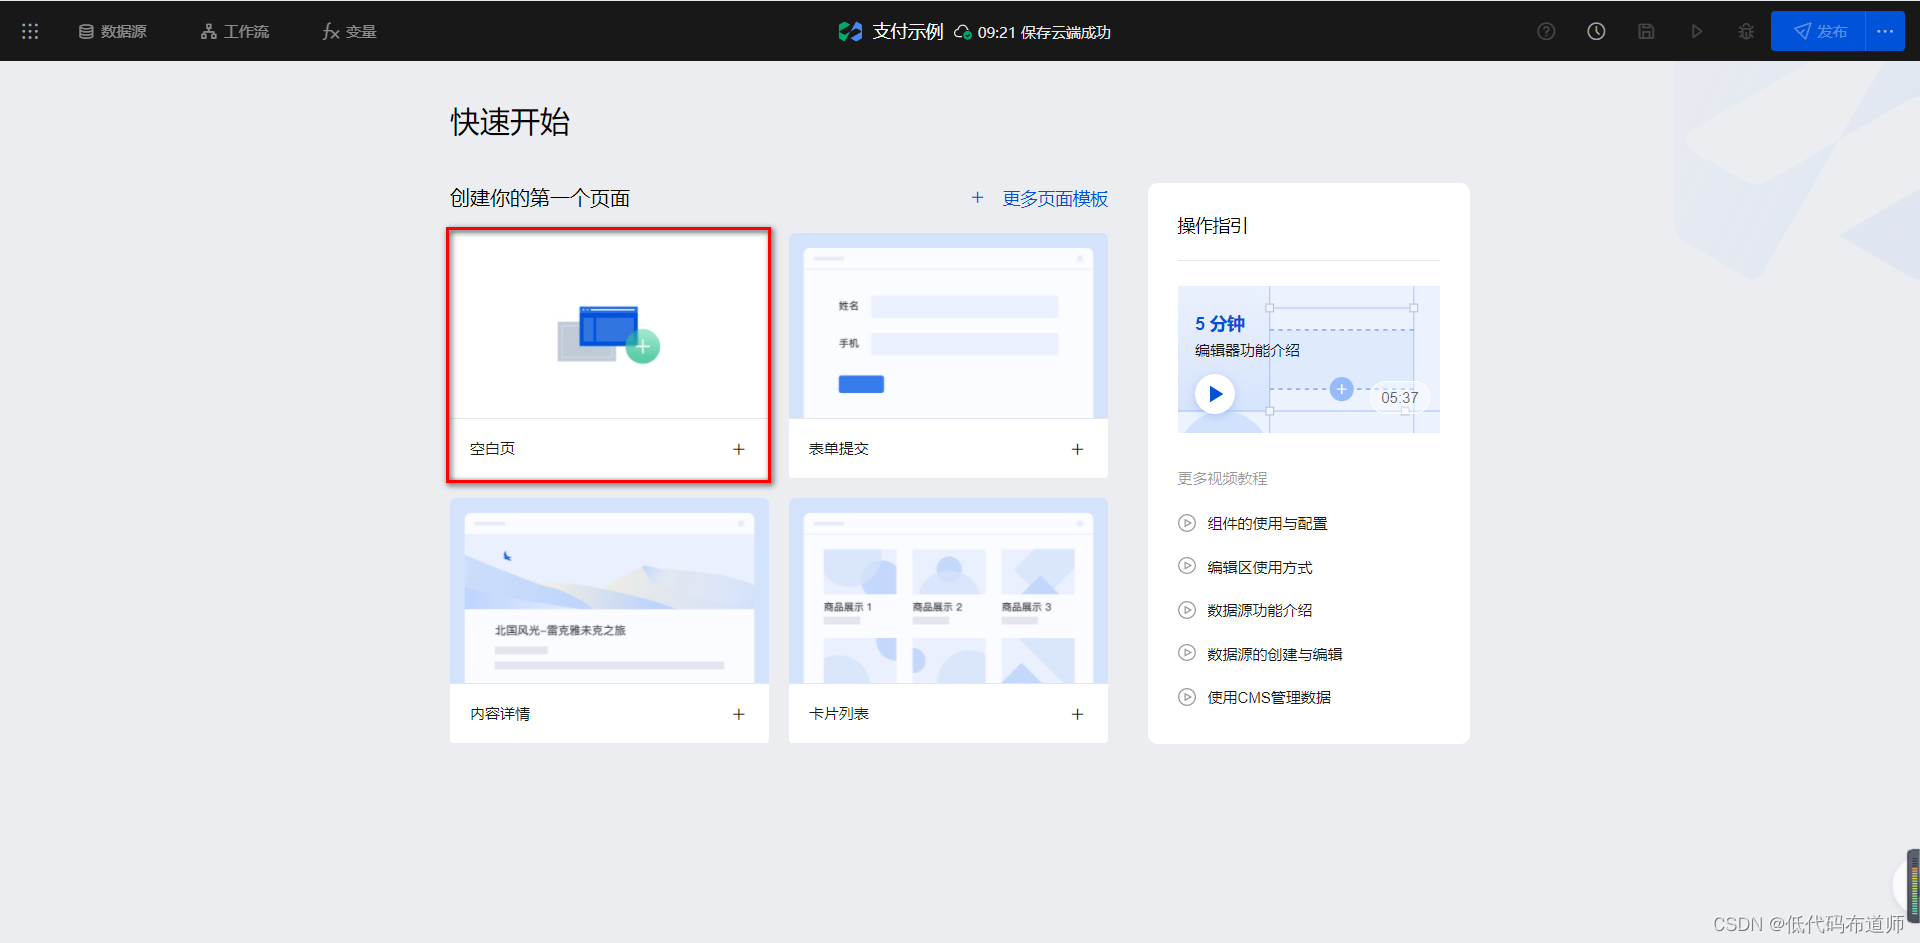
Click on the blank page , Create a home page
Click next to the page + Number , First create a product details page 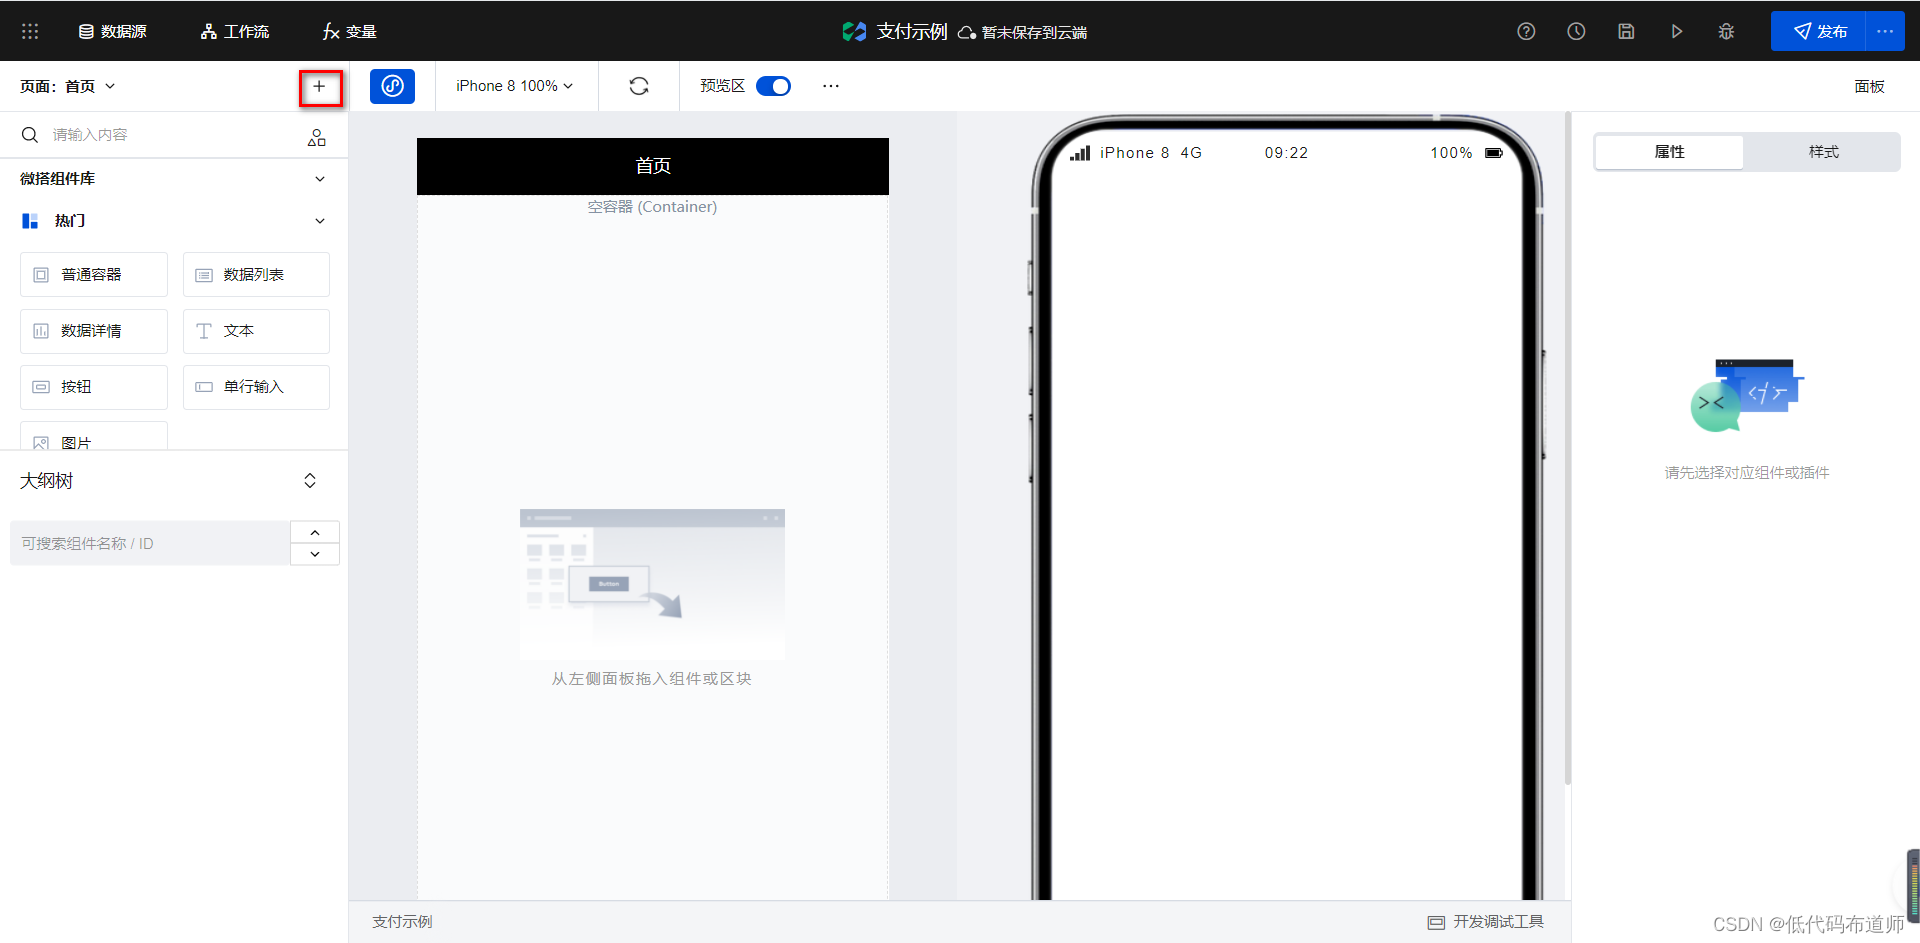
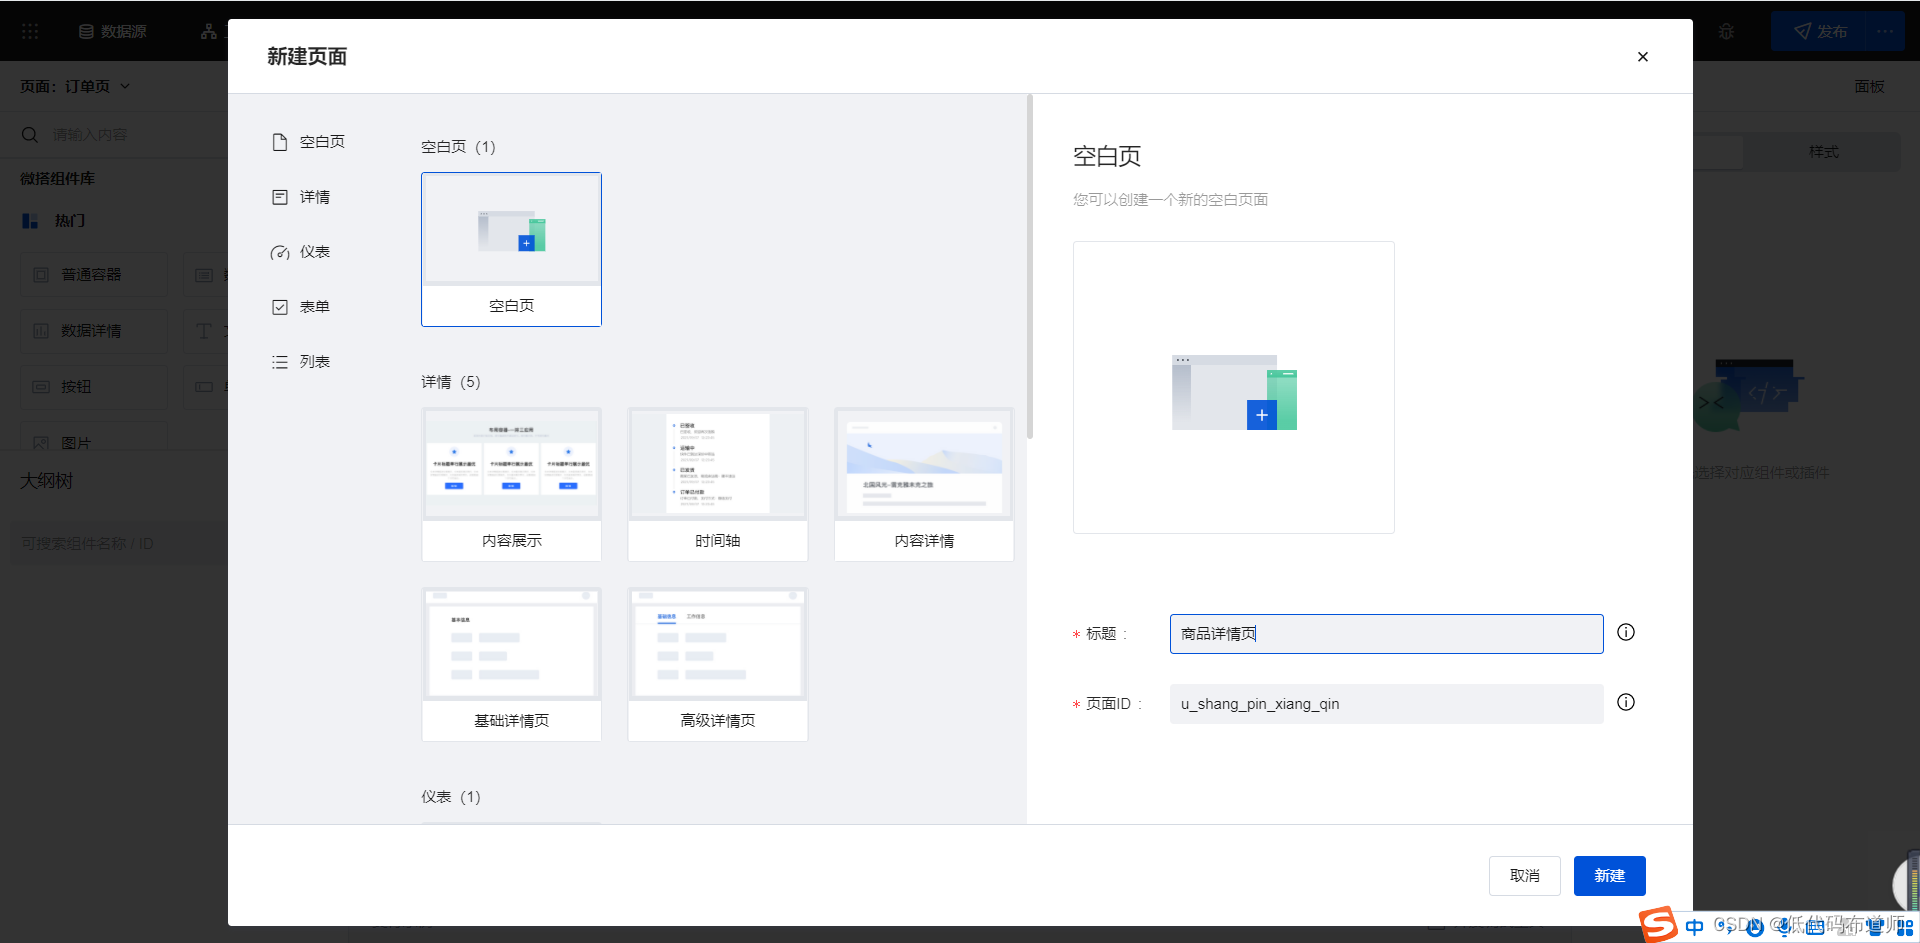
Then create an order page
5 Function development
5.1 home page
On the home page, we put a data list component to display the list information of products 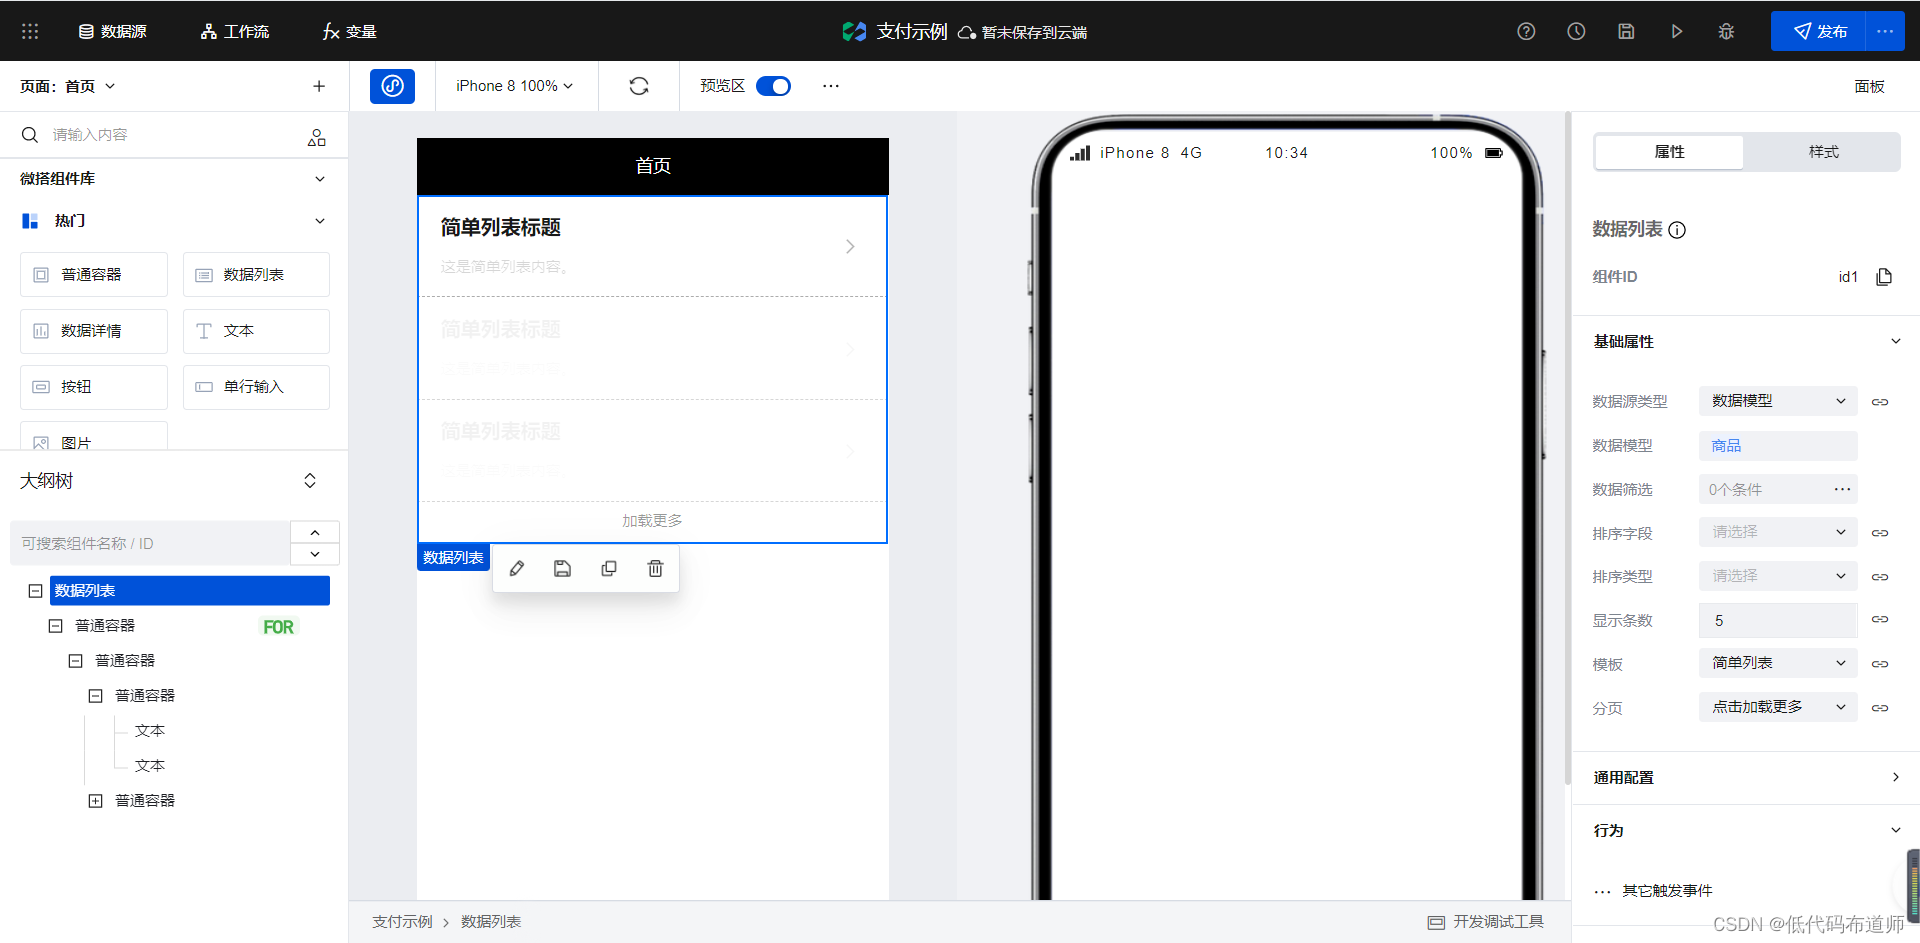
Then bind the corresponding field to the text component 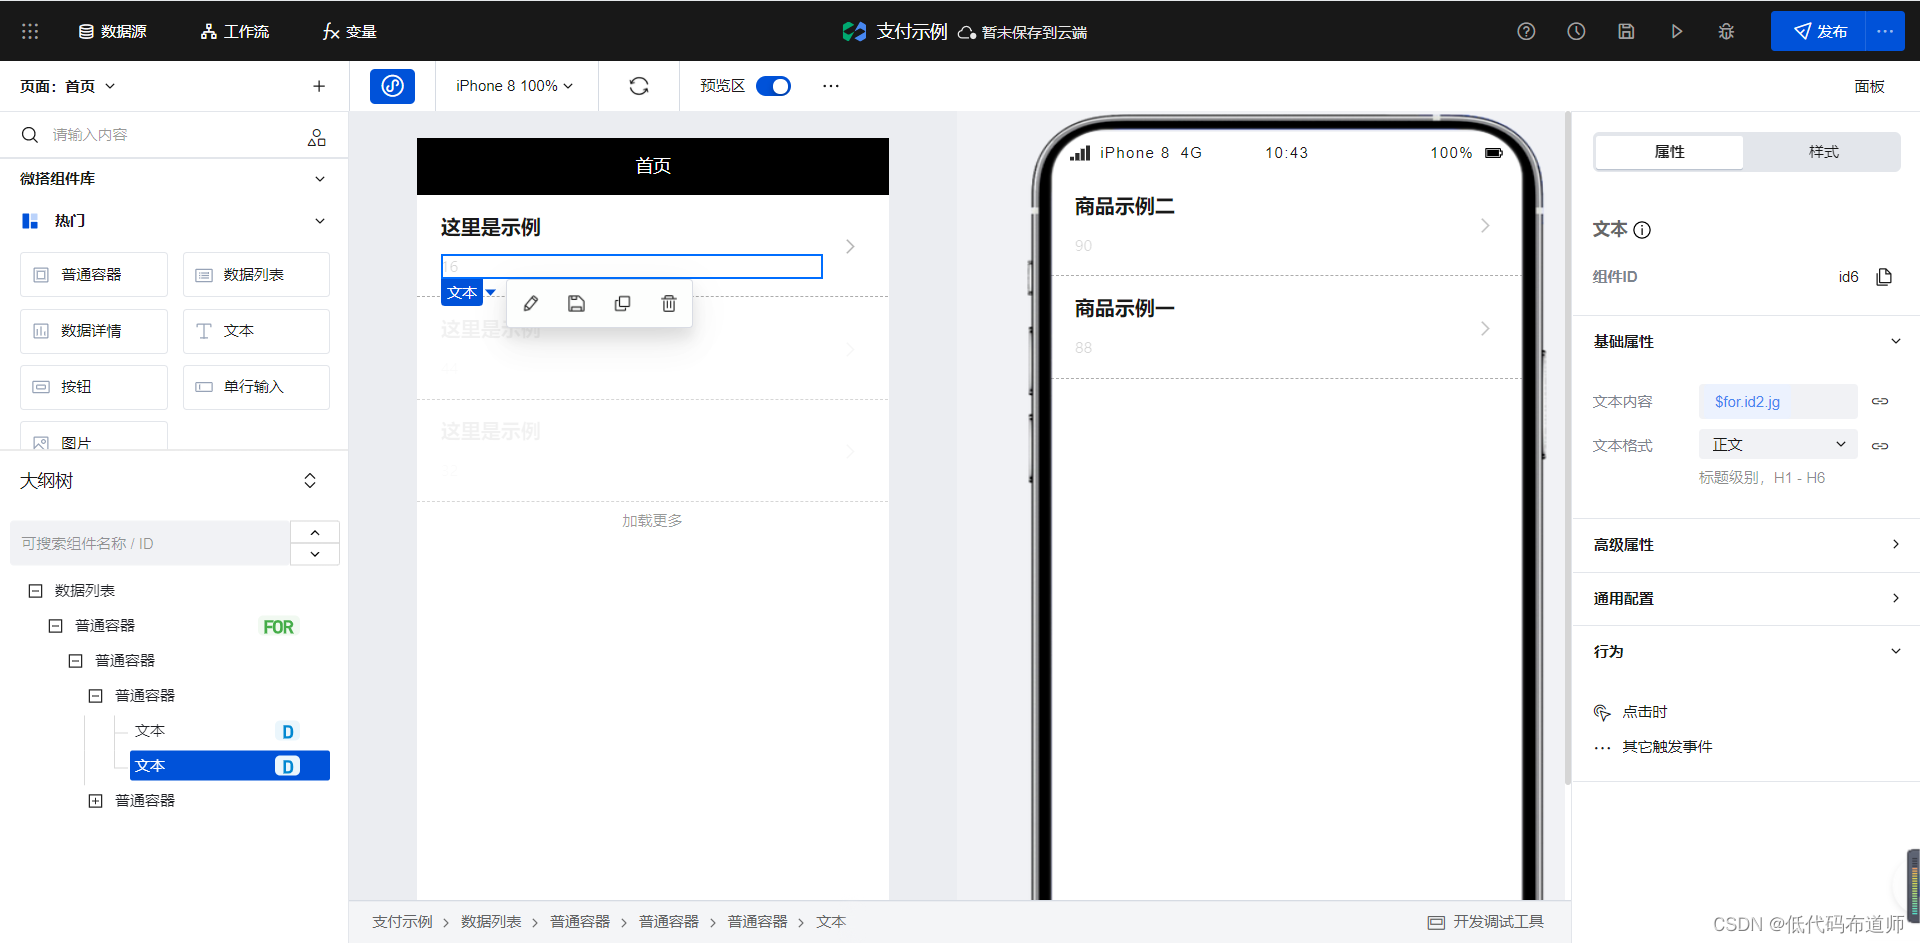
Choose for Ordinary containers for recycling , Set click event , Jump to the product details page . When jumping, you need to create a new page parameter , Then bind the data ID of the current record 
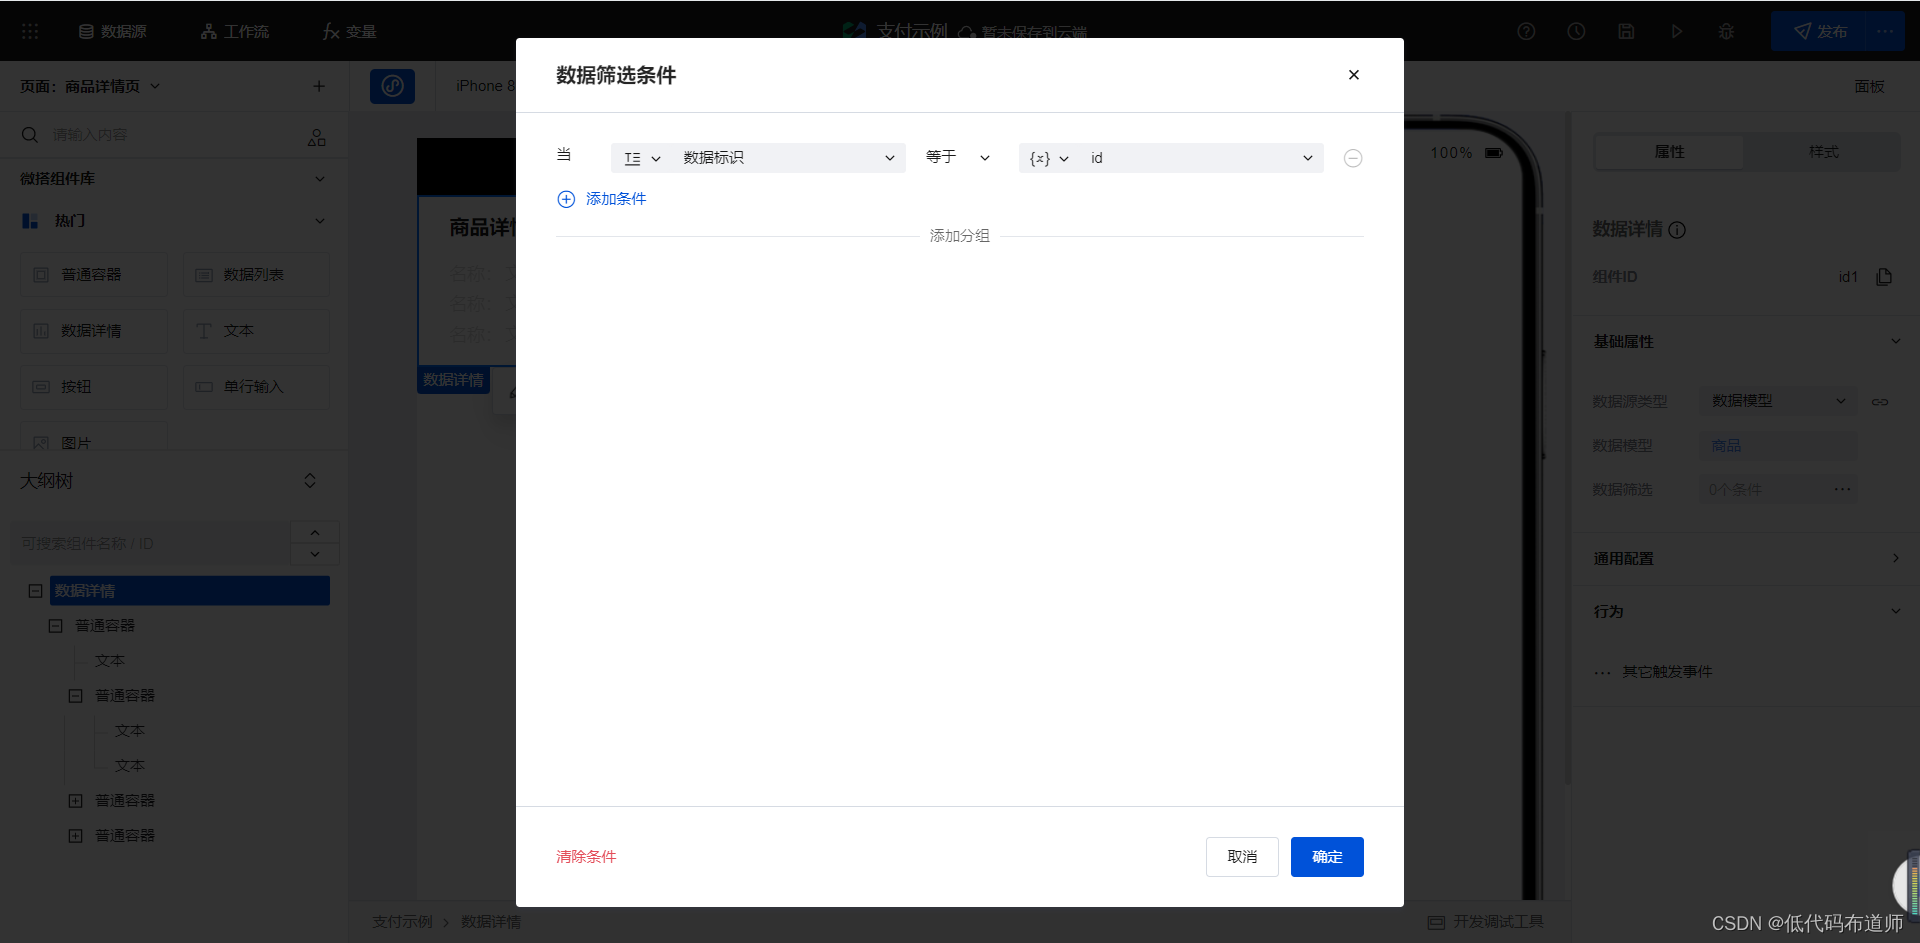
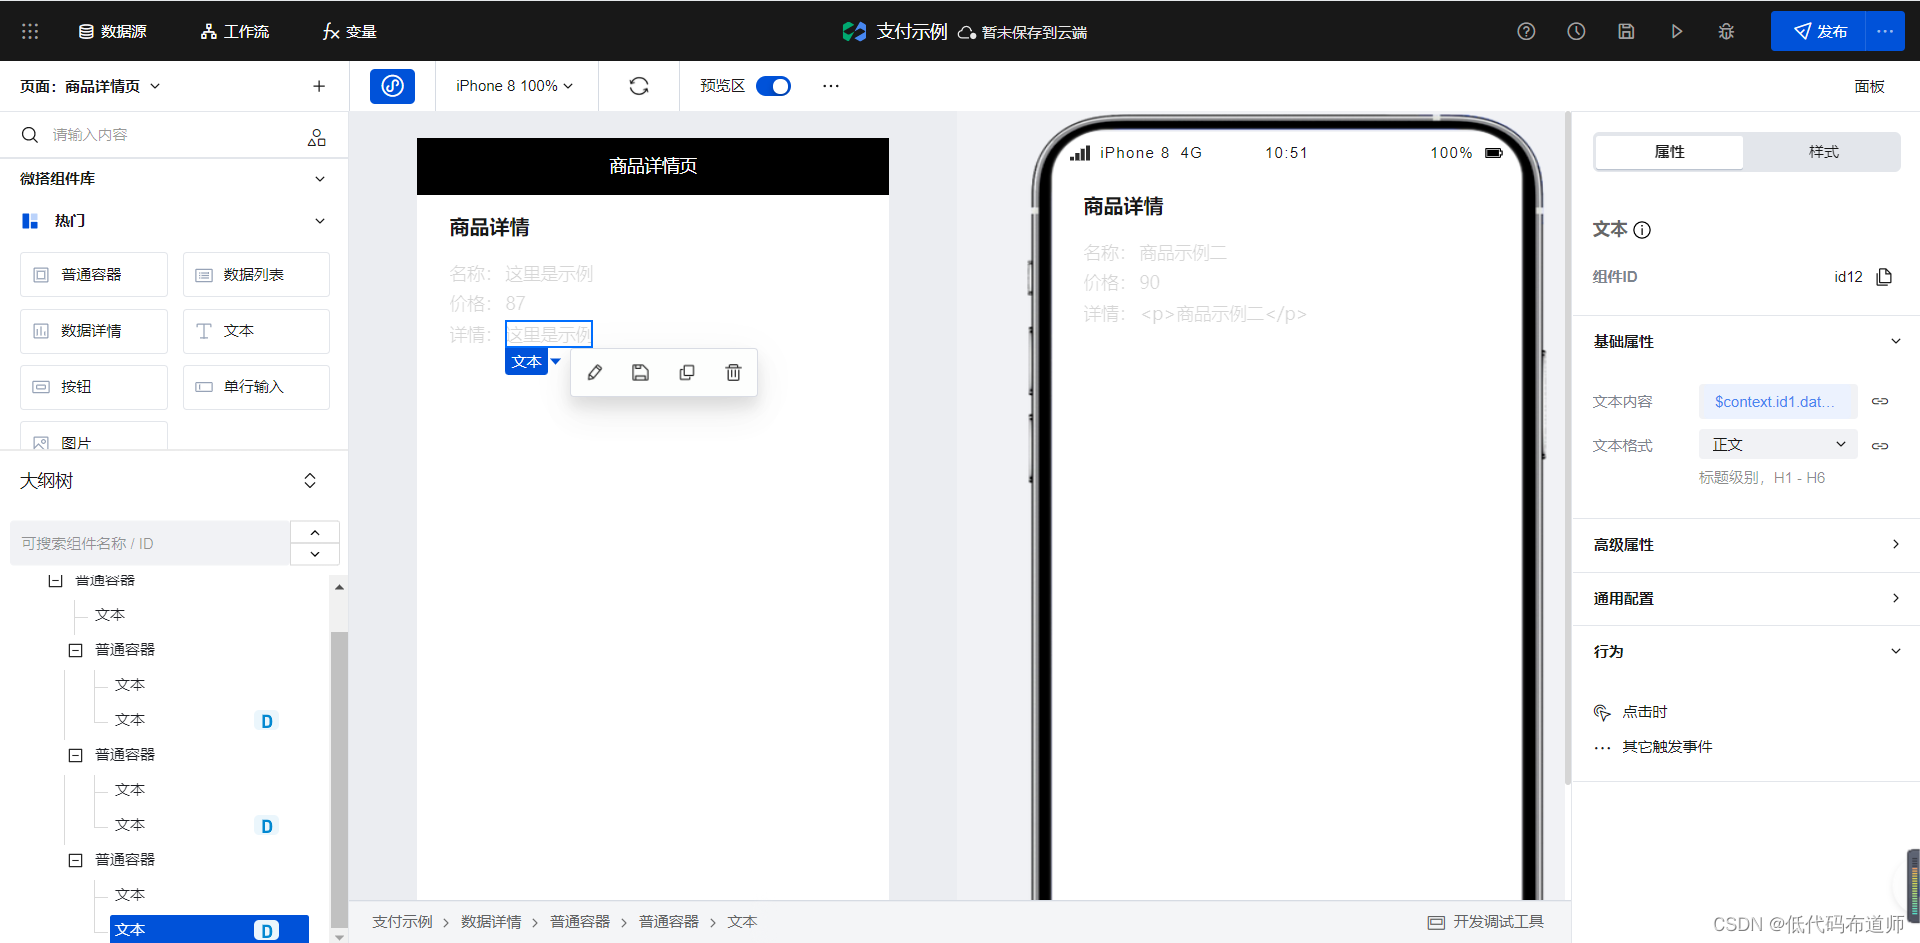
5.2 Product details page
The product details page is developed using the data details component , Add the data details component . Select the data source model , Set filter criteria , And bind the fields 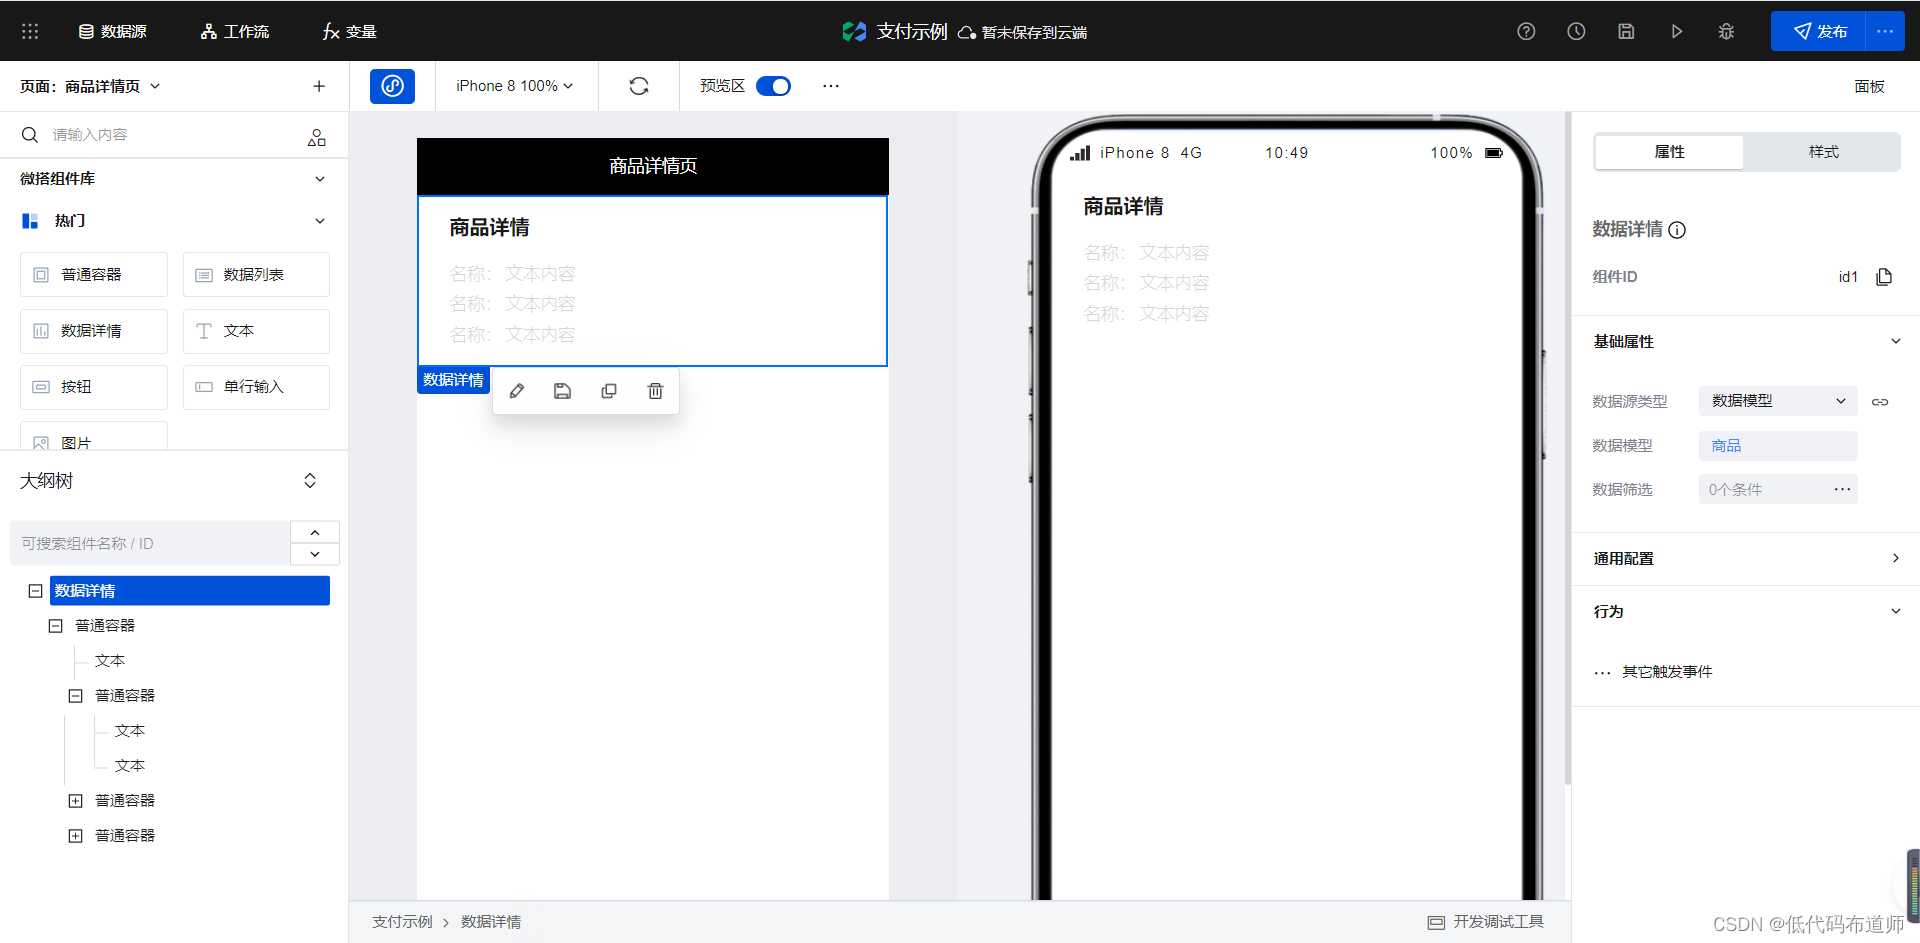
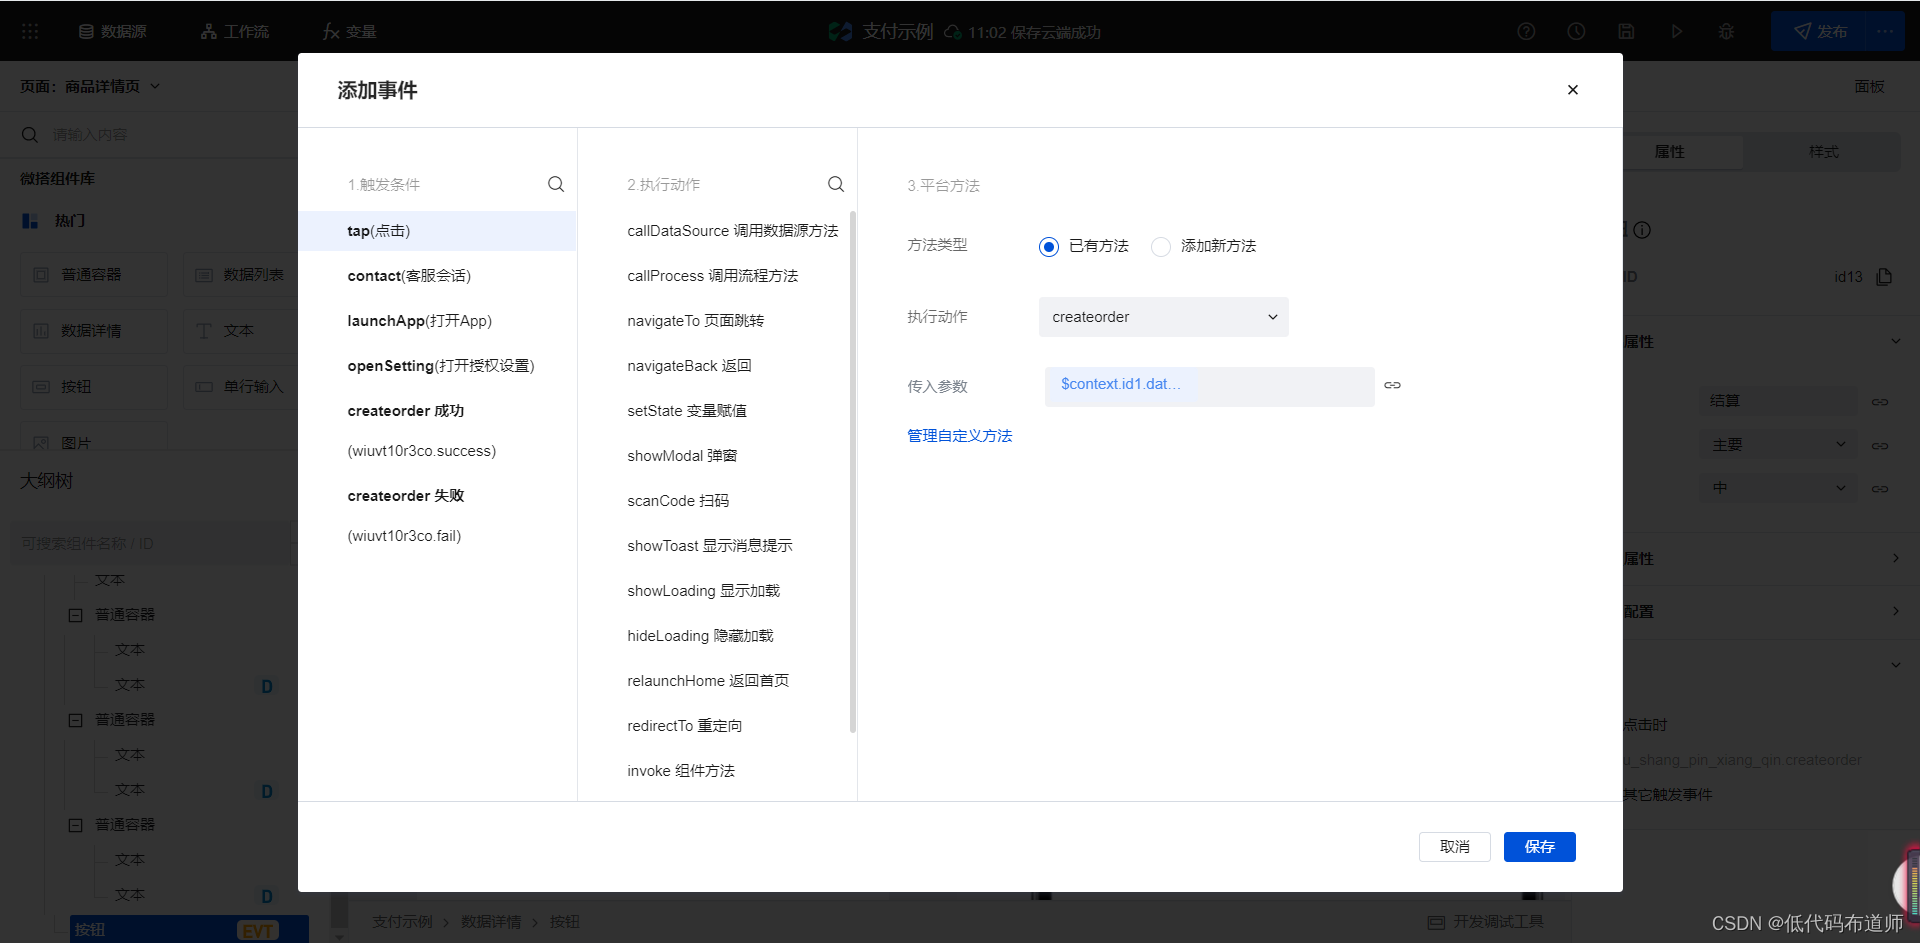
Add a button to the page , Modify the title to settlement 
When we click the settlement button, we need to call the low code method , Complete order creation . Here you need to transfer the order amount , Low code method calls can be added
export default async function({
     event, data}) {

  const resutl = await app.cloud.callModel({

    name:'dd_98jydrk',
    methodName:'wedaCreate',
    params:{

      ddje:data.target,
      openid:app.dataset.state.openid,
      sfzf:false
    }
  })
  app.navigateTo({

    pageId: 'u_ding_dan_ye',    //  page  Id
    params: {
    id: resutl._id},
});
}
there openid Is the value of the global variable obtained , Specific global variable settings , Start the method to get the user's openid We have explained it many times in historical articles , You can check the previous tutorials .
After the low code method is defined, we can set the click event on the component , The amount passed in by parameters 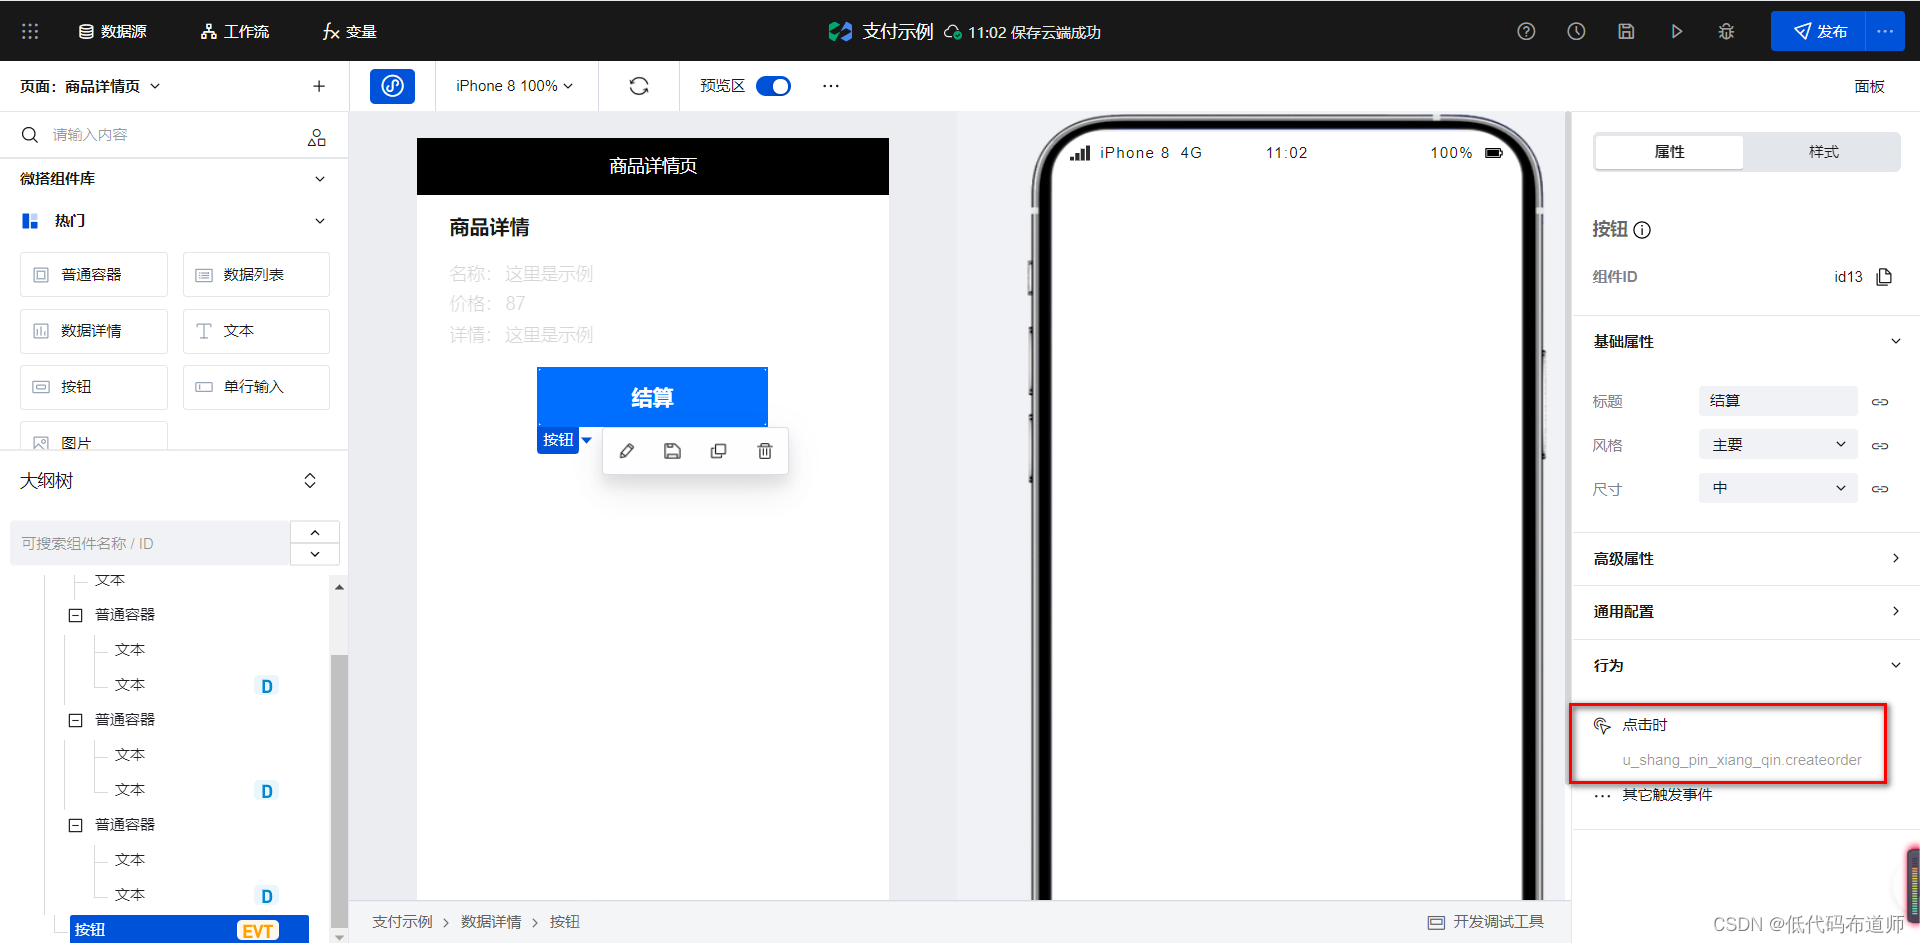

5.3 Order page
The order page first displays the details of the order with the data details component , Place a payment button to call the unified ordering method of the connector , After the call is successful, call the payment interface and pull up the payment interface
First, add a parameter variable , Receive the parameters we passed in on the product details page 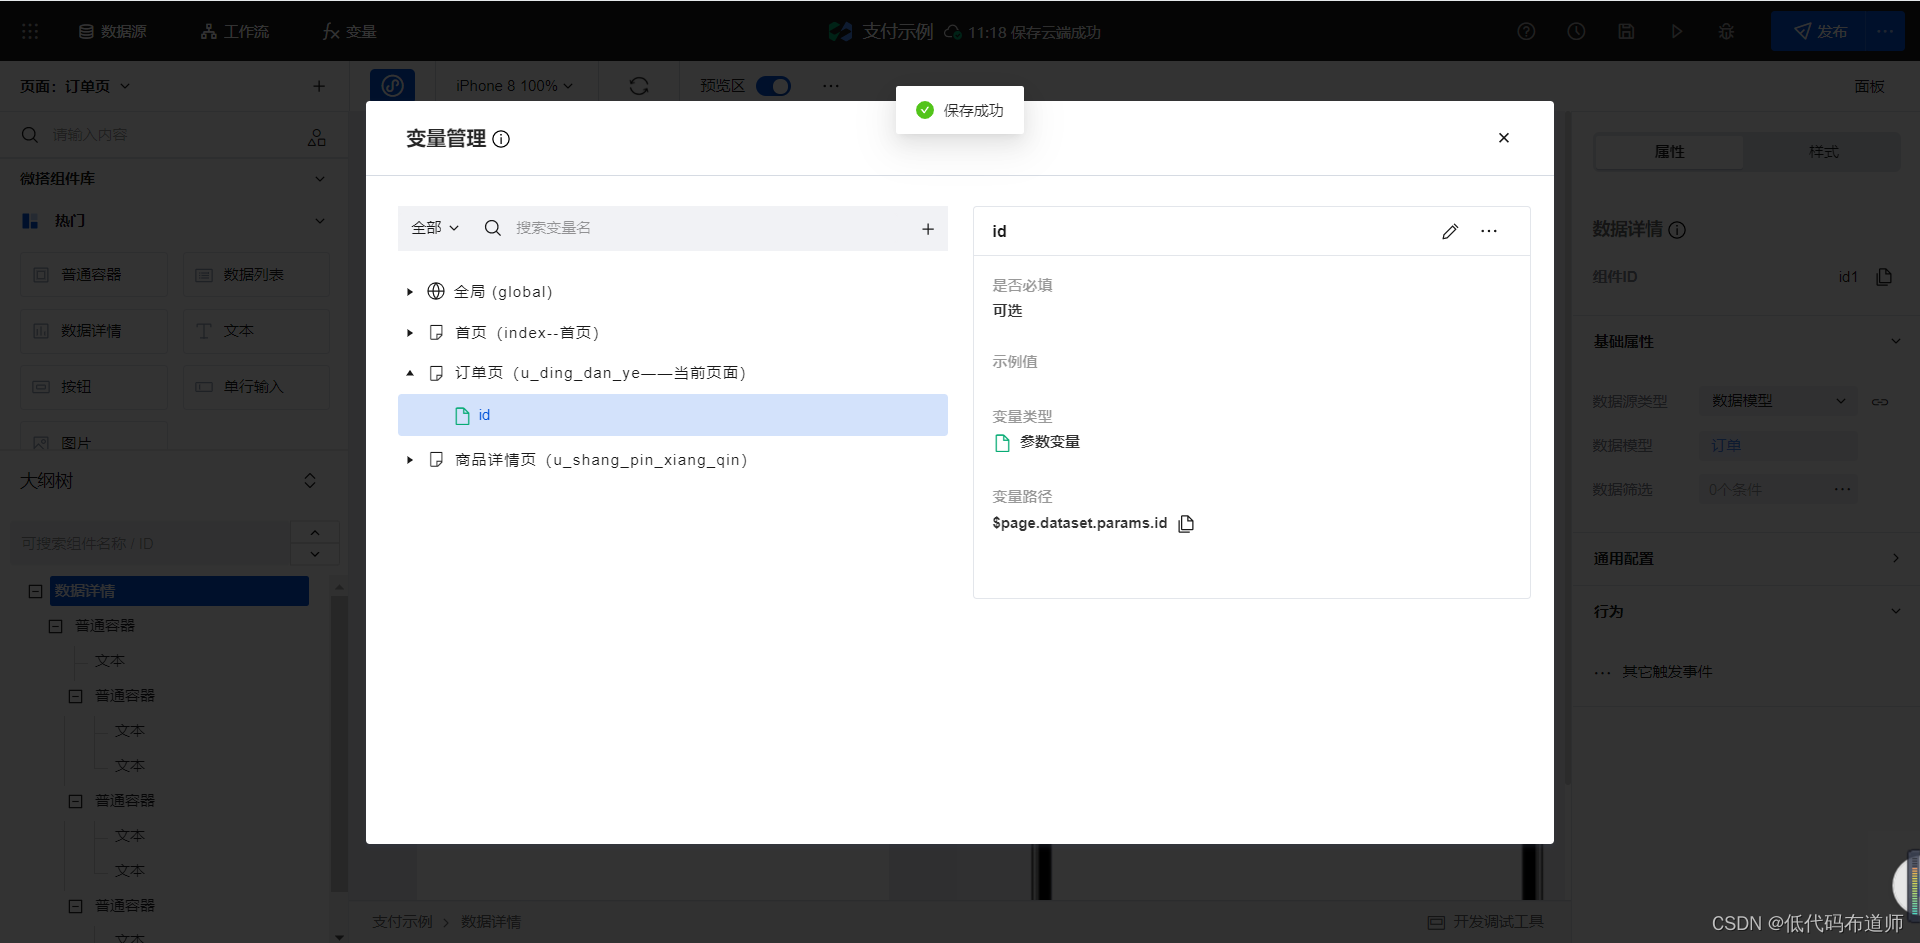
Add a data detail component , Data source selection order , The filter condition setting data ID is equal to our parameter variable 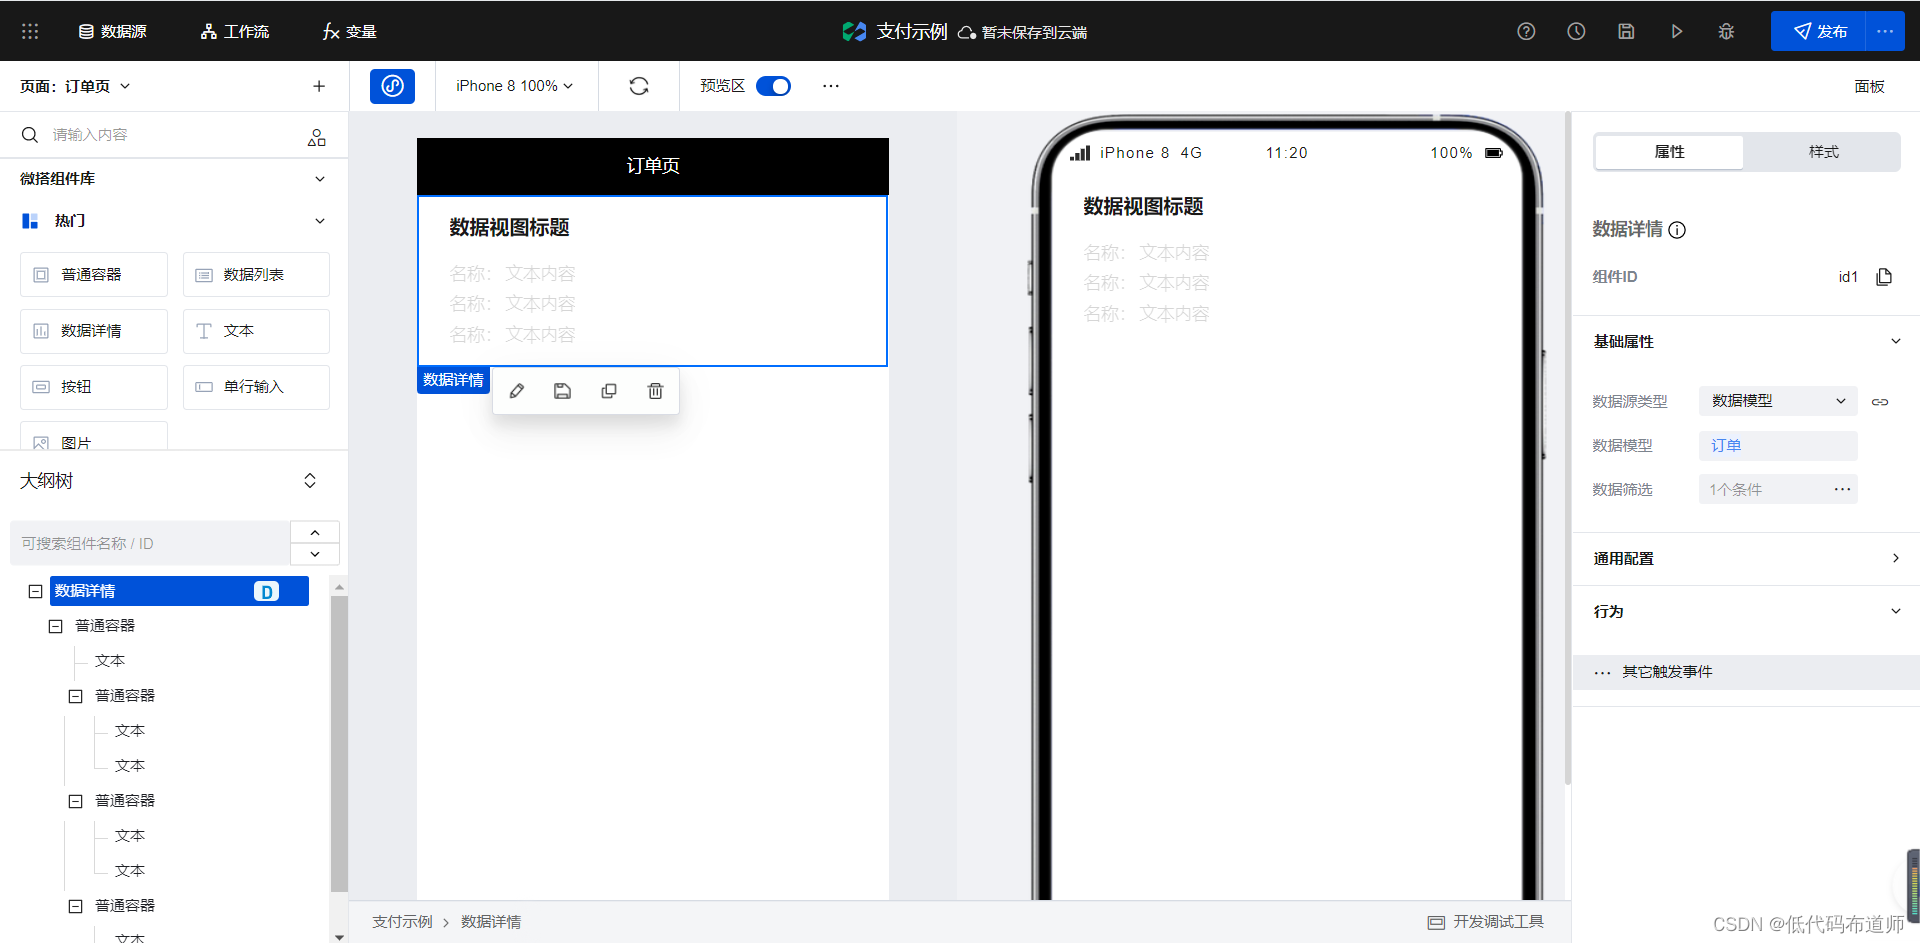

Bind the fields in the order to the text component in turn 
Add a button component , Modify the title to pay 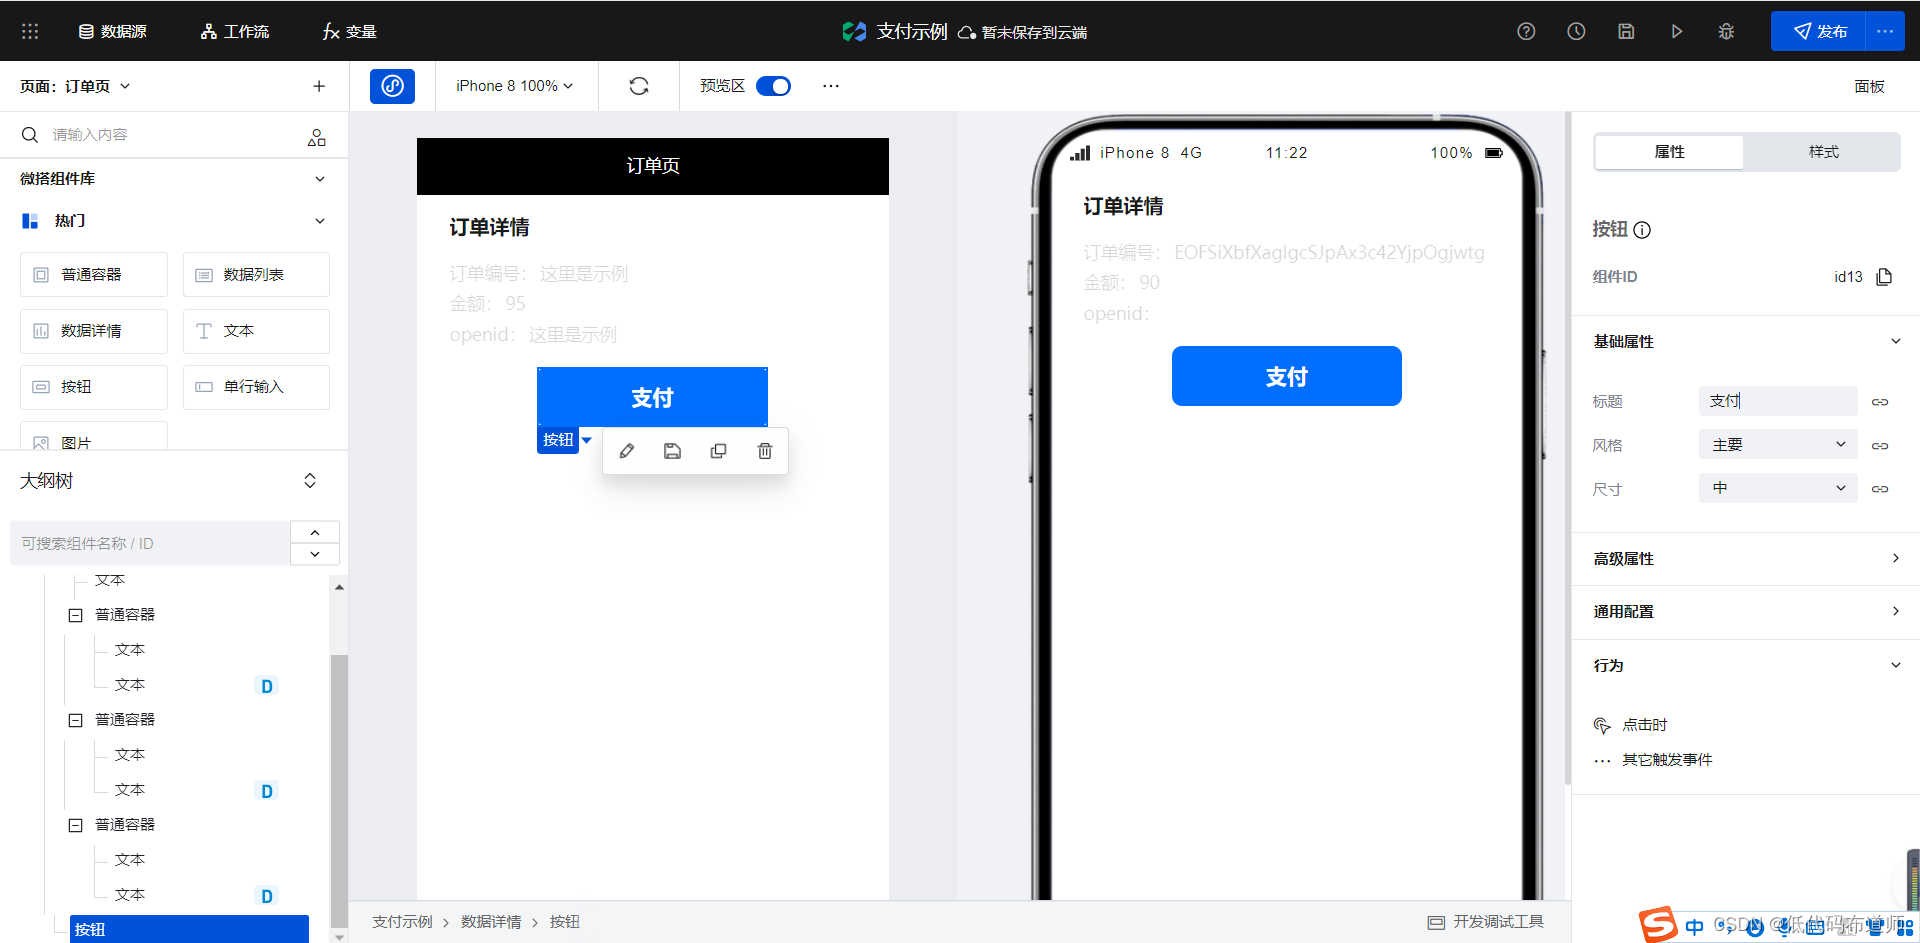
Because we also need to get the details of the order on the payment page , So we need to create a model variable to get the specific value according to the parameter variable 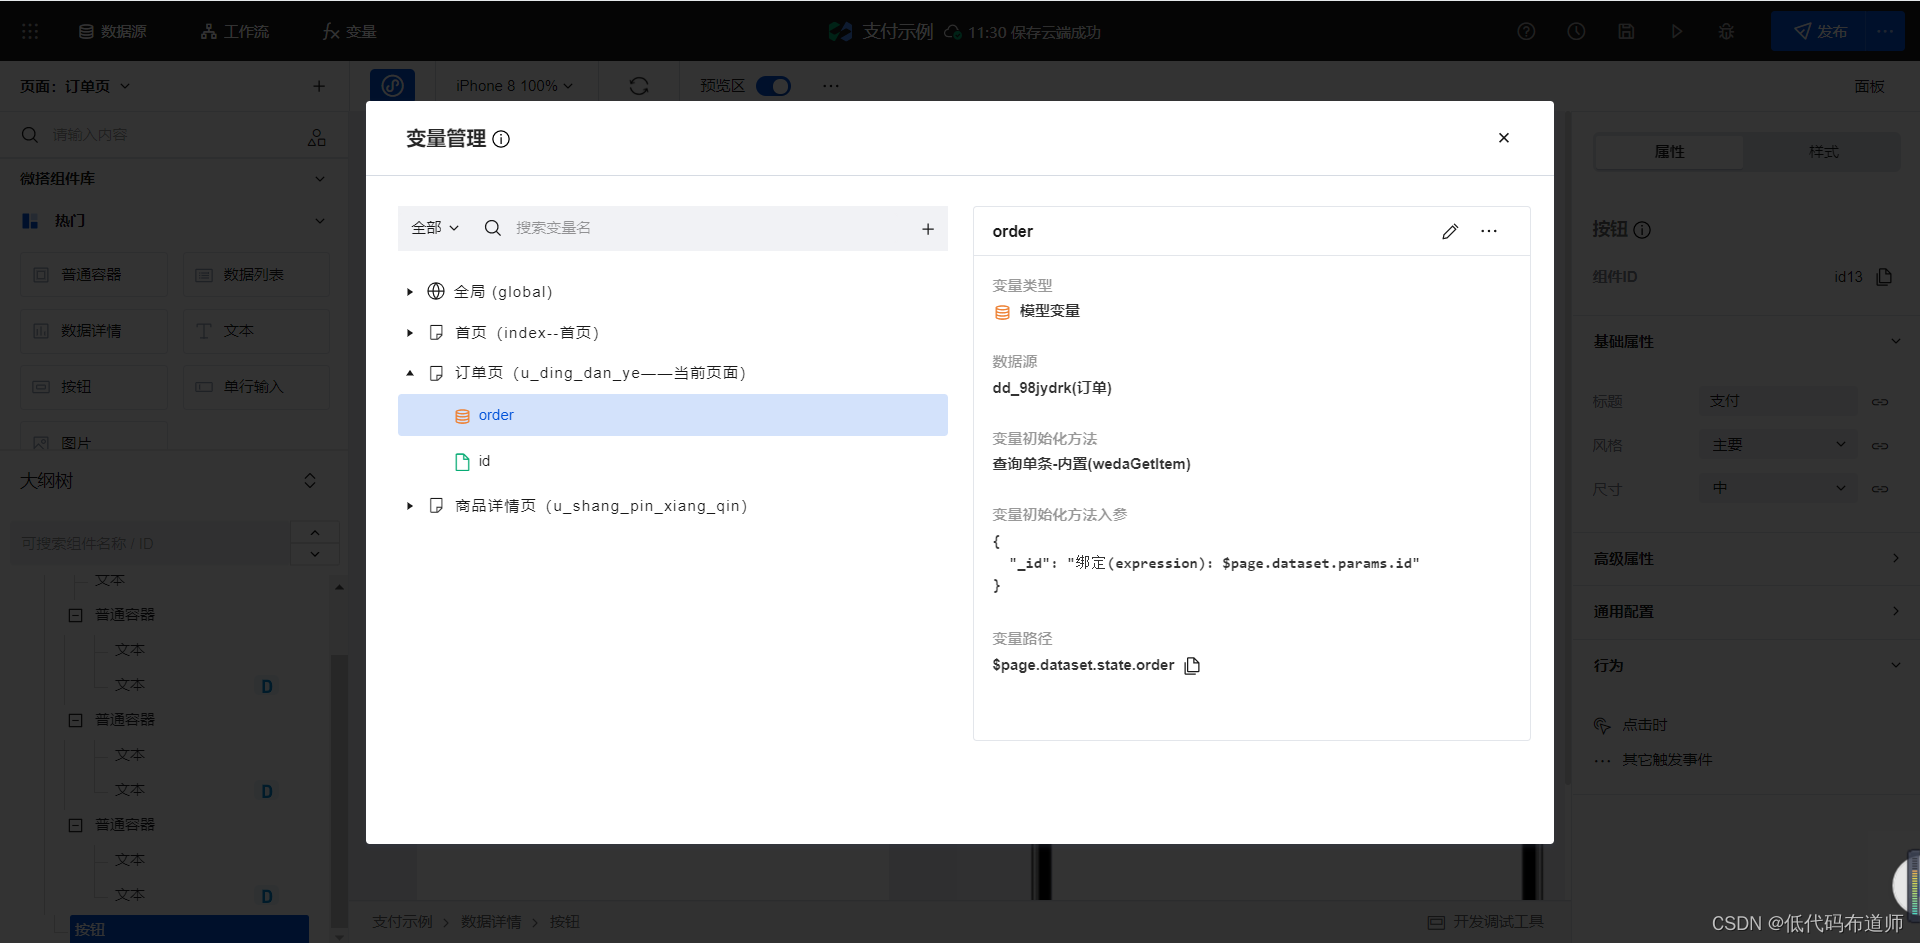
Create a low code payment method in the low code editor
export default async function ({
      event, data }) {

  const result = await app.cloud.callConnector({

    name: 'wxzf_82kvbum',
    methodName: 'unifiedOrder',
    params: {

      body: " Order example - Payment order ",
      outTradeNo: $page.dataset.state.order.ddbh,// Incoming order number
      totalFee: $page.dataset.state.order.ddje,// Incoming payment amount
      openid: $page.dataset.state.order.openid// Pass in to the user openid
    }, //  Methods into the reference
  })

  let pay = result.payment;// Get the return result after unified order
  $app.requestPayment(// Call the payment interface to complete the payment
    {

      timeStamp: pay.timeStamp,
      nonceStr: pay.nonceStr,
      package: pay.package,
      signType: pay.signType,
      paySign: pay.paySign,
      success(res) {

        console.log(res)
      },
      fail(res) {

        console.log(res)
      }
    }
  );
}
What is not solved here is the problem that the payment successfully updates the order status , The actual measurement cannot directly call the method of data model in the callback function of payment , If there are students who succeed in the test, they can leave a message in the comment area for discussion
summary
We use a certain amount of space to explain a complete payment process , Payment is still a common scenario , With the payment function, transactions can form a closed loop , If you can't do it yet, please follow the tutorial . If it helps you , Please like it 、 Comments and attention .
边栏推荐
- [Tawang methodology] Tawang 3W consumption strategy - U & a research method
- 完整的电商系统
- 数据验证框架 Apache BVal 再使用
- 卖空、加印、保库存,东方甄选居然一个月在抖音卖了266万单书
- The performance and efficiency of the model that can do three segmentation tasks at the same time is better than maskformer! Meta & UIUC proposes a general segmentation model with better performance t
- A few simple steps to teach you how to see the K-line diagram
- Is it safe to open an online futures account now? How many regular futures companies are there in China?
- [paper sharing] where's crypto?
- [论文分享] Where’s Crypto?
- 企业展厅设计中常用的三种多媒体技术形式
猜你喜欢
Debian10 compile and install MySQL
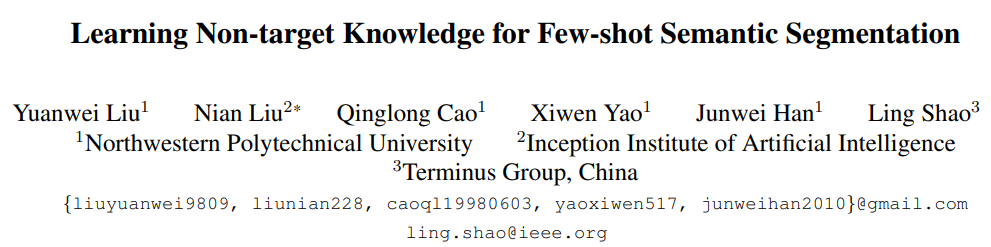
CVPR 2022 - learning non target knowledge for semantic segmentation of small samples
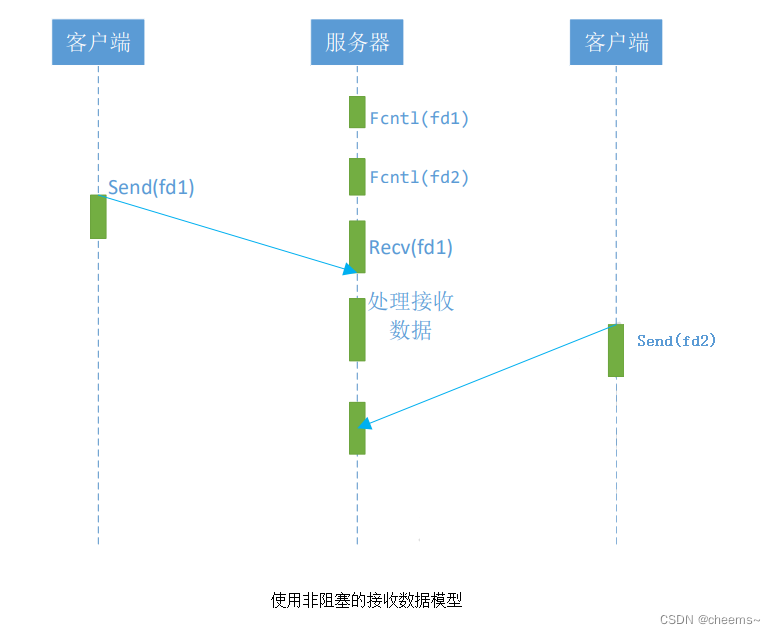
Five network IO models
App capture of charles+drony
![学习open62541 --- [67] 添加自定义Enum并显示名字](/img/98/e5e25af90b3f98c2be11d7d21e5ea6.png)
学习open62541 --- [67] 添加自定义Enum并显示名字
我感觉被骗了,微信内测 “大小号” 功能,同一手机号可注册两个微信
![[Tawang methodology] Tawang 3W consumption strategy - U & a research method](/img/63/a8c08ac6ec7d654159e5fc8b4423e4.png)
[Tawang methodology] Tawang 3W consumption strategy - U & a research method

不能忽略的现货白银短线操作小技巧
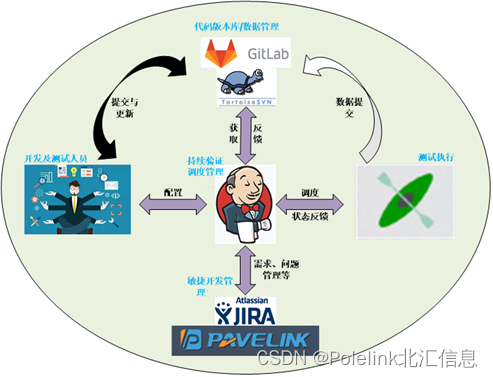
持续测试(CT)实战经验分享
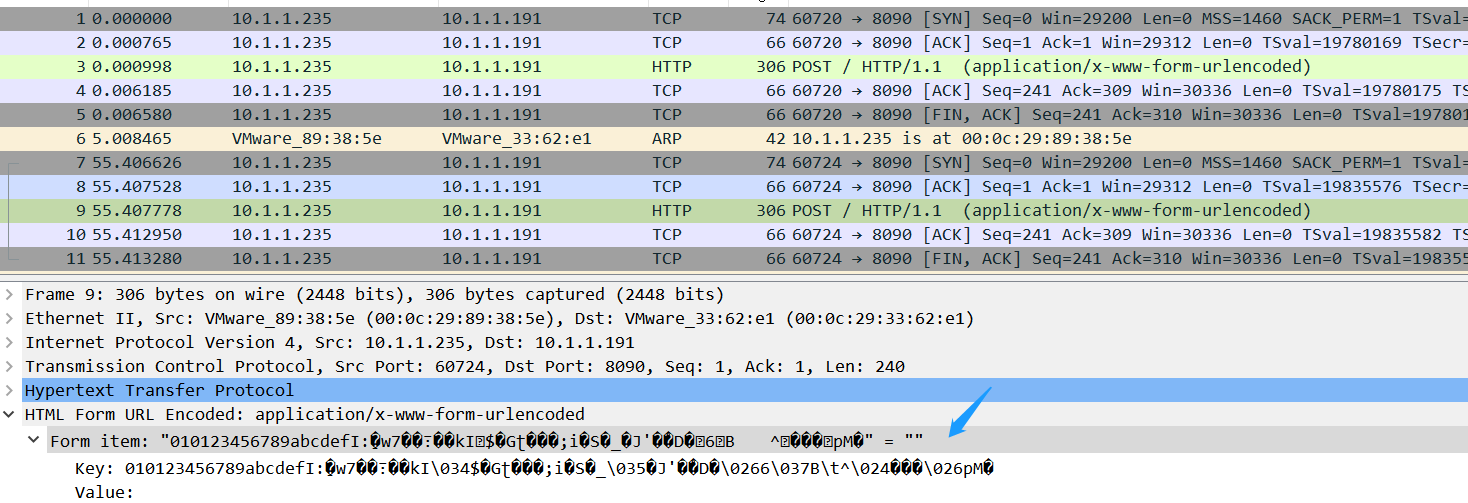
Wireshark分析抓包数据*.cap
随机推荐
五种网络IO模型
App capture of charles+drony
Reinforcement learning - learning notes 8 | Q-learning
体总:安全有序恢复线下体育赛事,力争做到国内赛事应办尽办
现货白银分析中的一些要点
2022年理财产品的一般收益率是多少?
Using stored procedures, timers, triggers to solve data analysis problems
Differences between rip and OSPF and configuration commands
Simple configuration of single arm routing and layer 3 switching
unity2d的Rigidbody2D的MovePosition函数移动时人物或屏幕抖动问题解决
低代码助力企业数字化转型会让程序员失业?
PTA 1101 B是A的多少倍
Cadre de validation des données Apache bval réutilisé
nest. Database for getting started with JS
2022-07-04 matlab reads video frames and saves them
Complete e-commerce system
Nunjuks template engine
静态路由配置
[demo] circular queue and conditional lock realize the communication between goroutines
[论文分享] Where’s Crypto?