stay 《.NET6: Based on Development WPF Modern 3D Industrial Software (1)》 We created one " roughcast " Interface , It's still a long way from being modern . This article will deepen the achievements of the previous stage , Realize the current popular Diablo style UI.
1 Set a dark theme
utilize MergedDictionaries To configure , Add Dark.Blue The theme . The code is as follows :
App.xaml
    <Application.Resources>
        <ResourceDictionary>
            <ResourceDictionary.MergedDictionaries>
                <ResourceDictionary Source="pack://application:,,,/Fluent;Component/Themes/Generic.xaml" />
                <ResourceDictionary Source="pack://application:,,,/Fluent;component/Themes/Themes/Dark.Blue.xaml" />
            </ResourceDictionary.MergedDictionaries>
        </ResourceDictionary>
    </Application.Resources>
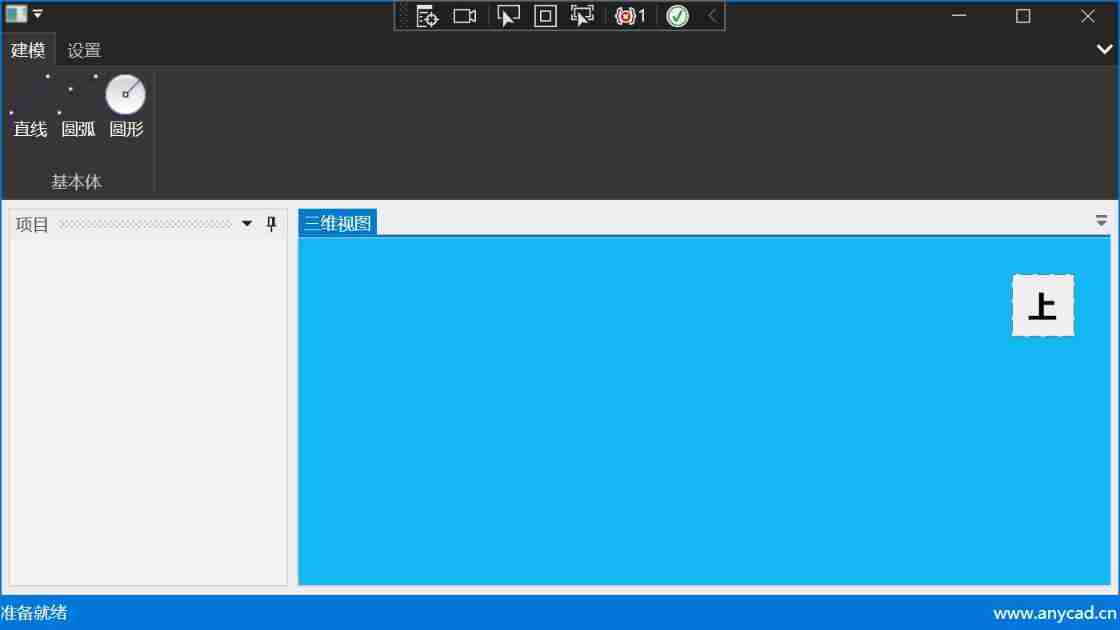
Run it :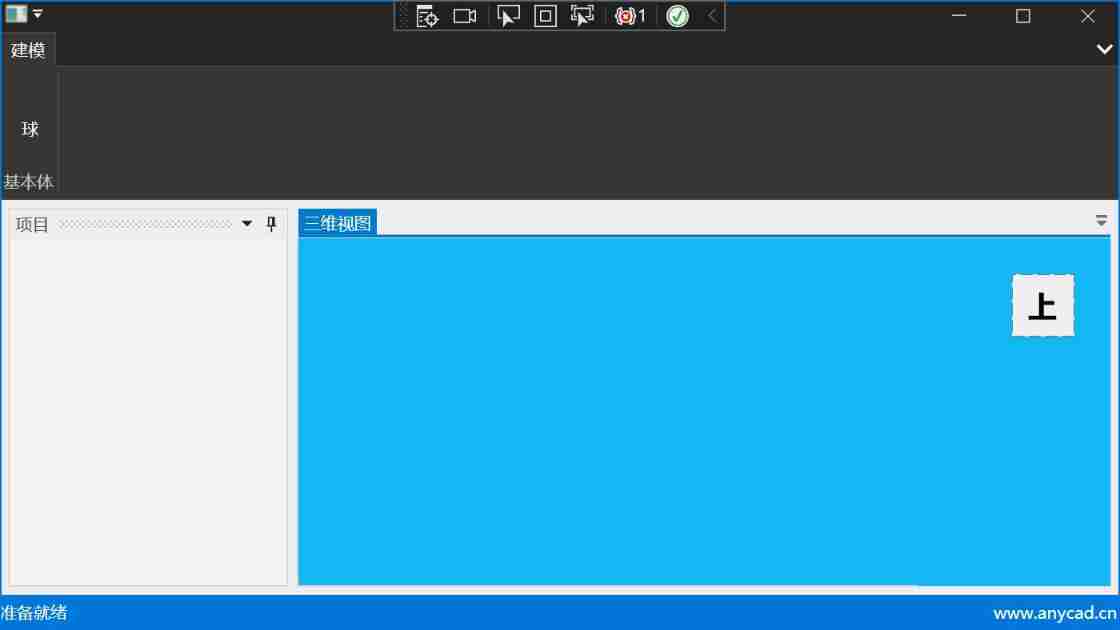
The theme has become a dark mode .
2 to Button Add Icon
2.1 Introduce pictures
Add... In the project directory Resources Catalog , hold circle.png Copied to the Resources Under the table of contents .
Add pictures to the project in the project browser , choice Resources Catalog , Right-click menu :
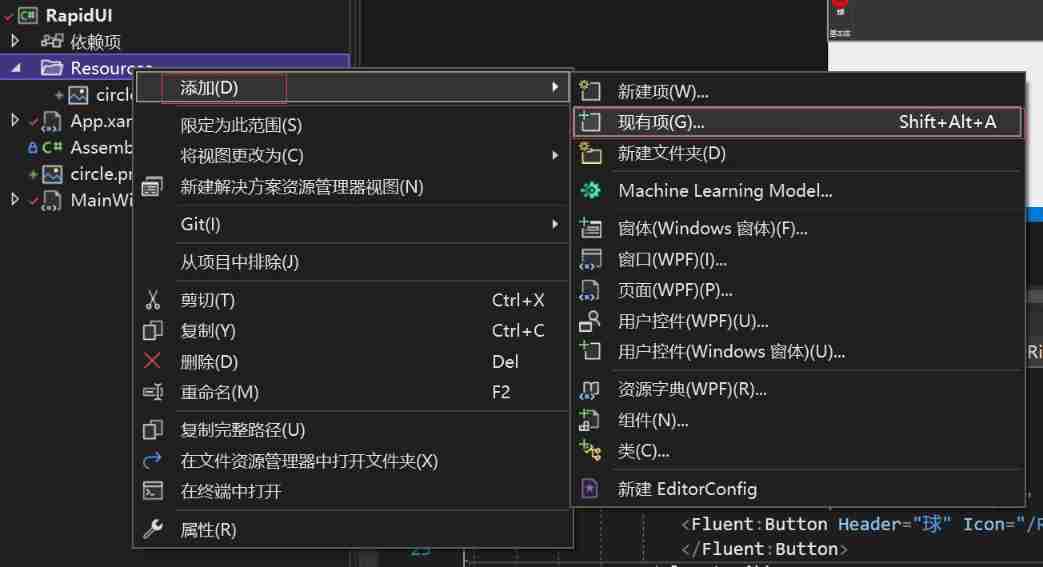
choice Resources/circle.png
2.2 Set picture properties
Select Picture , Set... In the property panel :
- Copy to output directory : Always copy
- Build operation : Content
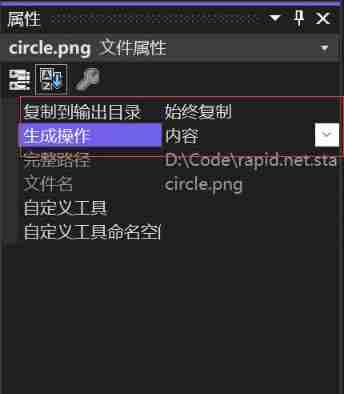
Follow the above steps to add other pictures .
2.3 Ribbon Button Using pictures in
by Fluent:Button Set up Icon attribute , Reference picture resources
            <!--Tabs-->
            <Fluent:RibbonTabItem Header=" modeling ">
                <Fluent:RibbonGroupBox Header=" Primitives " IsLauncherVisible="False">
                    <Fluent:Button Header=" A straight line " Icon="/Resources/line.png" Size="Large"/>
                    <Fluent:Button Header=" arc " Icon="/Resources/arc3pts.png" Size="Large"/>
                    <Fluent:Button Header=" circular " Icon="/Resources/circle.png" Size="Large"/>
                </Fluent:RibbonGroupBox>
            </Fluent:RibbonTabItem>
            <Fluent:RibbonTabItem Header=" Set up ">
            </Fluent:RibbonTabItem>
Run it :
3 increase Button The response message
3.1 Add routing commands
Definition RoutedCommand Used in the response Button Click events for .
MainWindow.xaml.cs
    public partial class MainWindow
    {
        //  Define routing commands
        public static readonly RoutedCommand ExecuteCommand = new RoutedCommand("Rapid", typeof(MainWindow));
        public MainWindow()
        {
            InitializeComponent();
            //  Binding response functions
            CommandBindings.Add(new CommandBinding(ExecuteCommand, OnExecuteCommand));
        }

        private void RibbonWindow_Loaded(object sender, RoutedEventArgs e)
        {

        }
        //  Handle click commands
        private void OnExecuteCommand(object sender, ExecutedRoutedEventArgs e)
        {

        }
    }
3.2 XAML Binding inside Button The binding event
- Command: Bound command
- CommandParameter: Command parameter
MainWindow.xaml
                    <Fluent:Button Header=" A straight line " Icon="/Resources/line.png" Size="Large" Command="{x:Static local:MainWindow.ExecuteCommand}"
                                   CommandParameter="line"/>
                    <Fluent:Button Header=" arc " Icon="/Resources/arc3pts.png" Size="Large" Command="{x:Static local:MainWindow.ExecuteCommand}"
                                   CommandParameter="arc"/>
                    <Fluent:Button Header=" circular " Icon="/Resources/circle.png" Size="Large" Command="{x:Static local:MainWindow.ExecuteCommand}"
                                   CommandParameter="circle"/>
3.3 Command processing functions
MainWindow.xaml.cscsharp // Handle click commands private void OnExecuteCommand(object sender, ExecutedRoutedEventArgs e) { switch (e.Parameter.ToString()) { case "line": { var shape = SketchBuilder.MakeLine(new GPnt(0, 0, 0), new GPnt(10, 10, 0)); mView3d.ShowShape(shape, ColorTable.AliceBlue); } break; case "arc": { var shape = SketchBuilder.MakeArcOfCircle(new GPnt(0, 0, 0), new GPnt(10, 10, 0), new GPnt(5,15,0)); mView3d.ShowShape(shape, ColorTable.AliceBlue); } break; case "circle": { var shape = SketchBuilder.MakeCircle(new GPnt(0, 0, 0), 5, GP.DZ()); mView3d.ShowShape(shape, ColorTable.AliceBlue); } break; } }
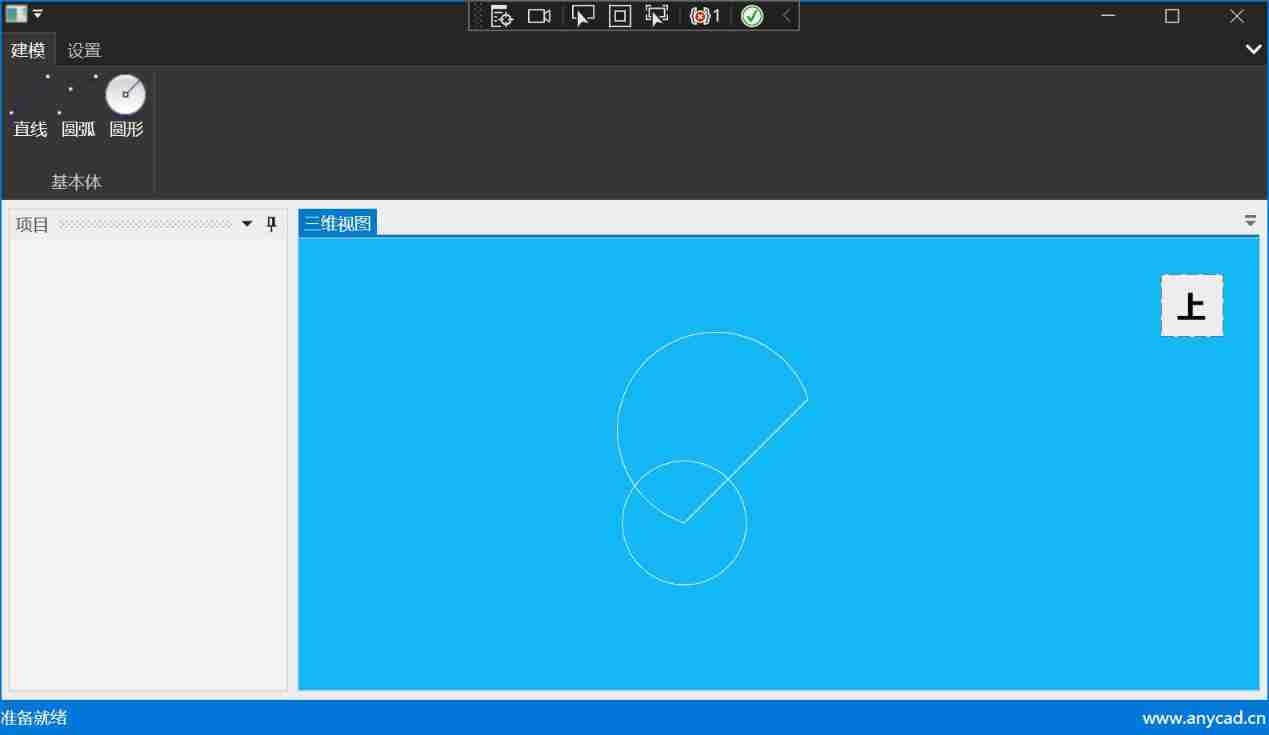
Run it , One by one Button Order it again :
4 Integrated modeling
Love chocolate 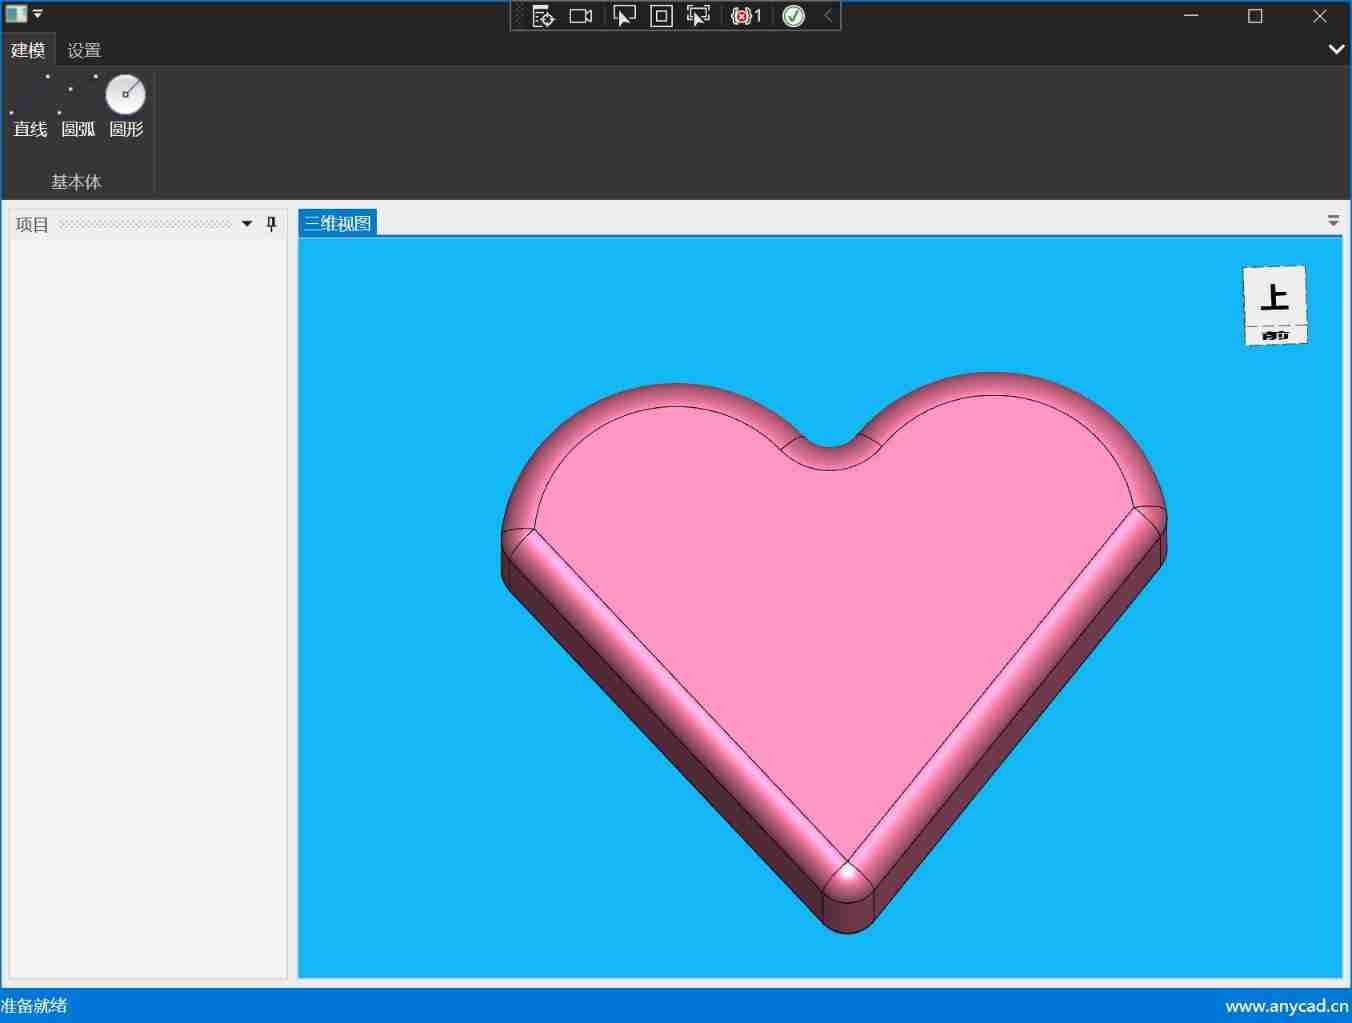
An implementation method :
- Generate the plane outline of love from lines
- The contour is filled into a face
- The surface is stretched into a body
- Chamfer the body
    {
        var arc1 = SketchBuilder.MakeArcOfCircle(new GPnt(0, 2, 0), new GPnt(10, 0, 0), new GPnt(5, 5, 0));
        var arc2 = SketchBuilder.MakeArcOfCircle(new GPnt(0, 2, 0), new GPnt(-10, 0, 0), new GPnt(-5, 5, 0));
        var bottomPt = new GPnt(0, -12, 0);
        var line1 = SketchBuilder.MakeLine(new GPnt(-10, 0, 0), bottomPt);
        var line2 = SketchBuilder.MakeLine(bottomPt, new GPnt(10, 0, 0));

        var shapeList = new TopoShapeList();
        shapeList.Add(arc1);
        shapeList.Add(arc2);
        shapeList.Add(line1);
        shapeList.Add(line2);

        var wire = SketchBuilder.MakeWire(shapeList);
        var face = SketchBuilder.MakePlanarFace(wire);
        var shape = FeatureTool.Extrude(face, 5, GP.DZ());

        shape = FeatureTool.Fillet(shape, 1);

        mView3d.ShowShape(shape, ColorTable.PaleVioletRed);
    }
5 summary
This paper realizes the program interface of Diablo style through simple examples , by Ribbon increase Icon picture , And pass WPF The command routing mechanism of implements the button message processing method . Last , adopt AnyCAD Modeling of API Create complex shapes : Love chocolate . All code in this article :Valentine's Day
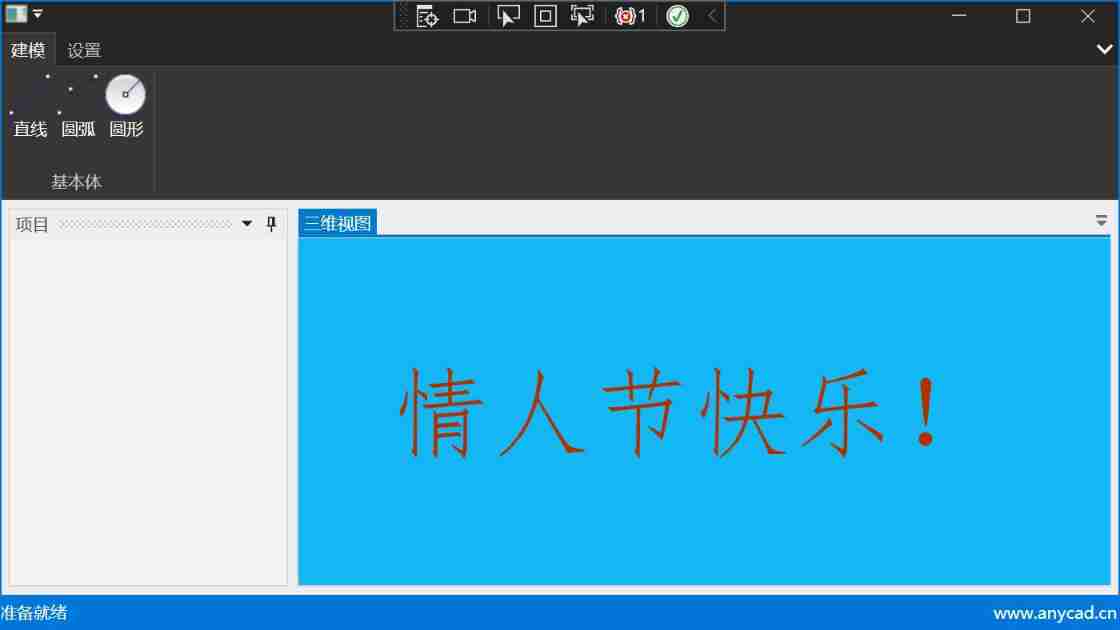
Last , I wish all programmers in the world a happy Valentine's day !
    var mesh = FontManager.Instance().CreateMesh(" Happy Valentine's Day !");
    var material = MeshPhongMaterial.Create("love-material");
    material.SetColor(ColorTable.OrangeRed);
    var shape = new PrimitiveSceneNode(mesh, material);
    mView3d.ShowSceneNode(shape);
![New version of postman flows [introductory teaching chapter 01 send request]](/img/0f/a41a39093a1170cc3f62075fd76182.jpg)
![[paper reproduction] cyclegan (based on pytorch framework) {unfinished}](/img/16/43d8929d1a37c1c68e959d5854e18c.jpg)

