当前位置:网站首页>Swift - add navigation bar
Swift - add navigation bar
2022-07-05 12:08:00 【RRJia】
Preface :iOS13 in the future ,APP Lifecycle management of is managed by AppDelegate Turned into AppDelegate and SceneDelegate Two , And SceneDelegate Higher priority , in other words , When the project exists at the same time AppDelegate and SceneDelegate when , What plays a major role is SceneDelegate; When SceneDelegate When there is no , Still by AppDelegate Lifecycle management . therefore , When we add the navigation bar , It can be done from SceneDelegate Starting with , You can also get it from AppDelegate Starting with , Next , Two methods will be introduced respectively .
Method 1 : modify SceneDelegate file (SceneDelegate Can be carried out APP Split screen multi window management )
Step one : modify SceneDelegate The file is the following code :
import UIKit

class SceneDelegate: UIResponder, UIWindowSceneDelegate {

    var window: UIWindow?

    func scene(_ scene: UIScene, willConnectTo session: UISceneSession, options connectionOptions: UIScene.ConnectionOptions) {
        // Use this method to optionally configure and attach the UIWindow `window` to the provided UIWindowScene `scene`.
        // If using a storyboard, the `window` property will automatically be initialized and attached to the scene.
        // This delegate does not imply the connecting scene or session are new (see `application:configurationForConnectingSceneSession` instead).
        guard let _ = (scene as? UIWindowScene) else { return }

        //  Set the background color of the window to white
        self.window?.backgroundColor = .white
        //  take “ Custom view controller (ViewController())” Add to “ Navigation controller UINavigationController” in
        let nav = UINavigationController(rootViewController: ViewController())
        //  Set the of the window “ Root view controller ” For the navigation controller customized above nav
        self.window?.rootViewController = nav
    }

}
Step two : establish ViewController.swift file , Add the following code , there ViewController.swift Is the above SceneDelegate Add to nav Of “ Custom view controller ”.( This step can be rewritten according to personal needs , Here are just examples )
import Foundation
import UIKit

class ViewController: UIViewController {

    override func viewDidLoad() {
        super.viewDidLoad()

        //  Set the background color of the navigation bar to gray
        self.navigationController?.navigationBar.backgroundColor = .gray
        //  Set the title of the navigation bar to “ home page ”
        self.navigationItem.title = " home page "

        //  Custom buttons
        let tableBtn = UIButton(frame: CGRect(x: 100, y: 200, width: 150, height: 50))
        //  Set the background color of the button to green
        tableBtn.backgroundColor = .green
        //  Set the title of the button to “ Button 1”
        tableBtn.setTitle(" Button 1", for: .normal)
        //  Set the title color of the button to black
        tableBtn.setTitleColor(.black, for: .normal)
        //  Add click event for button , That is to call clickTableBtn() Method
        tableBtn.addTarget(self, action: #selector(clickTableBtn), for: .touchUpInside)
        //  Add a button to the view to make it appear
        self.view.addSubview(tableBtn)
    }

    @objc func clickTableBtn() {
        let vc = TestNavController()
        //  Set the navigation to jump to TestNavController page
        self.navigationController?.pushViewController(vc, animated: true)
    }

}
Step three : establish TestNavController.swift file , And add the following code ( This step can be rewritten according to personal needs , Here are just examples ):
import Foundation
import UIKit

class TestNavController: UIViewController {
    override func viewDidLoad() {
        self.view.backgroundColor = .yellow
    }
}
Method 2 : modify AppDelegate file
Step one : modify AppDelegate The file is the following code :
class AppDelegate: UIResponder, UIApplicationDelegate {

    var window: UIWindow?

    func application(_ application: UIApplication, didFinishLaunchingWithOptions launchOptions: [UIApplication.LaunchOptionsKey: Any]?) -> Bool {
        // Override point for customization after application launch.

        //  take “ Custom view controller (ViewController())” Add to “ Navigation controller UINavigationController” in
        let nav = UINavigationController(rootViewController: ViewController())
        //  New window
        self.window = UIWindow(frame: UIScreen.main.bounds)
        //  Set the background color of the window to white
        self.window?.backgroundColor = .white
        //  Set the of the window “ Root view controller ” For the navigation controller customized above nav
        self.window?.rootViewController = nav
        //  Set the window to the front of the screen
        self.window?.makeKeyAndVisible()

        return true
    }

}
Step two : establish ViewController.swift file , Add the following code , there ViewController.swift Is the above AppDelegate Add to nav Of “ Custom view controller ”.( This step is exactly the same as step 2 of method 1 , It can be rewritten according to personal needs , Here are just examples )
import Foundation
import UIKit

class ViewController: UIViewController {

    override func viewDidLoad() {
        super.viewDidLoad()

        //  Set the background color of the navigation bar to gray
        self.navigationController?.navigationBar.backgroundColor = .gray
        //  Set the title of the navigation bar to “ home page ”
        self.navigationItem.title = " home page "

        //  Custom buttons
        let tableBtn = UIButton(frame: CGRect(x: 100, y: 200, width: 150, height: 50))
        //  Set the background color of the button to green
        tableBtn.backgroundColor = .green
        //  Set the title of the button to “ Button 1”
        tableBtn.setTitle(" Button 1", for: .normal)
        //  Set the title color of the button to black
        tableBtn.setTitleColor(.black, for: .normal)
        //  Add click event for button , That is to call clickTableBtn() Method
        tableBtn.addTarget(self, action: #selector(clickTableBtn), for: .touchUpInside)
        //  Add a button to the view to make it appear
        self.view.addSubview(tableBtn)
    }

    @objc func clickTableBtn() {
        let vc = TestNavController()
        //  Set the navigation to jump to TestNavController page
        self.navigationController?.pushViewController(vc, animated: true)
    }

}
Step three : establish TestNavController.swift file , And add the following code :( This step is exactly the same as step 3 of method 1 , It can be rewritten according to personal needs , Here are just examples )
import Foundation
import UIKit

class TestNavController: UIViewController {
    override func viewDidLoad() {
        self.view.backgroundColor = .yellow
    }
}
Step four : Delete... From the project Scene Other relevant codes , Otherwise, the screen will be black ( Referable Xcode Black screen solution )
1) Delete SceneDelegate file ;
2) Delete Info file -> Information Property List -> Application Scene Manifest a
thus , The above two methods can be realized as follows “ Navigation effects ”, As shown in the figure below :
边栏推荐
- Multi table operation - sub query
- 查看rancher中debug端口信息,并做IDEA Remote Jvm Debug
- Matlab imoverlay function (burn binary mask into two-dimensional image)
- Halcon template matching actual code (I)
- iTOP-3568开发板NPU使用安装RKNN Toolkit Lite2
- Open3D 网格(曲面)赋色
- 跨平台(32bit和64bit)的 printf 格式符 %lld 输出64位的解决方式
- Liunx prohibit Ping explain the different usage of traceroute
- 互联网公司实习岗位选择与简易版职业发展规划
- Reading notes of growth hacker
猜你喜欢
ABAP table lookup program
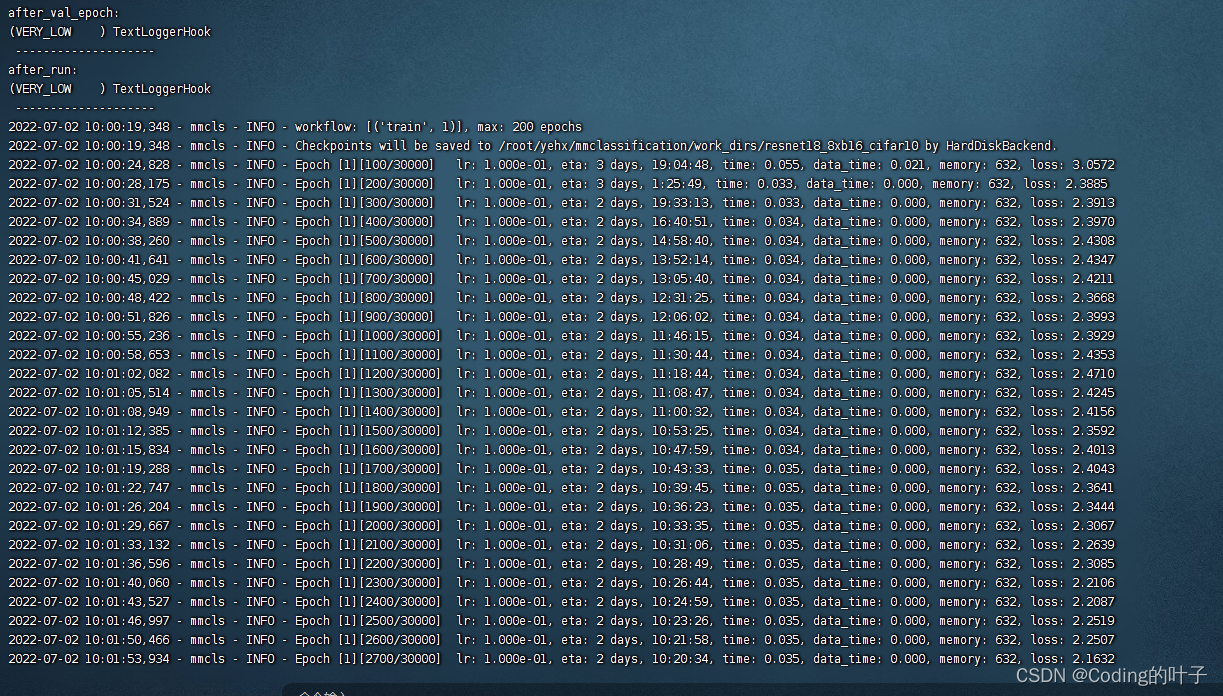
Mmclassification training custom data
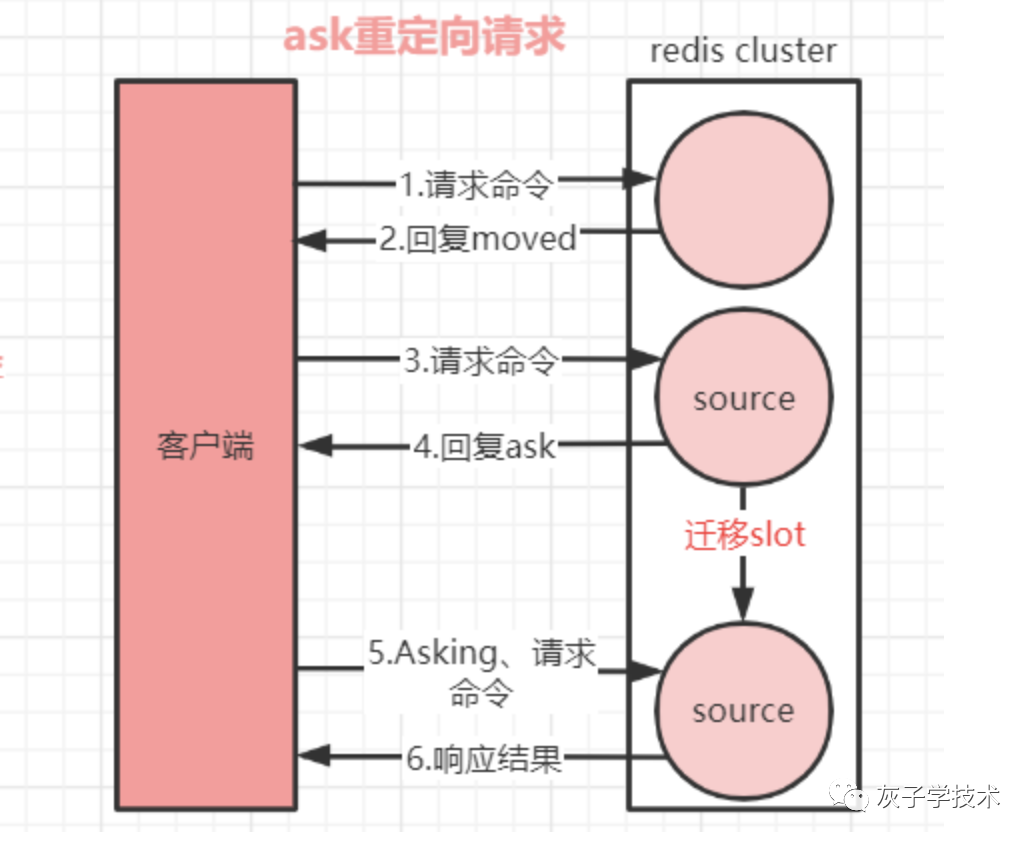
Redis集群的重定向
12.(地图数据篇)cesium城市建筑物贴图
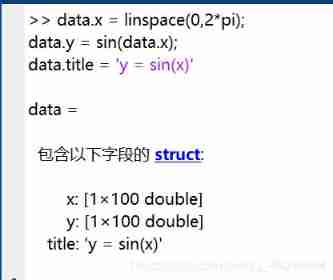
Matlab struct function (structure array)
![[deploy pytoch project through onnx using tensorrt]](/img/b6/ec95f028f749753666c7877134ad70.png)
[deploy pytoch project through onnx using tensorrt]
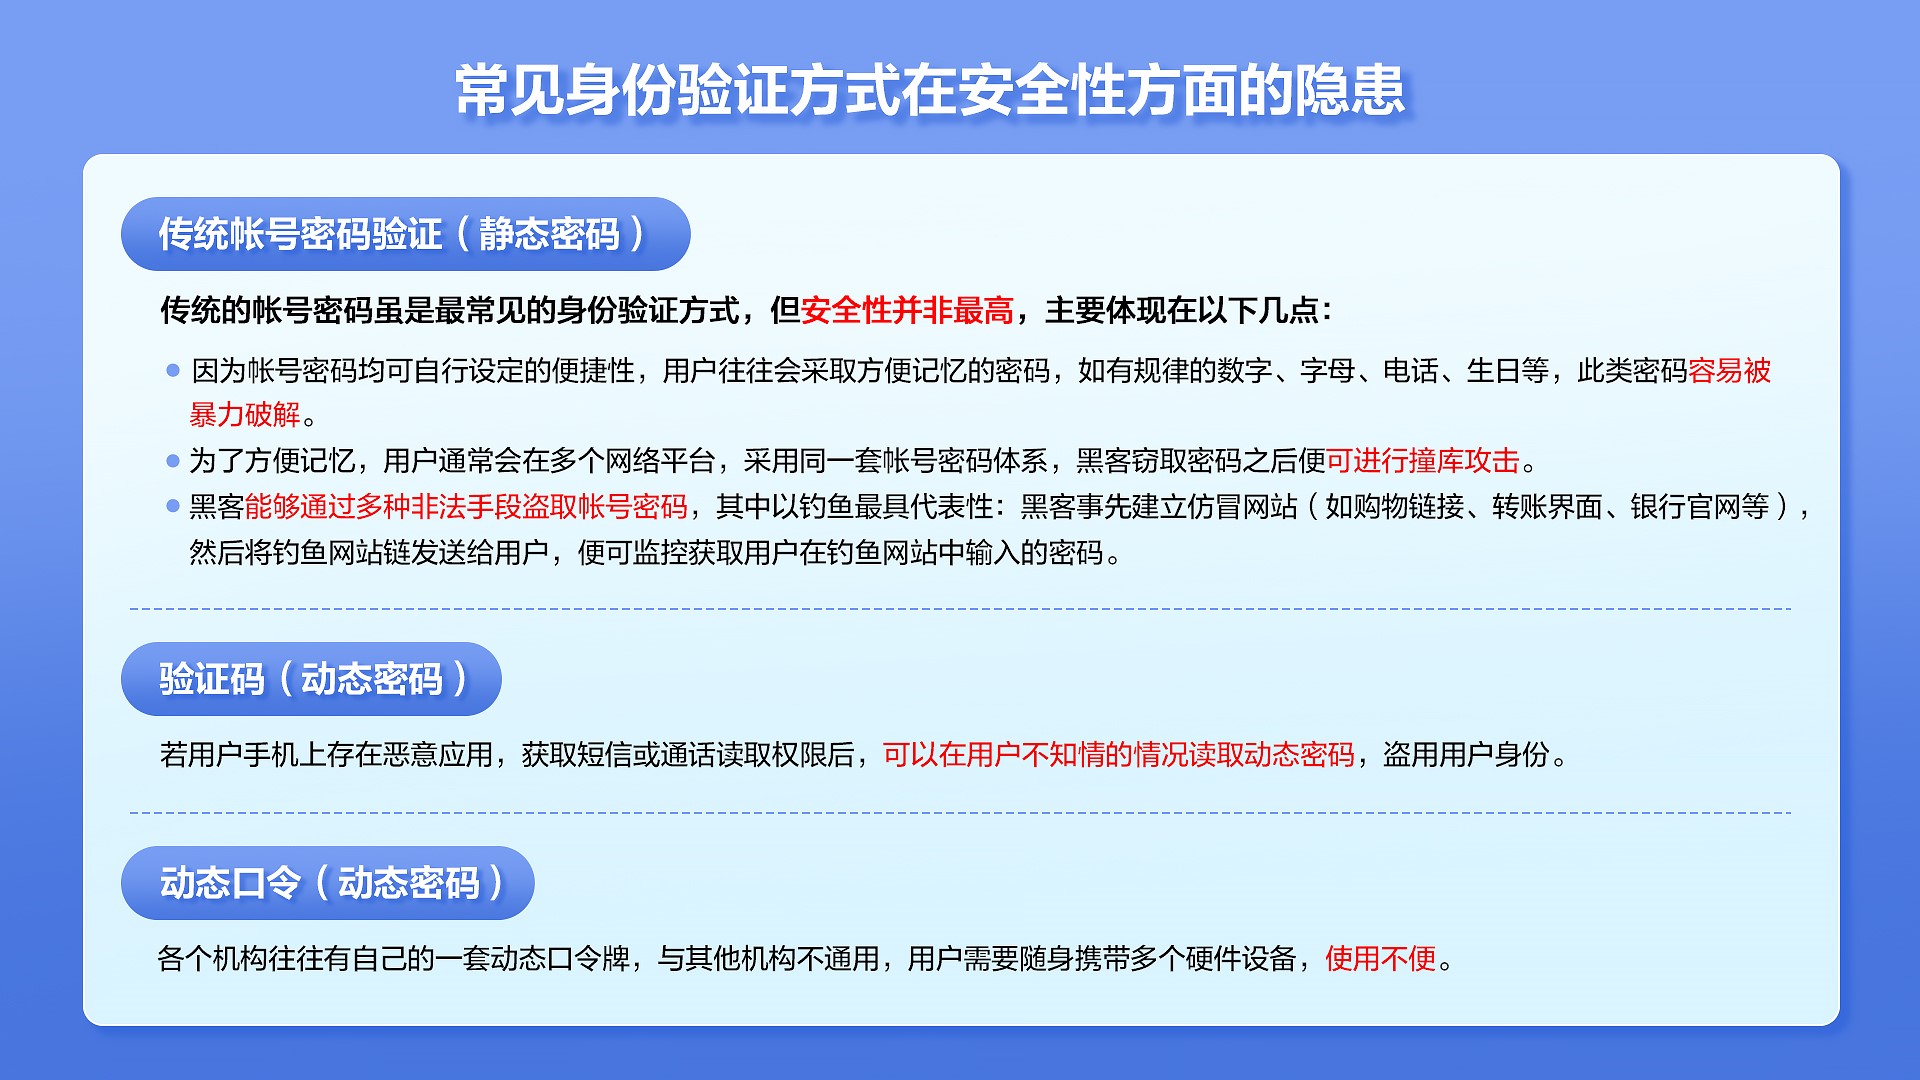
How to protect user privacy without password authentication?
互联网公司实习岗位选择与简易版职业发展规划

Matlab label2idx function (convert the label matrix into a cell array with linear index)
mmclassification 训练自定义数据
随机推荐
Liunx prohibit Ping explain the different usage of traceroute
Complete activity switching according to sliding
投资理财适合女生吗?女生可以买哪些理财产品?
Halcon 模板匹配实战代码(一)
yolov5目标检测神经网络——损失函数计算原理
How to make your products as expensive as possible
Intern position selection and simplified career development planning in Internet companies
Thoughts and suggestions on the construction of intelligent management and control system platform for safe production in petrochemical enterprises
【yolov5.yaml解析】
Pytorch linear regression
【ijkplayer】when i compile file “compile-ffmpeg.sh“ ,it show error “No such file or directory“.
Acid transaction theory
12.(地图数据篇)cesium城市建筑物贴图
What is digital existence? Digital transformation starts with digital existence
[calculation of loss in yolov3]
【TFLite, ONNX, CoreML, TensorRT Export】
redis主从中的Master自动选举之Sentinel哨兵机制
Linux安装部署LAMP(Apache+MySQL+PHP)
Seven ways to achieve vertical centering
强化学习-学习笔记3 | 策略学习