当前位置:网站首页>4、安装部署Spark(Spark on Yarn模式)
4、安装部署Spark(Spark on Yarn模式)
2022-07-06 09:15:00 【@小蜗牛】
目录
- 4.1使用下面的命令,解压Spark安装包到用户根目录:
- 4.2配置Hadoop环境变量
- 4.3验证Spark安装
- 4.4重启hadoop集群(使配置生效)
- 4.5进入Spark安装主目录
- 4.6安装部署Spark-SQL
4.1使用下面的命令,解压Spark安装包到用户根目录:
[[email protected] ~]$ cd /home/zkpk/tgz/spark/
[[email protected] spark]$ tar -xzvf spark-2.1.1-bin-hadoop2.7.tgz -C /home/zkpk/
[[email protected] spark]$ cd
[[email protected] ~]$ cd spark-2.1.1-bin-hadoop2.7/
[[email protected] spark-2.1.1-bin-hadoop2.7]$ ls -l
执行ls -l命令会看到下面的图片所示内容,这些内容是Spark包含的文件:

4.2配置Hadoop环境变量
4.2.1在Yarn上运行Spark需要配置HADOOP_CONF_DIR、YARN_CONF_DIR和HDFS_CONF_DIR环境变量
4.2.1.1命令:
[[email protected] ~]$ cd
[[email protected] ~]$ gedit ~/.bash_profile
4.2.1.2在文件末尾添加如下内容;保存、退出
#SPARK ON YARN
export HADOOP_CONF_DIR=$HADOOP_HOME/etc/hadoop
export HDFS_CONF_DIR=$HADOOP_HOME/etc/hadoop
export YARN_CONF_DIR=$HADOOP_HOME/etc/hadoop
4.2.1.3重新编译文件,使环境变量生效
[[email protected] ~]$ source ~/.bash_profile
4.3验证Spark安装
4.3.1修改${HADOOP_HOME}/etc/Hadoop/yarn-site.xml;
说明:在master和slave01、slave02节点都要如此修改此文件
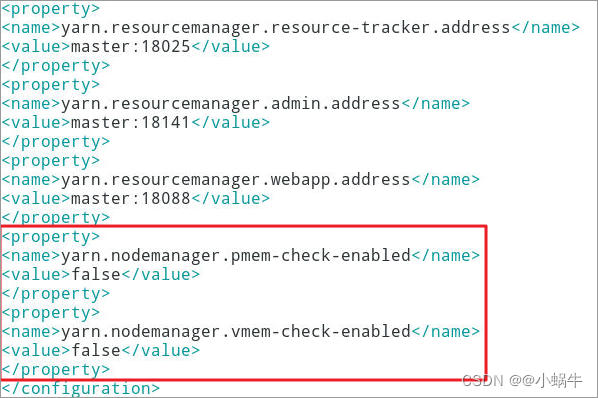
4.3.2添加两个property
[[email protected] ~]$ vim ~/hadoop-2.7.3/etc/hadoop/yarn-site.xml
    <property>
        <name>yarn.nodemanager.pmem-check-enabled</name>
        <value>false</value>
    </property>
    <property>
        <name>yarn.nodemanager.vmem-check-enabled</name>
        <value>false</value>
    </property>
4.4重启hadoop集群(使配置生效)
[[email protected] ~]$ stop-all.sh
[[email protected] ~]$ start-all.sh
4.5进入Spark安装主目录
[[email protected] ~]$ cd ~/spark-2.1.1-bin-hadoop2.7
4.5.1执行下面的命令(注意这是1行代码):
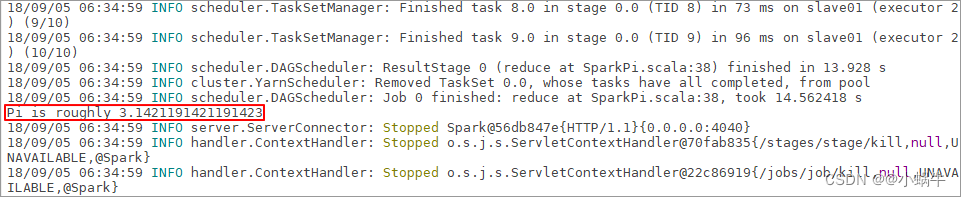
[[email protected] spark-2.1.1-bin-hadoop2.7]$ ./bin/spark-submit --class org.apache.spark.examples.SparkPi --master yarn --num-executors 3 --driver-memory 1g --executor-memory 1g --executor-cores 1 examples/jars/spark-examples*.jar 10
4.5.2执行命令后会出现如下界面:
4.5.3Web UI验证
4.5.3.1进入spark-shell交互终端,命令如下:
[[email protected] spark-2.1.1-bin-hadoop2.7]$ ./bin/spark-shell
4.5.3.2打开浏览器,输入下面地址,查看运行界面(地址:http://master:4040/)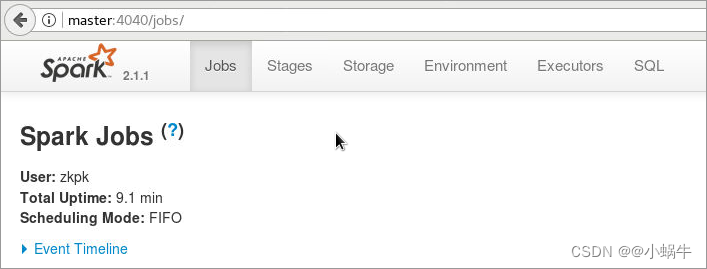
4.5.3.3退出交互终端,按ctrl+d组合键
scala> :quit
4.6安装部署Spark-SQL
4.6.1将hadoop安装目录下的hdfs-site.xml文件复制到spark安装目录下的conf目录下
[[email protected] spark-2.1.1-bin-hadoop2.7]$ cd
[[email protected] ~]$ cd hadoop-2.7.3/etc/hadoop/
[[email protected] hadoop]$ cp hdfs-site.xml /home/zkpk/spark-2.1.1-bin-hadoop2.7/conf
4.6.2将Hive安装目录conf子目录下的hive-site.xml文件,拷贝到spark的配置子目录
[[email protected] hadoop]$ cd
[[email protected] ~]$ cd apache-hive-2.1.1-bin/conf/
[[email protected] conf]$ cp hive-site.xml /home/zkpk/spark-2.1.1-bin-hadoop2.7/conf/
4.6.3修改spark配置目录中的hive-site.xml文件
[[email protected] conf]$ cd
[[email protected] ~]$ cd spark-2.1.1-bin-hadoop2.7/conf/
[[email protected] conf]$ vim hive-site.xml
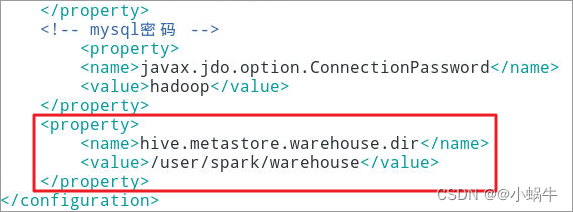
4.6.3.1添加如下属性
<property>
          <name>hive.metastore.warehouse.dir</name>
          <value>/user/spark/warehouse</value>
 </property>
4.6.4将mysql连接的驱动包拷贝到spark目录的jars子目录
[[email protected] conf]$ cd
[[email protected] ~]$ cd apache-hive-2.1.1-bin/lib/
[[email protected] lib]$ cp mysql-connector-java-5.1.28.jar /home/zkpk/spark-2.1.1-bin-hadoop2.7/jars/
4.6.5重启Hadoop集群并验证spark-sql;下图,进入spark shell客户端,说明spark sql配置成功
[[email protected] lib]$ cd
[[email protected] ~]$ stop-all.sh
[[email protected] ~]$ start-all.sh
[[email protected] ~]$ cd ~/spark-2.1.1-bin-hadoop2.7
[[email protected] spark-2.1.1-bin-hadoop2.7]$ ./bin/spark-sql --master yarn

4.6.6按ctrl+d组合键,退出spark shell
4.6.7若hadoop集群不再使用,请关闭集群
[[email protected] spark-2.1.1-bin-hadoop2.7]$ cd
[[email protected] ~]$ stop-all.sh
边栏推荐
- Summary of numpy installation problems
- Introduction and use of automatic machine learning framework (flaml, H2O)
- Django running error: error loading mysqldb module solution
- PyCharm中无法调用numpy,报错ModuleNotFoundError: No module named ‘numpy‘
- 【kerberos】深入理解kerberos票据生命周期
- 打开浏览器的同时会在主页外同时打开芒果TV,抖音等网站
- 误删Path变量解决
- 安装numpy问题总结
- How to set up voice recognition on the computer with shortcut keys
- 数数字游戏
猜你喜欢
![[蓝桥杯2017初赛]方格分割](/img/e9/e49556d0867840148a60ff4906f78e.png)
[蓝桥杯2017初赛]方格分割

人脸识别 face_recognition
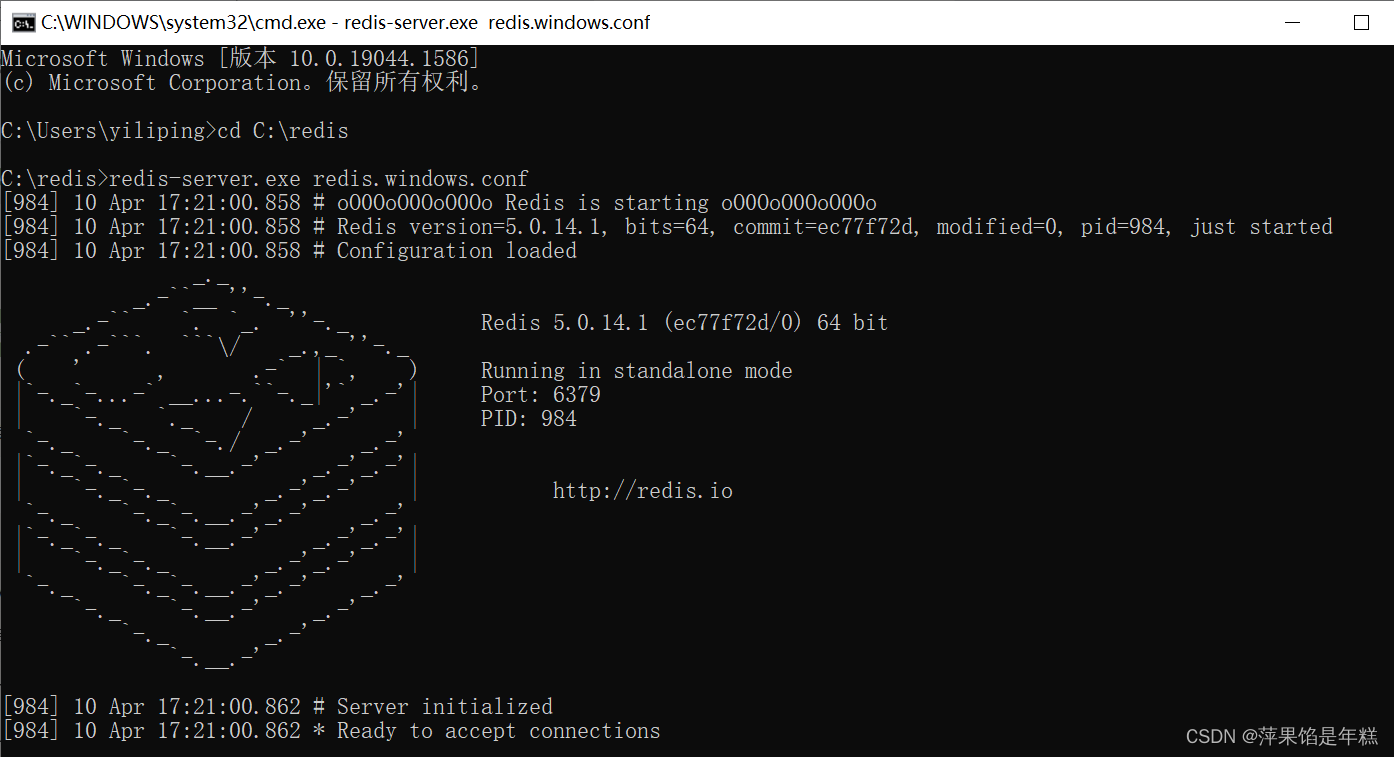
Windows下安装MongDB教程、Redis教程
Face recognition_ recognition

In the era of DFI dividends, can TGP become a new benchmark for future DFI?
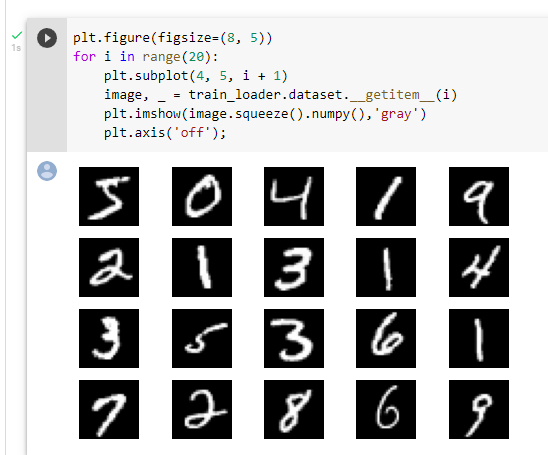
机器学习笔记-Week02-卷积神经网络
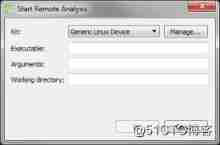
QT creator runs the Valgrind tool on external applications
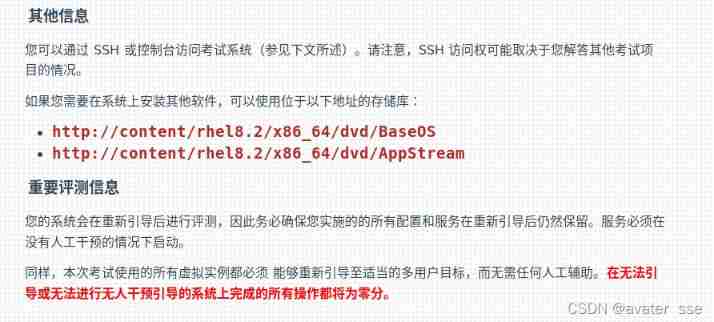
Rhcsa certification exam exercise (configured on the first host)
机器学习--人口普查数据分析
When you open the browser, you will also open mango TV, Tiktok and other websites outside the home page
随机推荐
L2-006 树的遍历 (25 分)
Are you monitored by the company for sending resumes and logging in to job search websites? Deeply convinced that the product of "behavior awareness system ba" has not been retrieved on the official w
Software testing - interview question sharing
一键提取pdf中的表格
牛客Novice月赛40
【yarn】CDP集群 Yarn配置capacity调度器批量分配
How to configure flymcu (STM32 serial port download software) is shown in super detail
AcWing 179. Factorial decomposition problem solution
QT creator custom build process
Kept VRRP script, preemptive delay, VIP unicast details
AcWing 179.阶乘分解 题解
Deoldify项目问题——OMP:Error#15:Initializing libiomp5md.dll,but found libiomp5md.dll already initialized.
[AGC009D]Uninity
误删Path变量解决
Mtcnn face detection
[BSidesCF_2020]Had_a_bad_day
nodejs连接Mysql
{一周总结}带你走进js知识的海洋
AcWing 1294.樱花 题解
QT creator create button